
Nut Cookies Recipe

Author:
Thomas Sixt is a chef, food photographer, cookbook author and blogger.
Here he shares recipes, answers cooking questions and helps with cooking.
You can find my nut cookies recipe in this post.
With gingerbread spice, these spicy geometric cookies make a great Christmas cookie.
Outside of Advent and Christmas, you can prepare the pastries without the gingerbread flavor.
Important to know: These cookies require a little more time in the bakery.
Wish you good luck, feel free to write me a comment or leave a baking question at the bottom of this page.
Table of Contents
1. Recipe Nut Cookies
The following instructions accompany you exactly with photos at each step.
Nut Cookies
Baked, photographed and written down by chef Thomas Sixt and Christiane Sixt.
Servings 60
Calories 132
Preparation Time 60 Min.
Cook Time 0 Min.
Total Time 180 Min.
Detailed instructions for baking traditional German nut cookies corners.
Ingredients
| Shortcrust pastry | ||
| 220 | g | flour (I have used Schär Mix gluten free) |
| 150 | g | butter |
| 80 | g | powdered sugar/ iced sugar |
| 2 | Pinches | primal salt |
| 1 | Piece | Lemon (Only the abrasion) |
| 100 | g | apricot jam |
| Nut Mass | ||
| 100 | g | hazelnuts grated |
| 100 | g | hazelnuts grated |
| 8 | Pieces | egg whites (From eggs size M) |
| 200 | g | brown cane sugar |
| 100 | g | butter |
| 2 | tbsp | Cornstarch |
| 1 | tbsp | gingerbread spice |
| Glaze | ||
| 450 | g | dark chocolate |
| 50 | g | butter |
Instruction
Shortcrust pastry
Preparation step 1 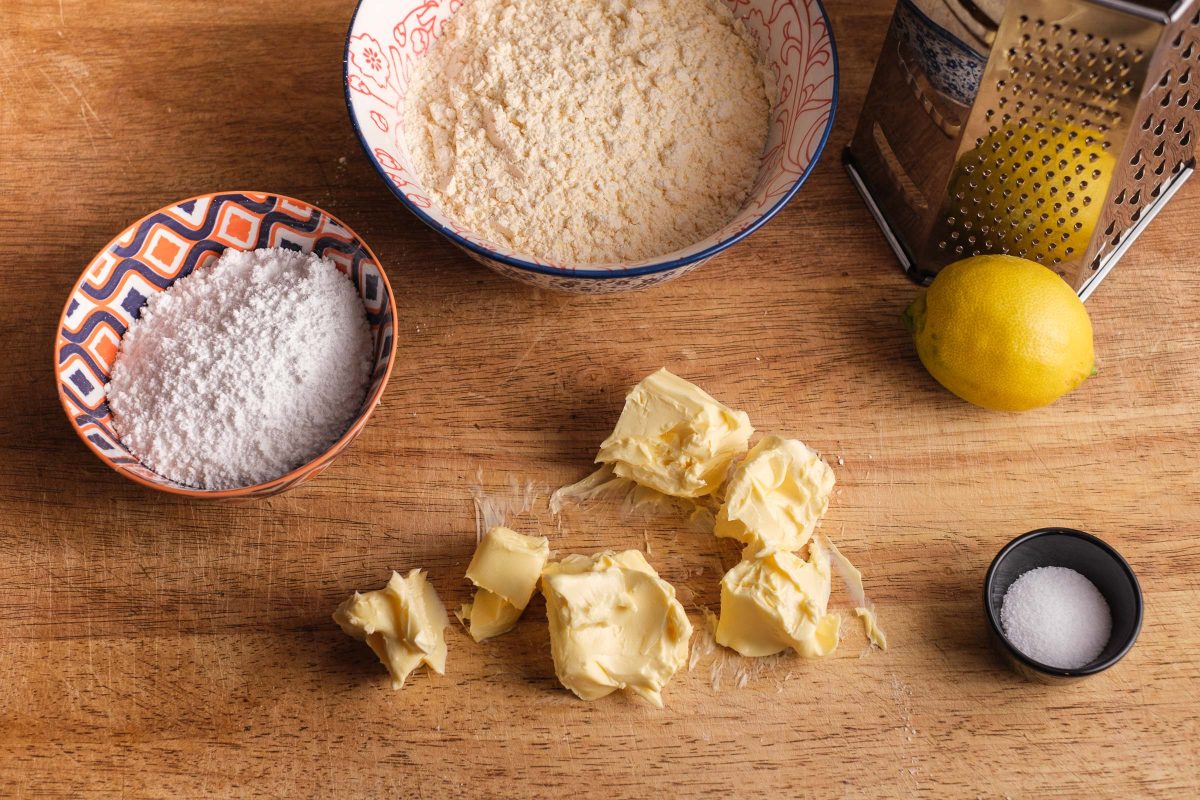
Prepared nut wedges shortcrust pastry ingredients
prepare ingredients
Weigh out the ingredients for the shortcrust pastry and have them ready:
-> powdered sugar
-> flour
-> Soft butter
-> salt
-> Lemon for abrasion
Preparation step 2 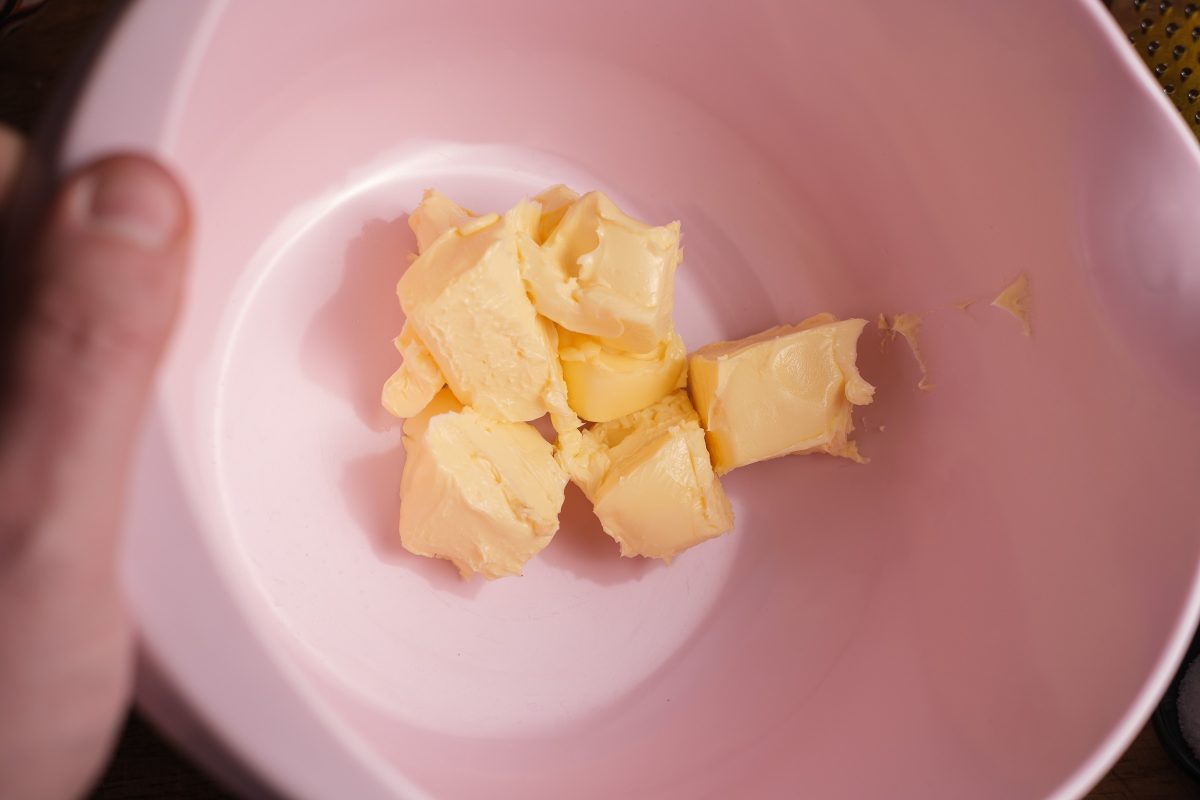
Soft butter in the baking bowl
Provide butter
Place the softened butter in the baking bowl.
Preparation step 3 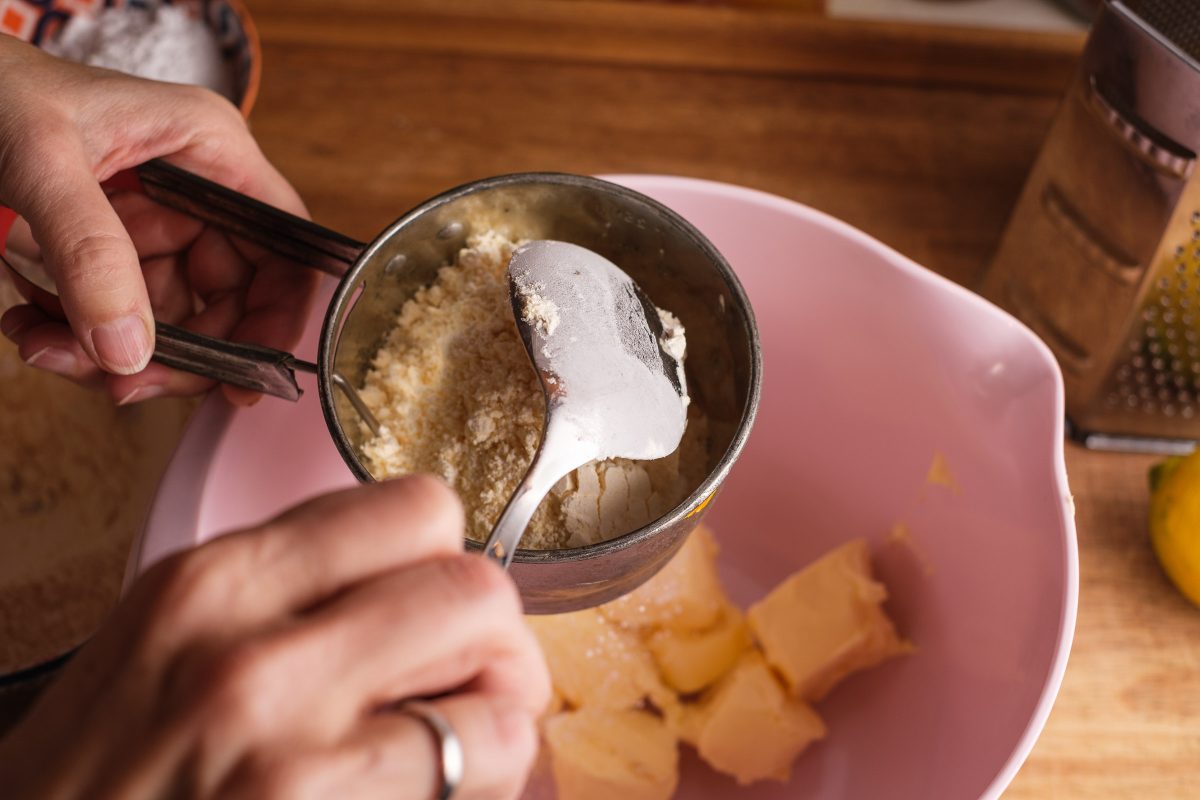
Sift the flour for the shortcrust pastry.
Sift flour
Sift the flour into the butter.
Preparation step 4 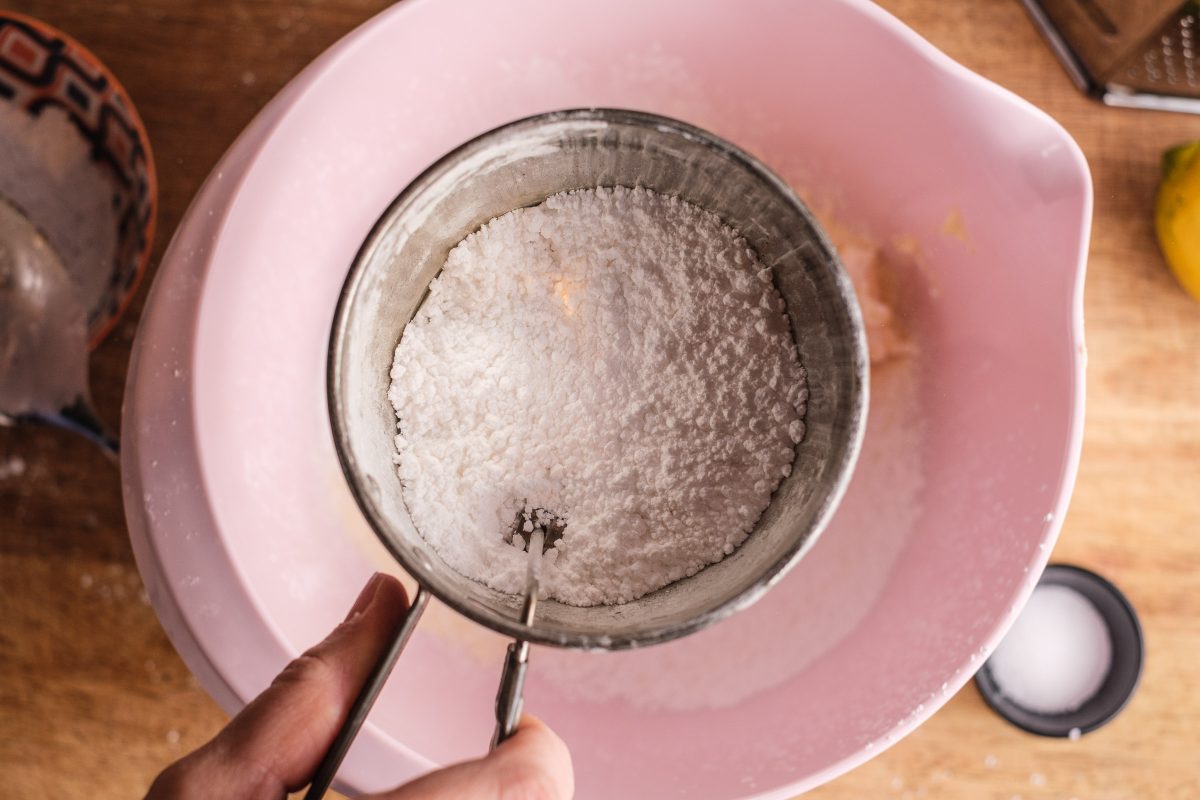
Sieve the icing sugar for the shortcrust pastry
Add powdered sugar
Sift the icing sugar into the bowl with the butter and flour.
Preparation step 5 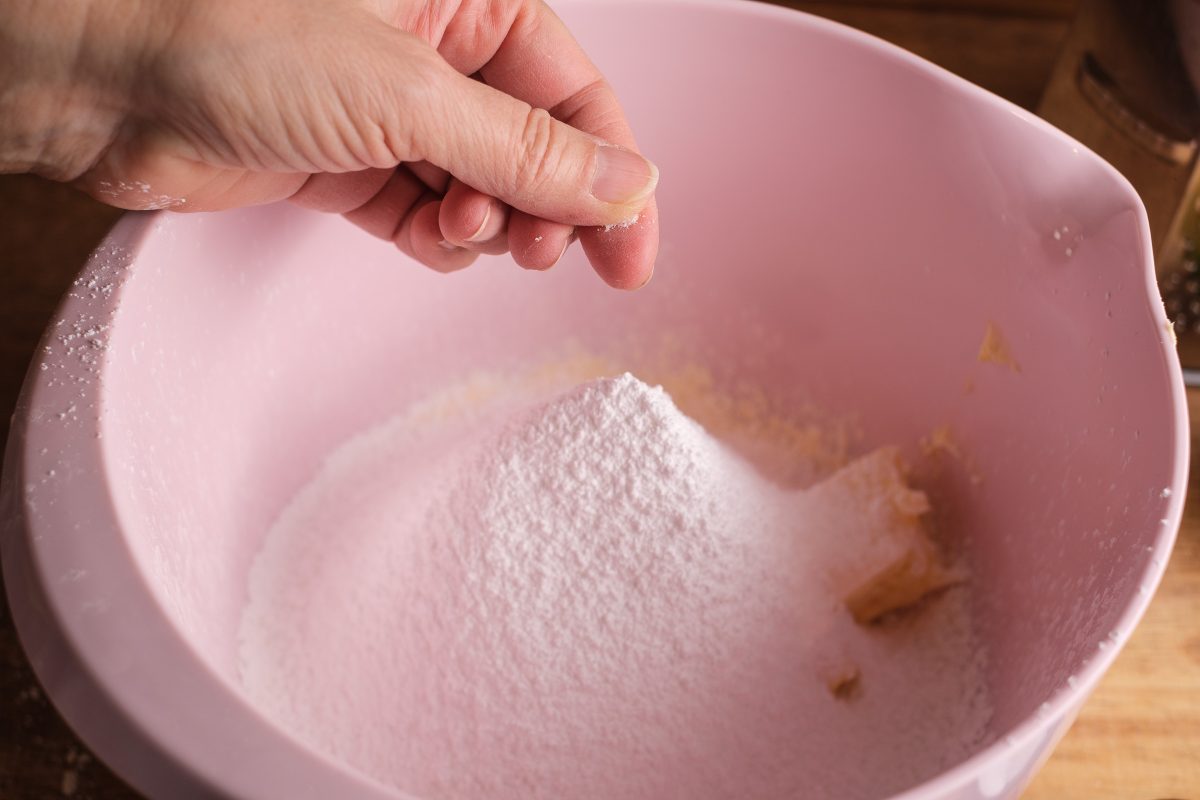
Season the shortcrust pastry ingredients with a pinch of salt
Add salt
Add two pinches of salt to the dough ingredients.
Preparation step 6 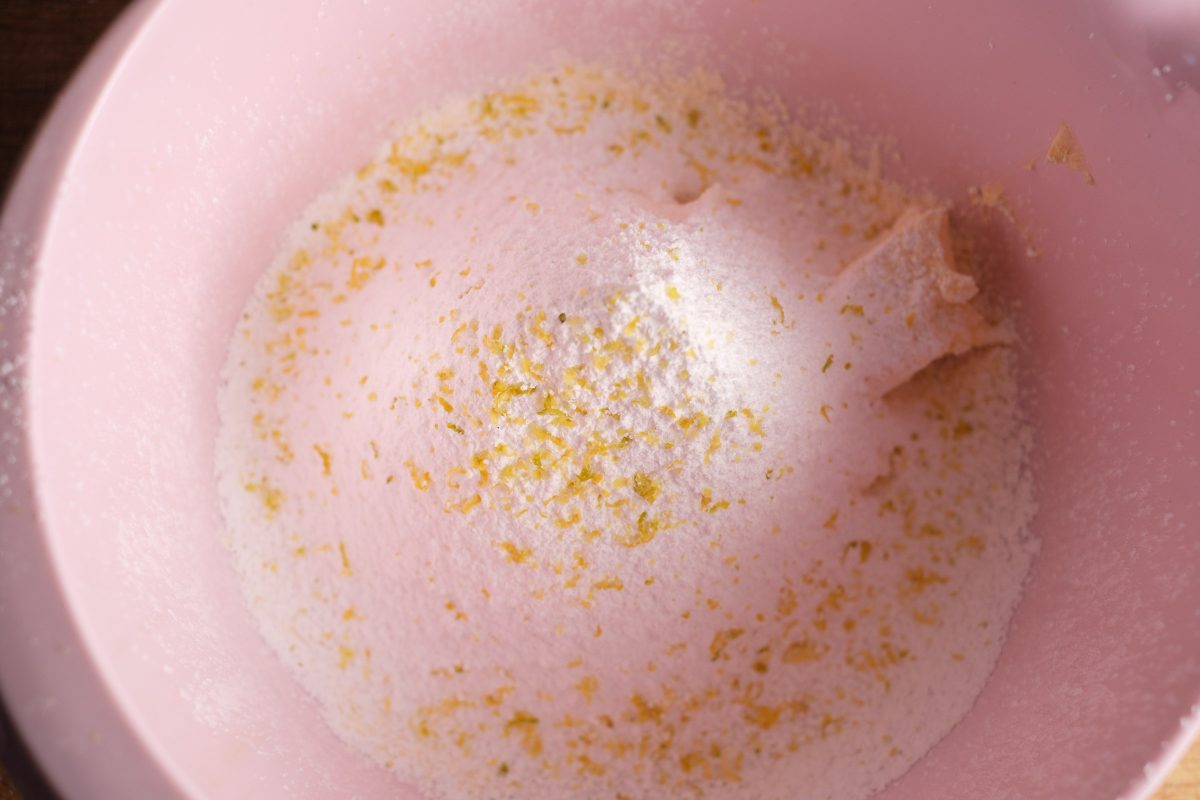
Shortcrust pastry ingredients with lemon zest
Lemon zest
Add the zest from the whole lemon to the dough ingredients in the bowl.
Preparation step 7 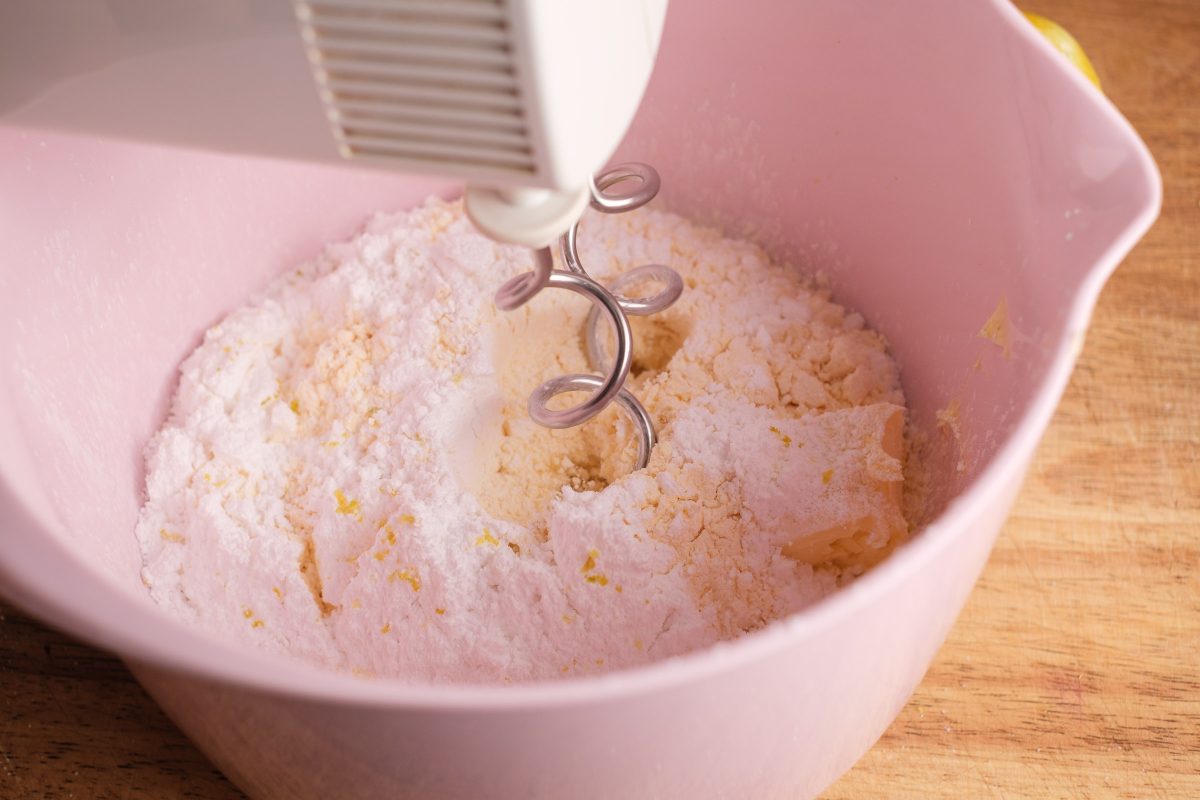
Mix together the ingredients
Stir dough
Mix the dough ingredients in the baking bowl with the hand mixer using the dough hook.
Preparation step 8 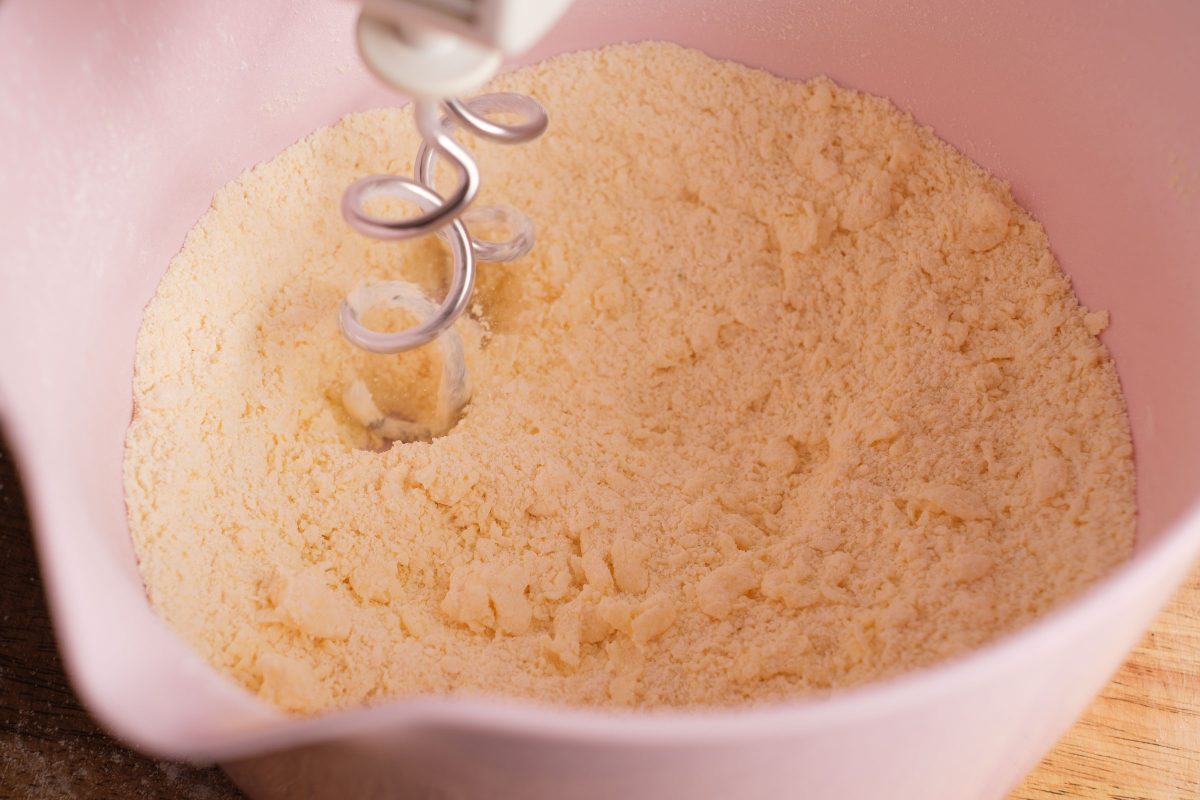
Shortcrust pastry finely chopped ingredients
Combine ingredients
Stir the dough ingredients evenly for 4-6 minutes so that all the ingredients can be finely combined.
Preparation step 9 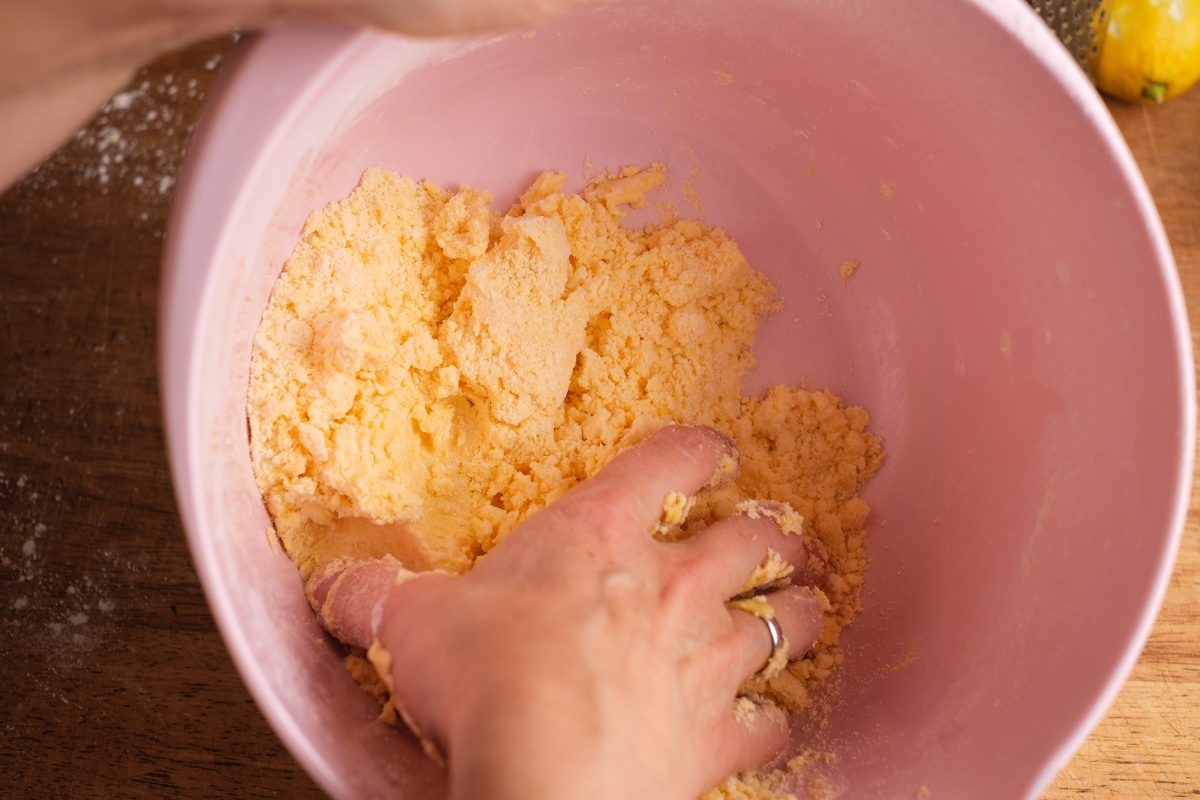
Knead the shortcrust pastry
Knead dough
Den Teig abschließend mit den Händen gut 2 Minuten kneten.
“>
Finally, knead the dough with your hands for a good 2 minutes.
Preparation step 10 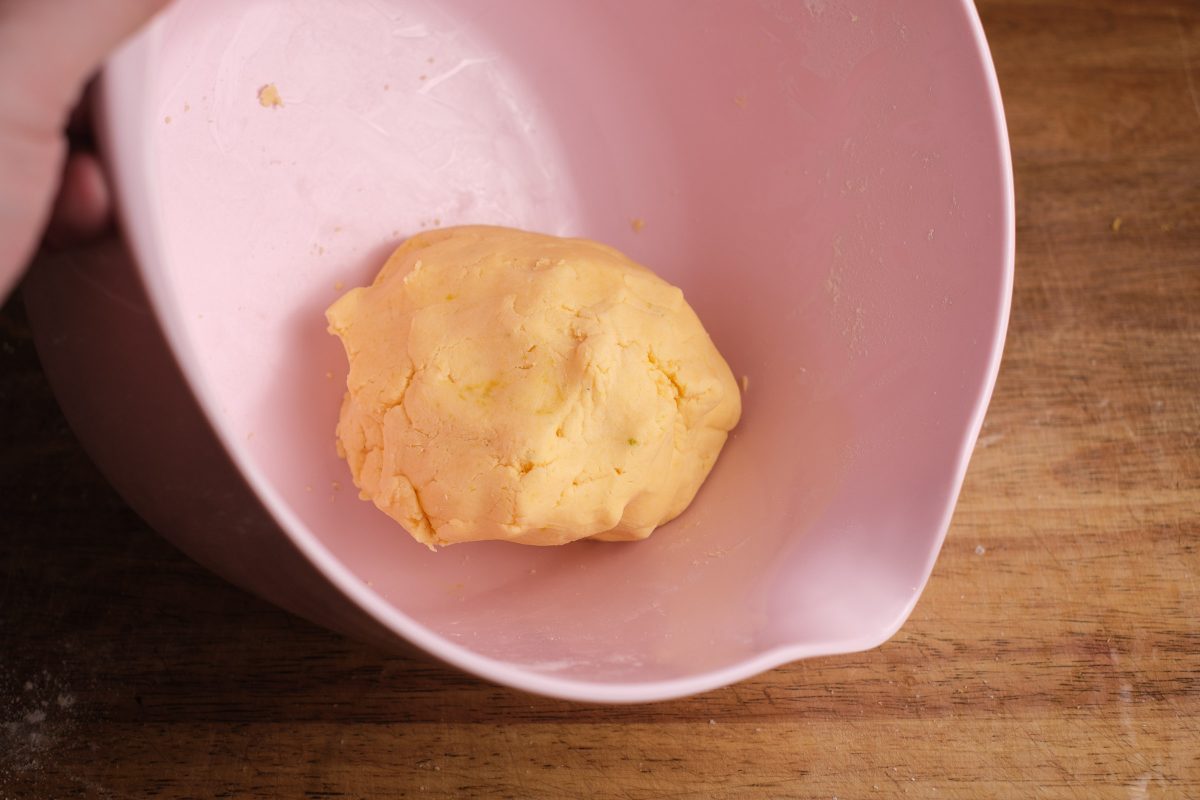
Shortcrust pastry kneaded in the bowl
Form dough
Shape the dough into a ball in the bowl.
Preparation step 11 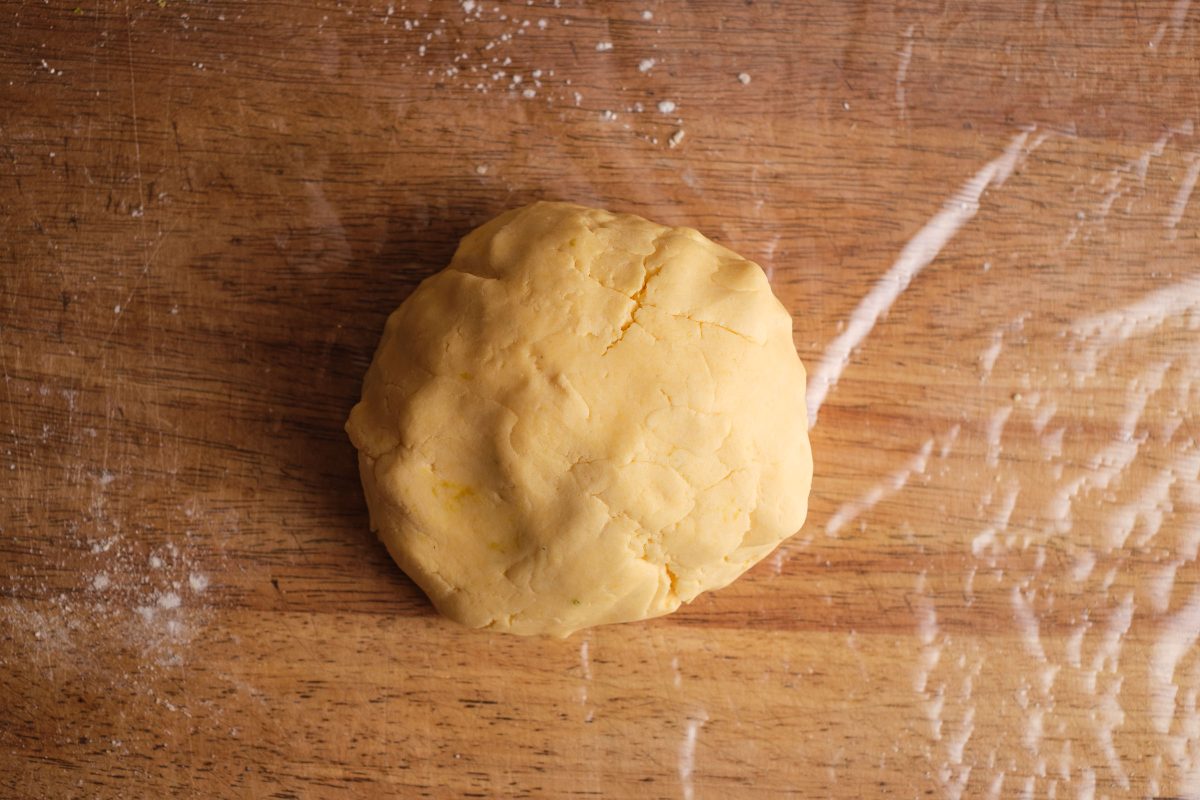
Shortcrust pastry on cling film
Dough packing
Place the ball of dough on cling film.
Preparation step 12 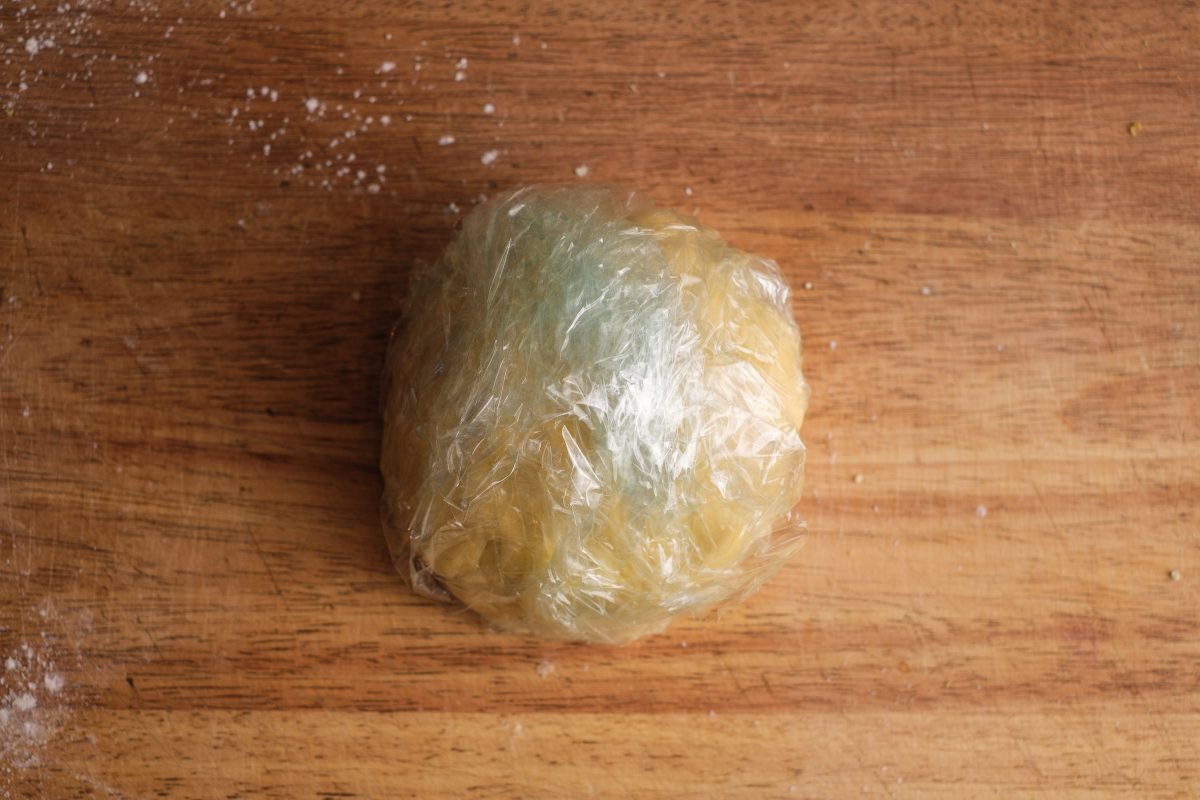
Wrapped in foil to rest
Dough rest
Wrap the dough in cling film.
Chill the dough ball for at least 30 minutes and let it rest.
Preparation step 13 
Prepared tools Bake shortcrust pastry base for nut corners
Prepare tools
To bake the nut corner base you need:
-> A flat baking sheet
-> A suitable piece of baking paper
-> A flexible, rectangular cake pan.
-> A rolling pin
Preparation step 14 
Shortcrust pastry ball on baking paper before rolling out.
Provide dough
Take the dough ball out of the fridge and unwrap it.
Place the dough in the middle of the baking paper.
Preparation step 15 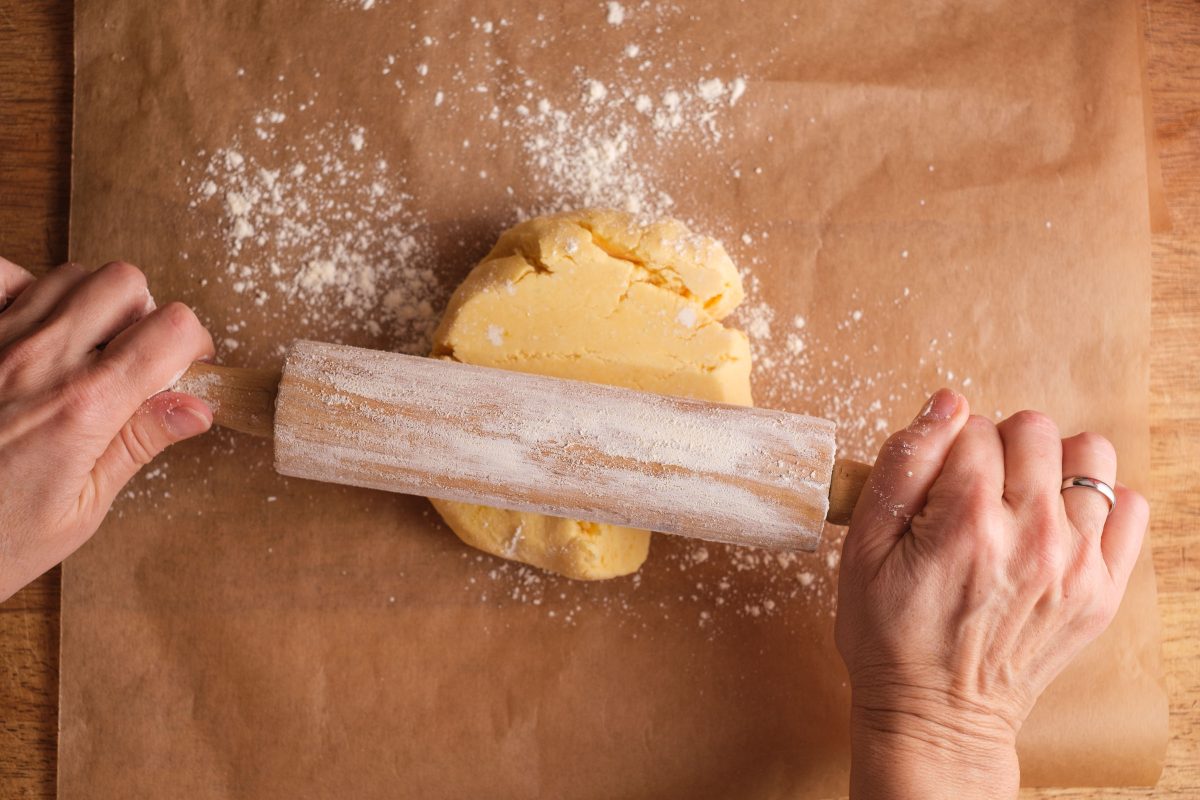
Roll out the rolling pin with flour for the shortcrust pastry
Roll dough
Slowly roll out the dough with a floured rolling pin.
Preparation step 16 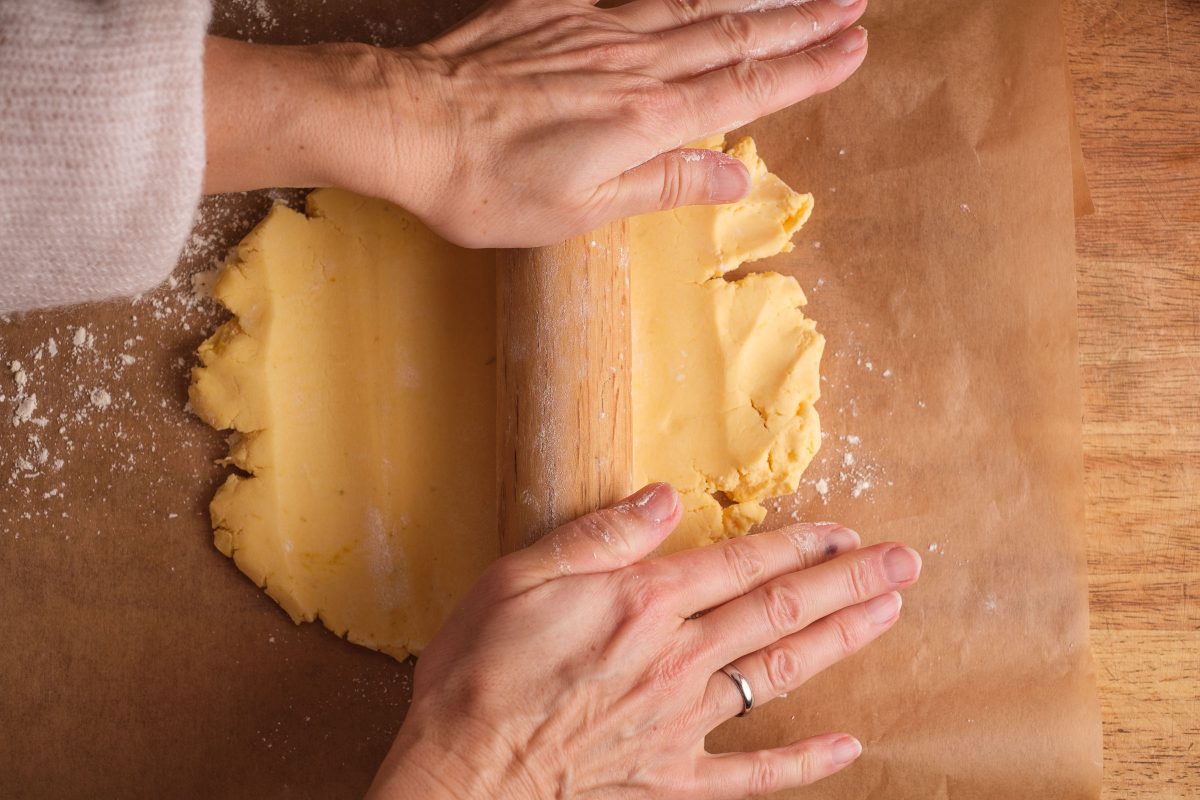
Roll out the shortcrust pastry on baking paper
Process dough
Roll out the dough evenly, keeping the dough on the parchment paper.
Preparation step 17 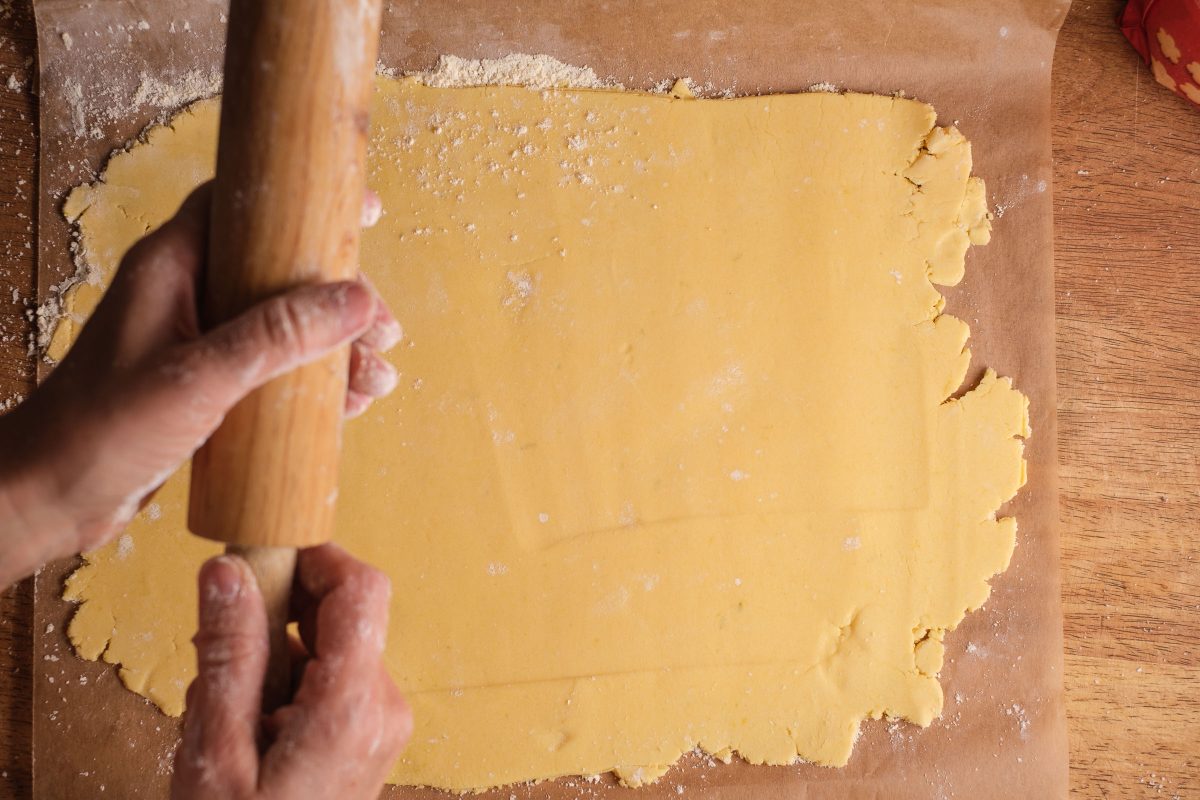
Roll out the shortcrust pastry
Roll dough
Roll out the dough into a rectangle 0.5 cm thick.
Preparation step 18 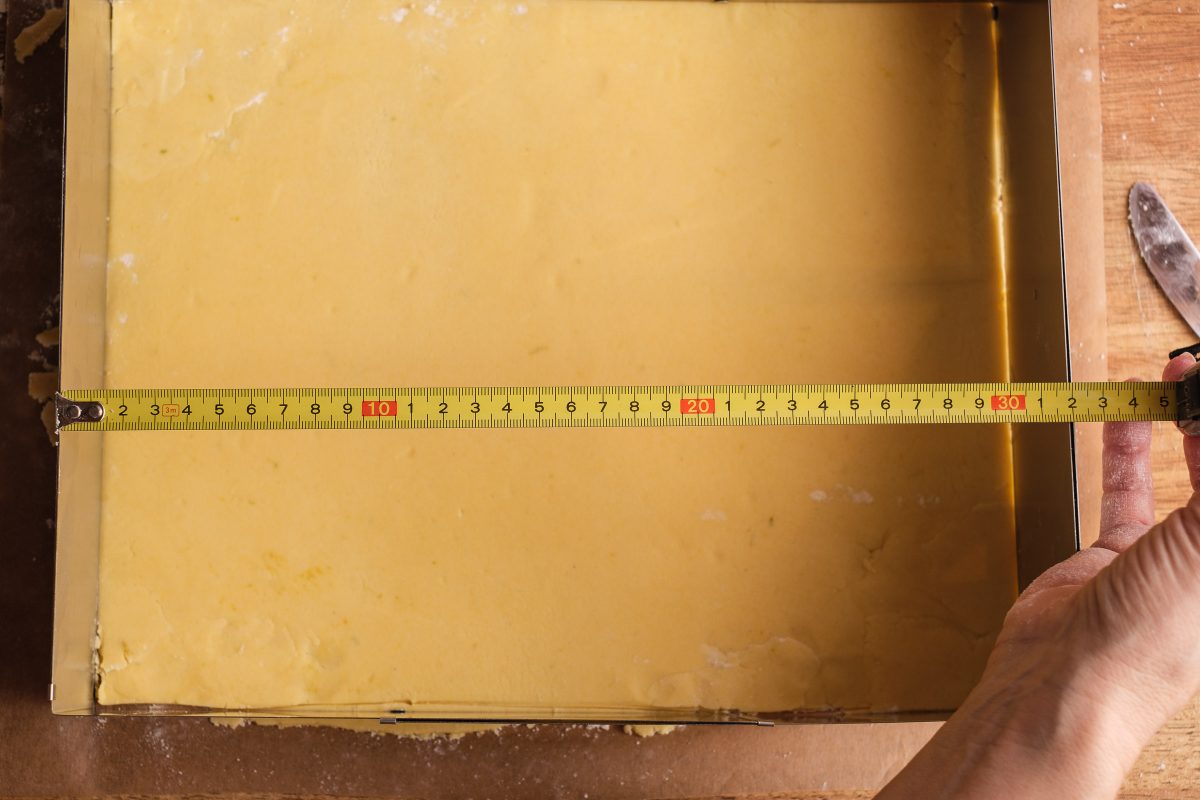
Adjust the cake tin and shortcrust pastry size.
Fit dough
Fit the dough into the flexible tart pan.
I recommend that you plan squares with a size of 5 or 6 cm.
The length and width of the cake tin should be divisible by 5 cm and 6 cm respectively.
Among other things, we tested 4 cm squares, but these are optically too small for us.
Preparation step 19 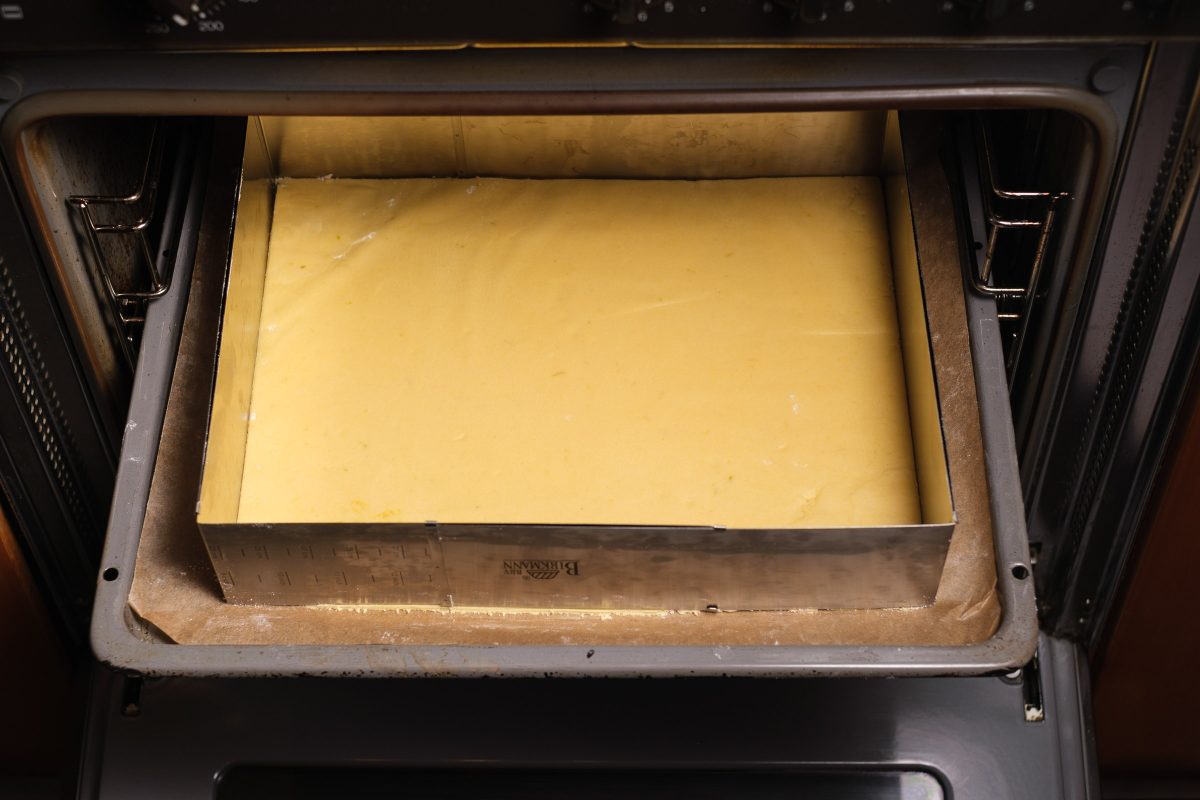
Put the shortcrust pastry for nut corners in the oven and bake.
Bake dough
Bake the shortcrust pastry base in a preheated oven at 180°C for 14-16 minutes until light brown.
Preparation step 20 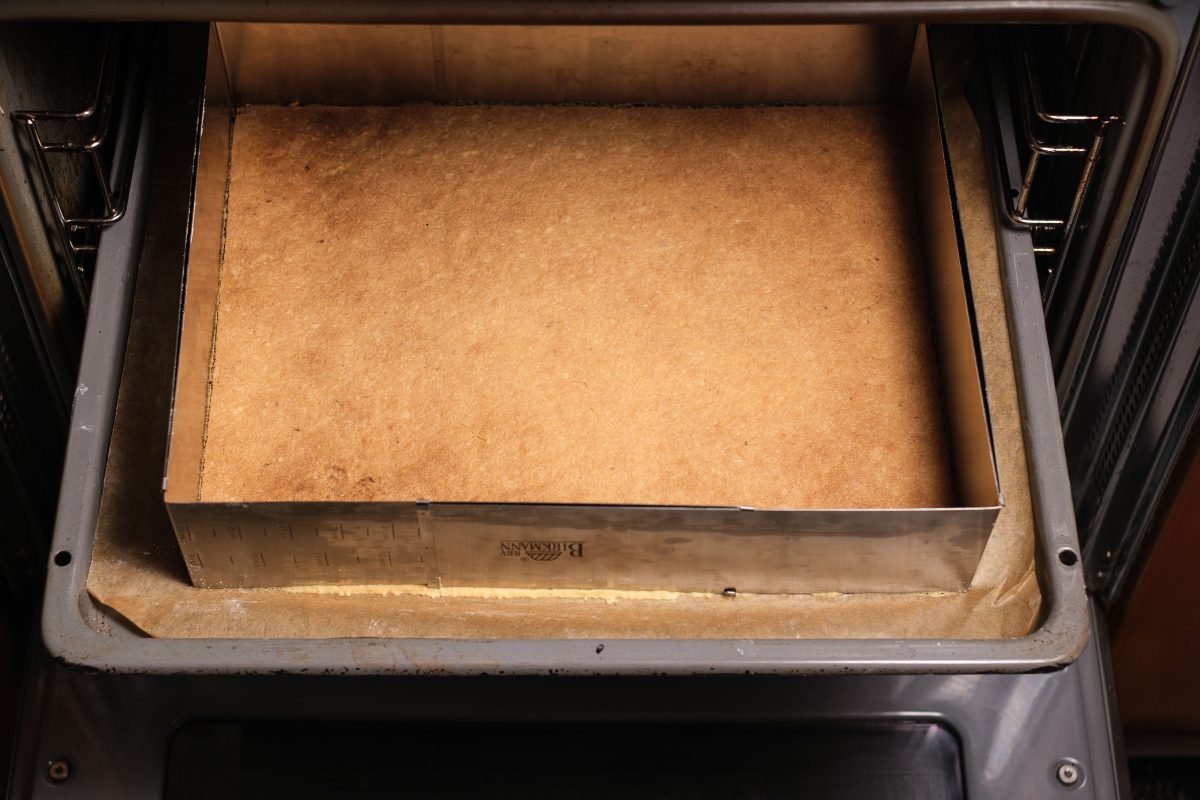
Baked shortcrust pastry for nut corners
Remove dough
When the baking time is up, take the baked shortcrust pastry base out of the oven and place it on the worktop.
Preparation step 21 
Spread the nut corners with the apricot jam.
Apricot jam
Spread the apricot jam on the baked shortcrust base while it is still hot.
Preparation step 22 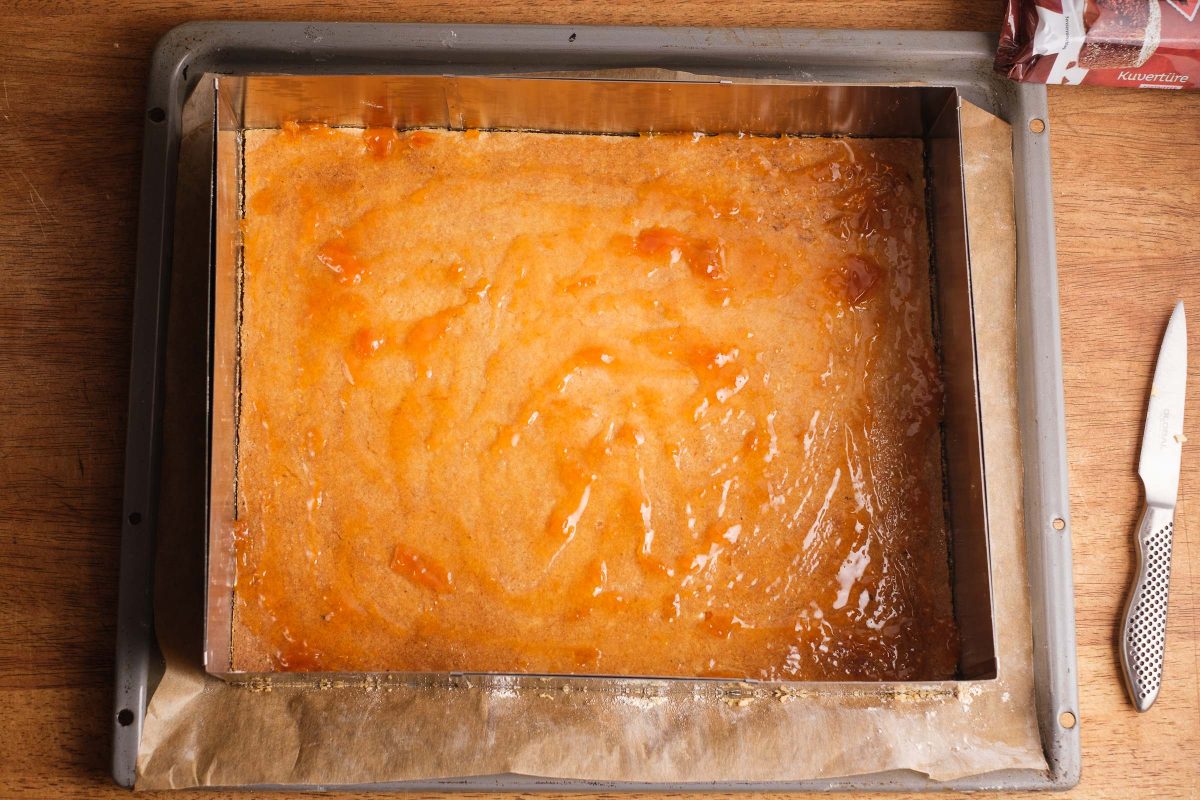
Spread the entire surface of the shortcrust pastry with apricot jam
Apricot
Spread the apricot jam over the entire surface of the shortcrust pastry base, including the corners.
Nut mass
Preparation step 23 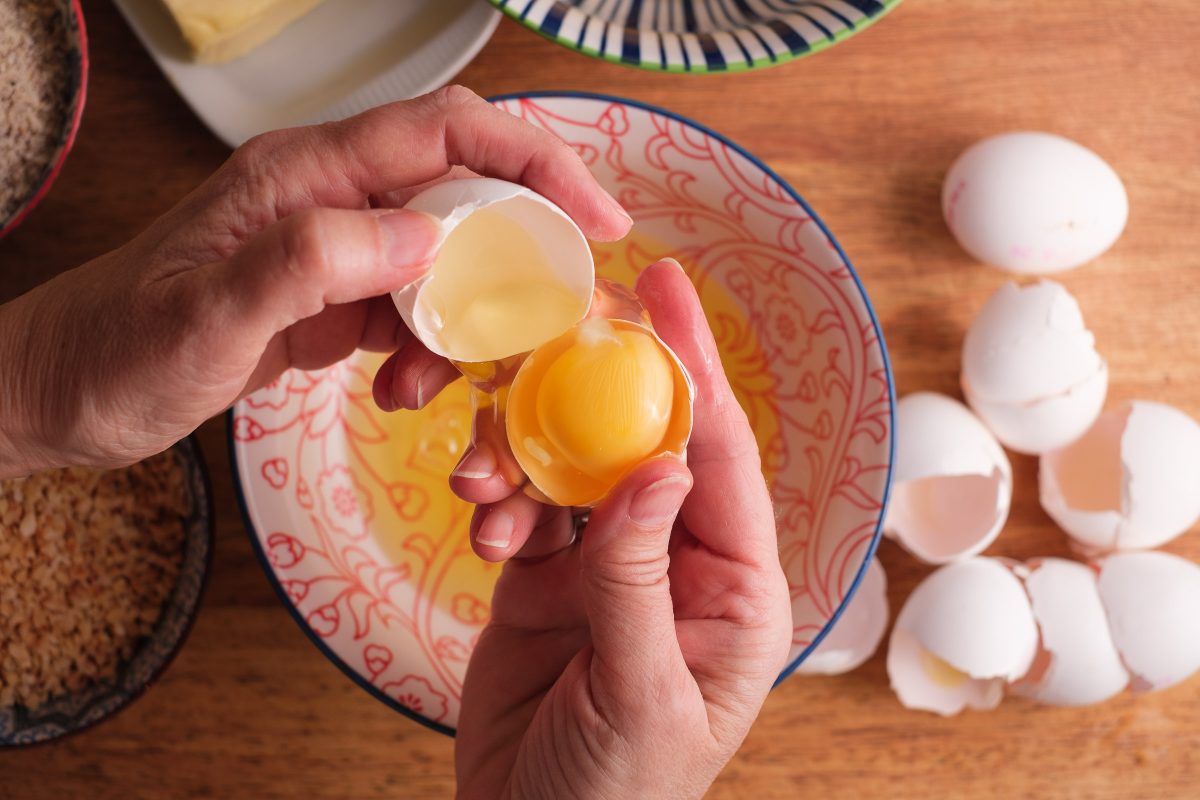
Separate the raw eggs to prepare the nut mass for nut wedges
Separate eggs
Separate the eggs and place the yolks and whites in separate bowls.
For the recipe we only need the egg whites, you can use the egg yolks for scrambled eggs, for example.
Preparation step 24 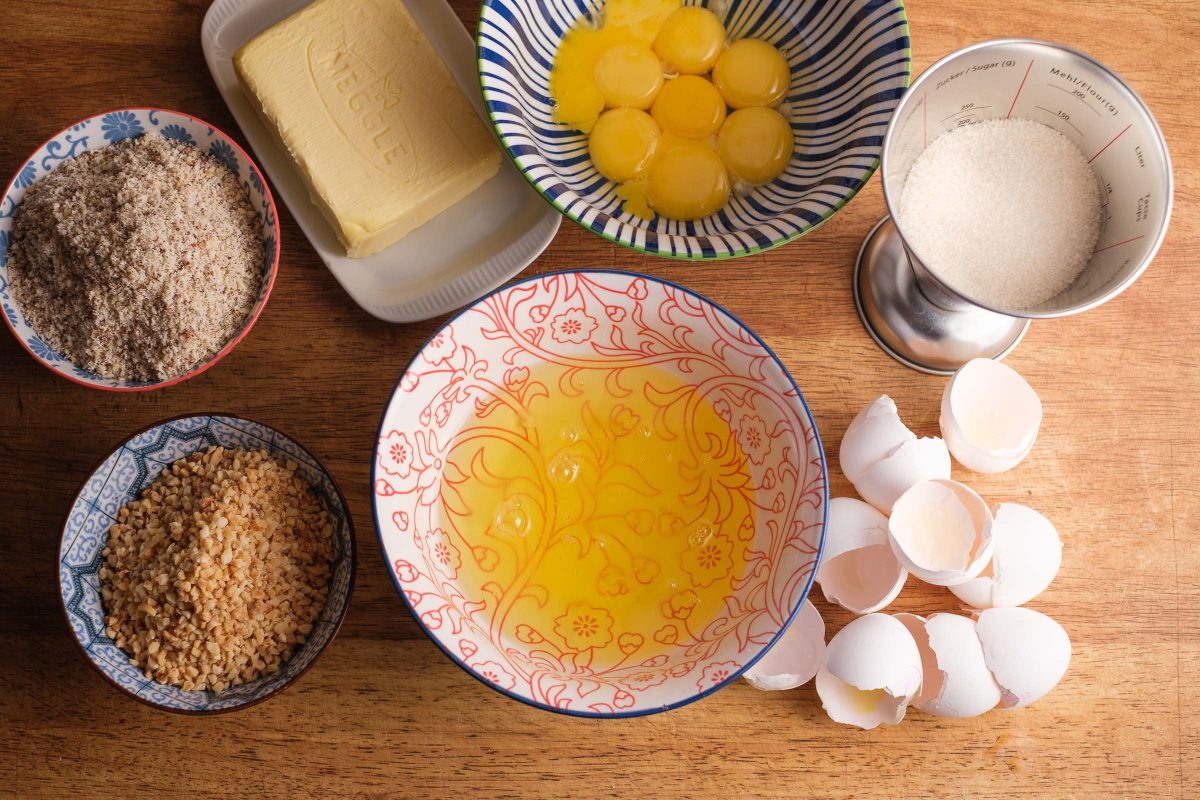
The nut mixture Ingredients for nut wedges.
Nut paste
Weigh out the ingredients for the nut filling and have them ready:
-> Chopped hazelnuts
-> Grated hazelnuts
-> butter
-> protein
-> Sugar
-> strength
-> Gingerbread spice
Preparation step 25 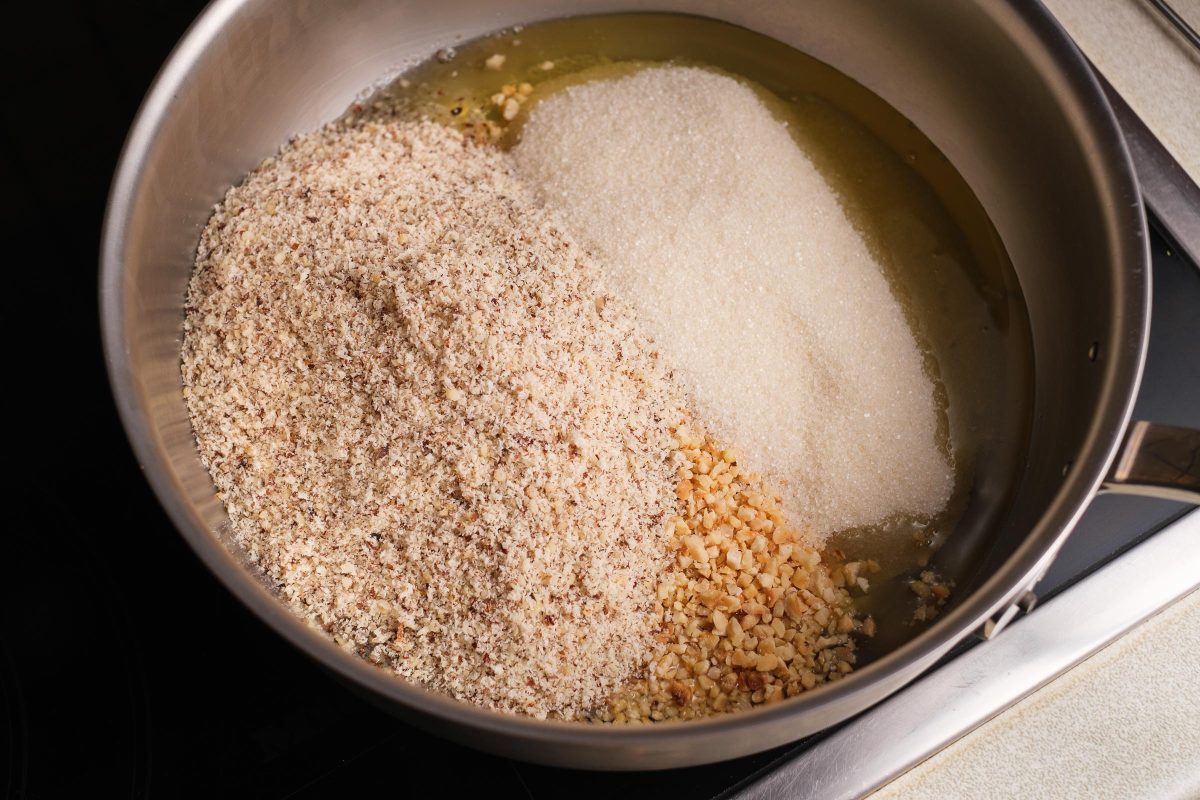
Nut paste ingredients in pot
Prepare mixture
Put the egg whites and sugar in a saucepan with the hazelnuts.
Preparation step 26 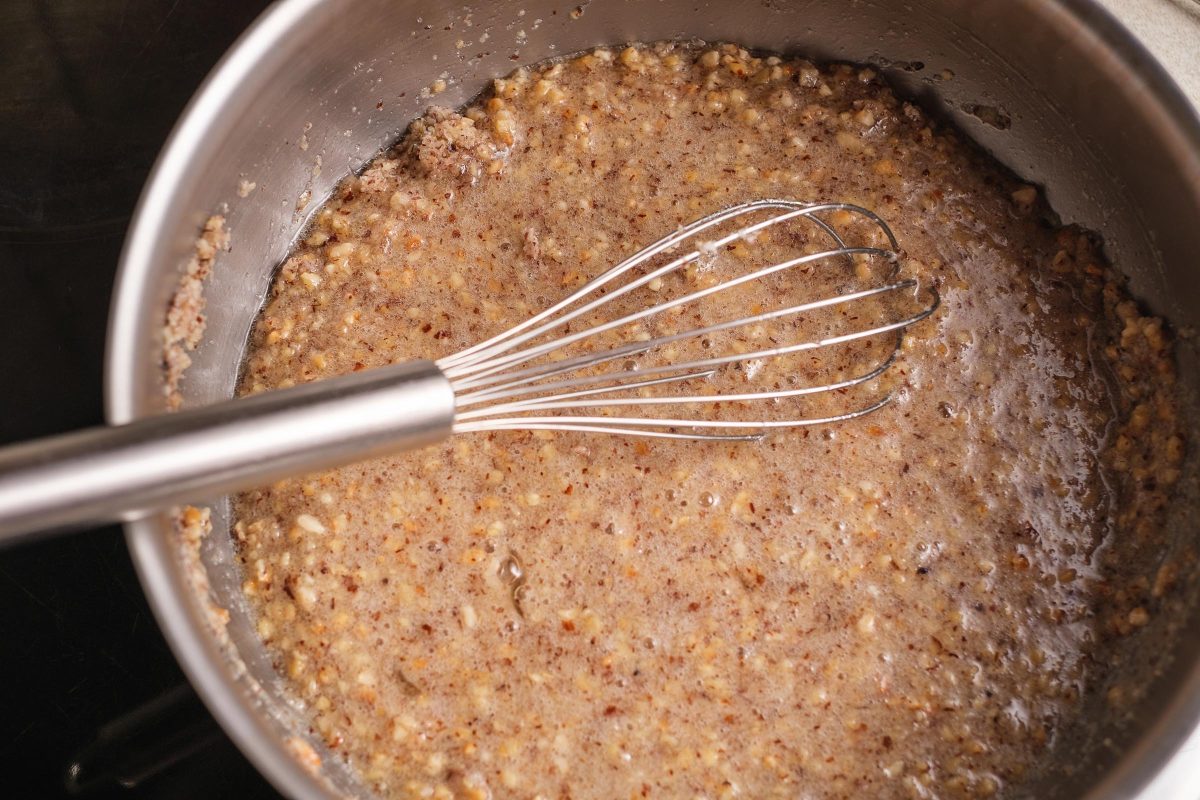
Nut mixture Ingredients for nut wedges mixed in a saucepan.
Stir mixture
Stir the nut mixture with a whisk.
Preparation step 27 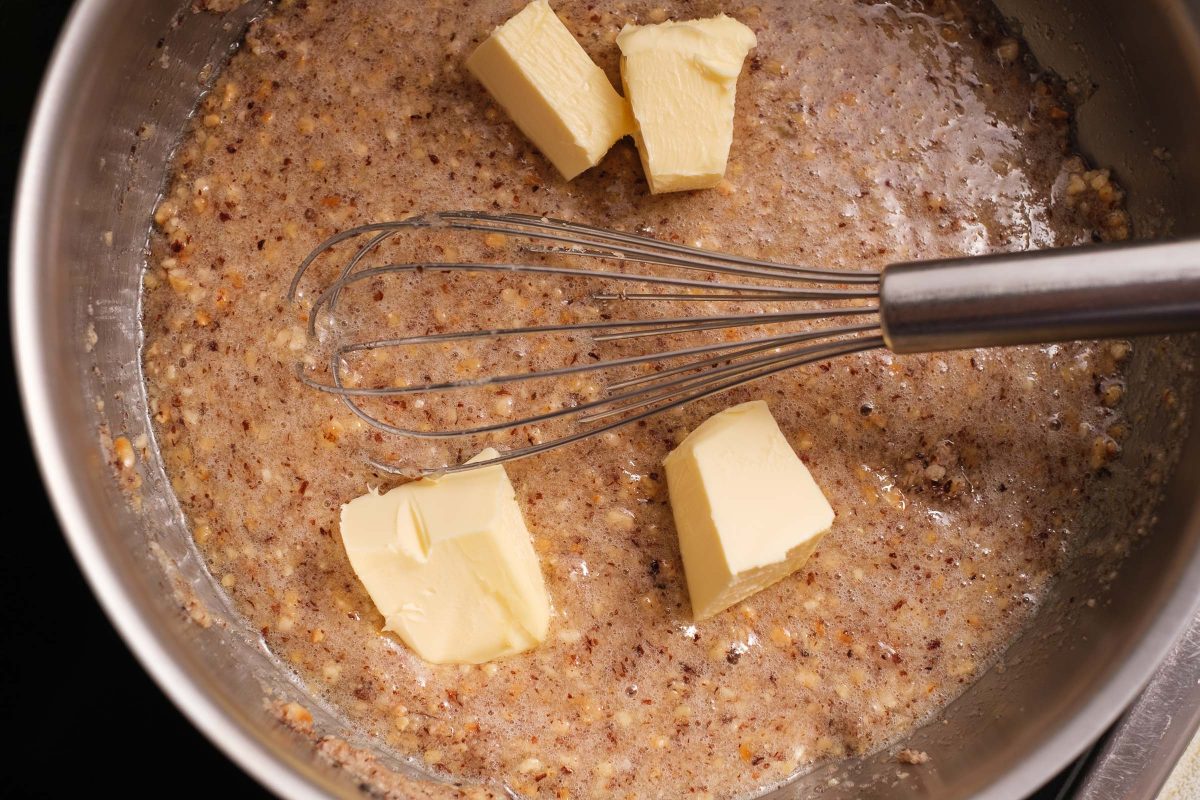
Add butter to the nut mass
Add butter
Add the butter to the nut mixture.
Preparation step 28 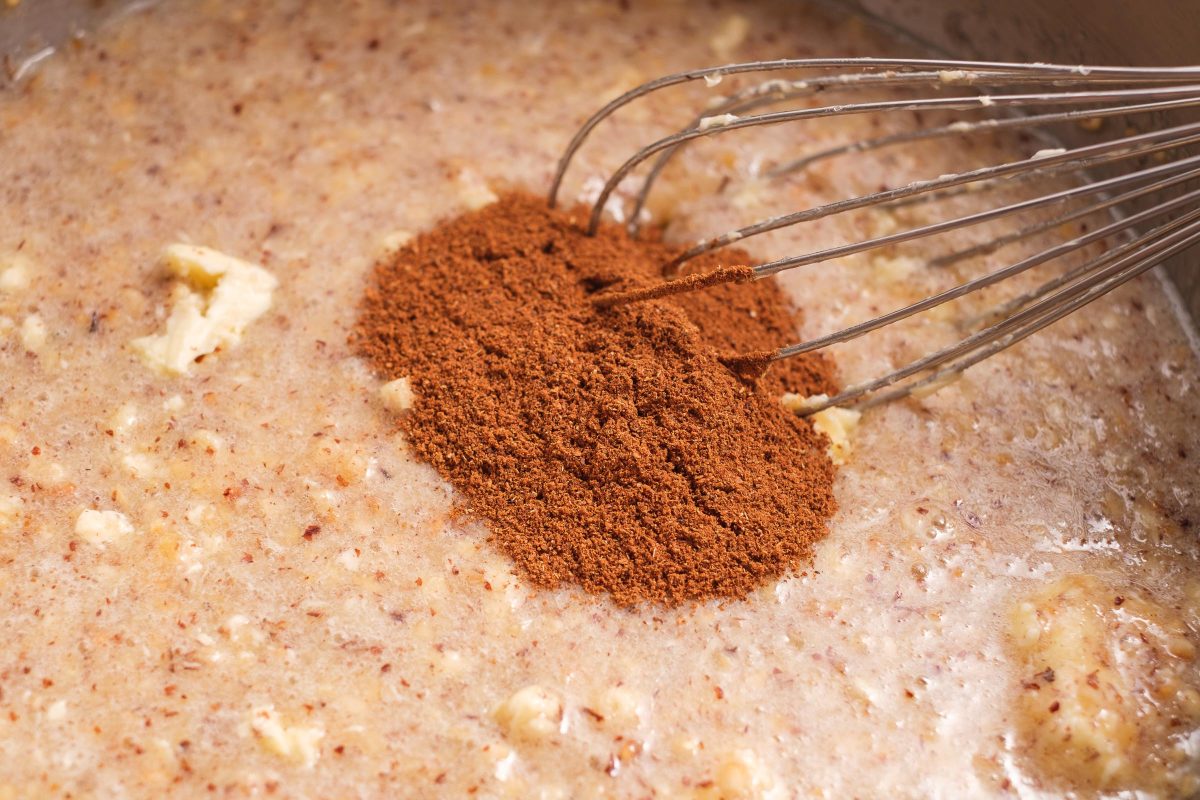
Supplement the nut mass with gingerbread spice
Add spice
Add the gingerbread spice to the nut mixture.
Preparation step 29 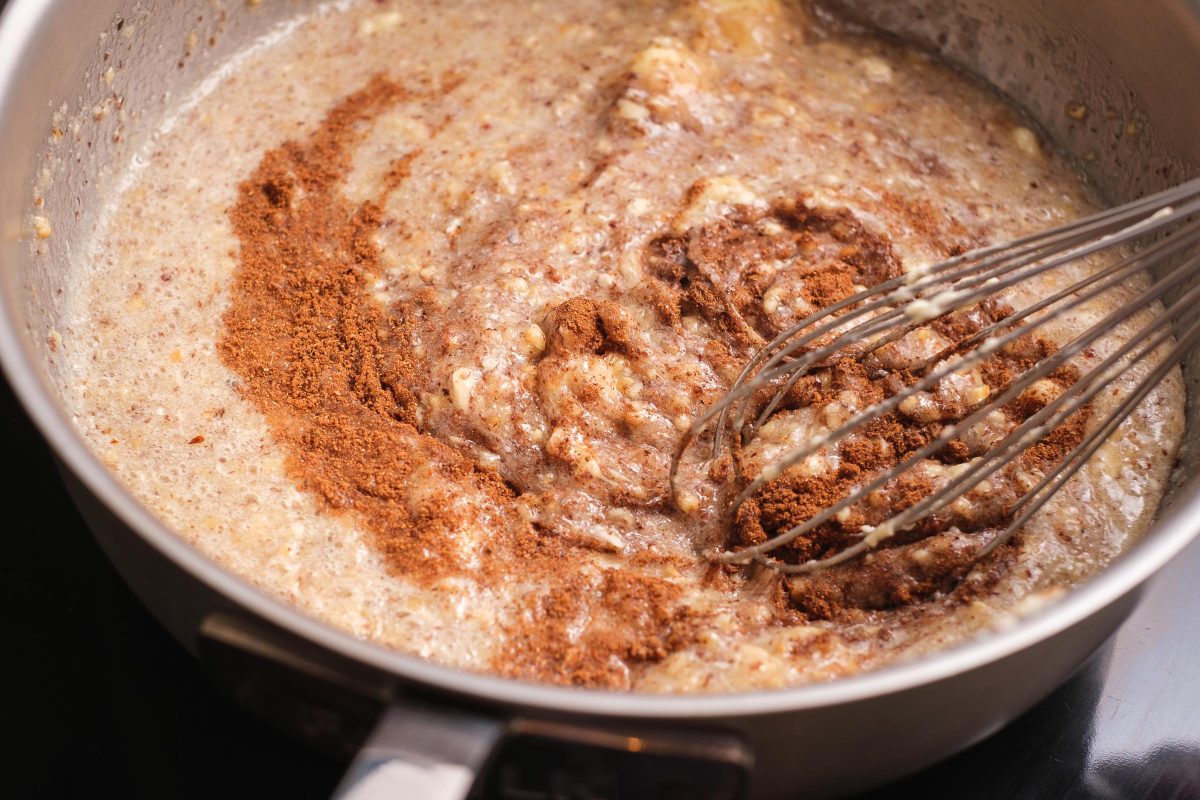
Stir the gingerbread spice into the nut mixture.
Stir spice
Mix in the gingerbread spice.
Preparation step 30 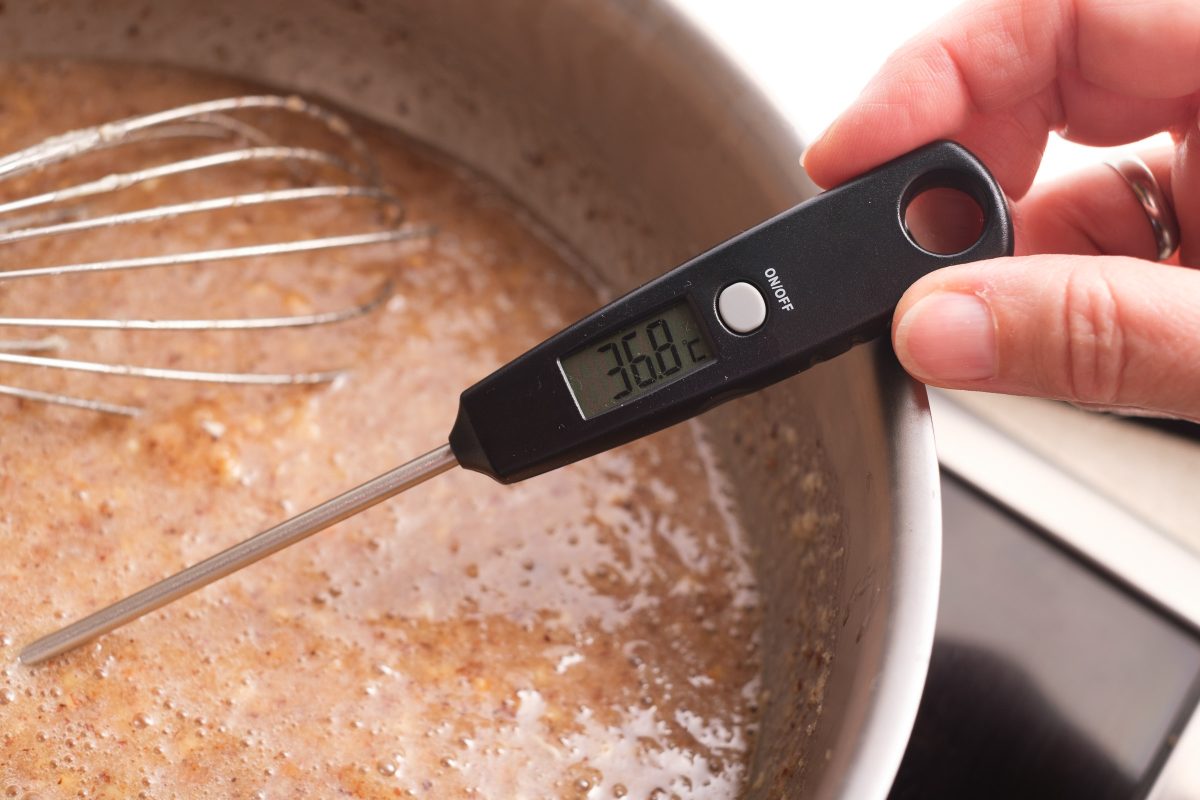
Check the temperature of the nut mass.
Heat mass
Heat the nut mixture to a temperature of 65°C while stirring.
Preparation step 31 
Stir the cornstarch into the nut mixture
Supplement cornstarch
Stir the starch into the nut mixture.
A notice:
Adding more cornstarch will make the nut layer firmer.
Preparation step 32 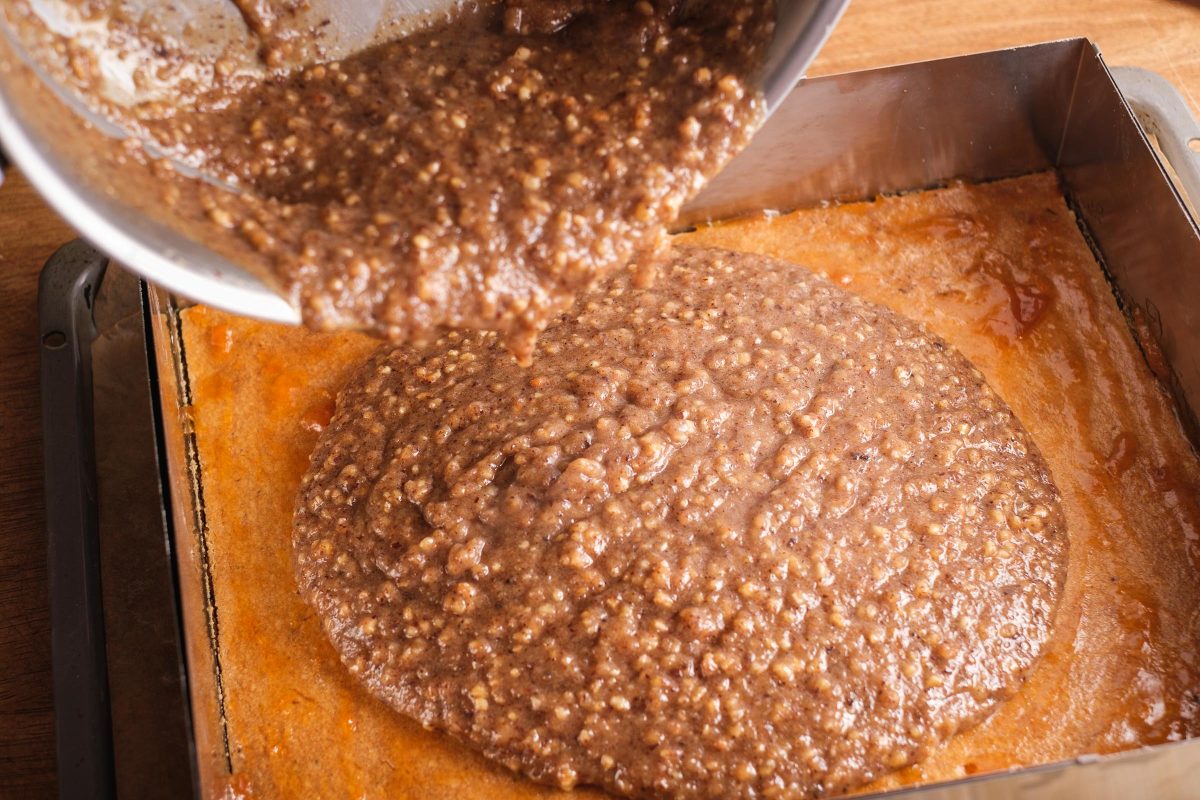
Pour the nut mixture onto the shortcrust pastry base.
Apply mass
Pour the nut mixture onto the prepared shortcrust pastry base.
Preparation step 33 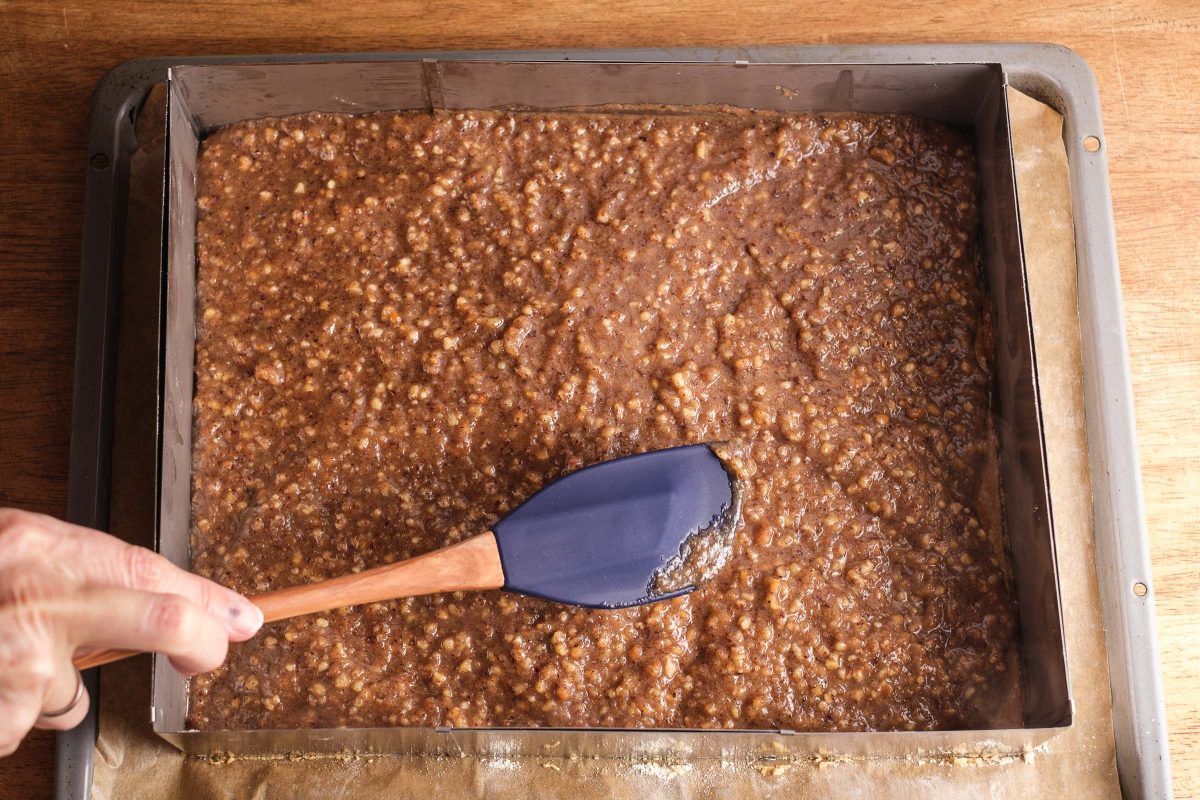
Spread the nut mixture
Spread mass
Spread the nut mixture evenly in the mold with a spatula.
Preparation step 34 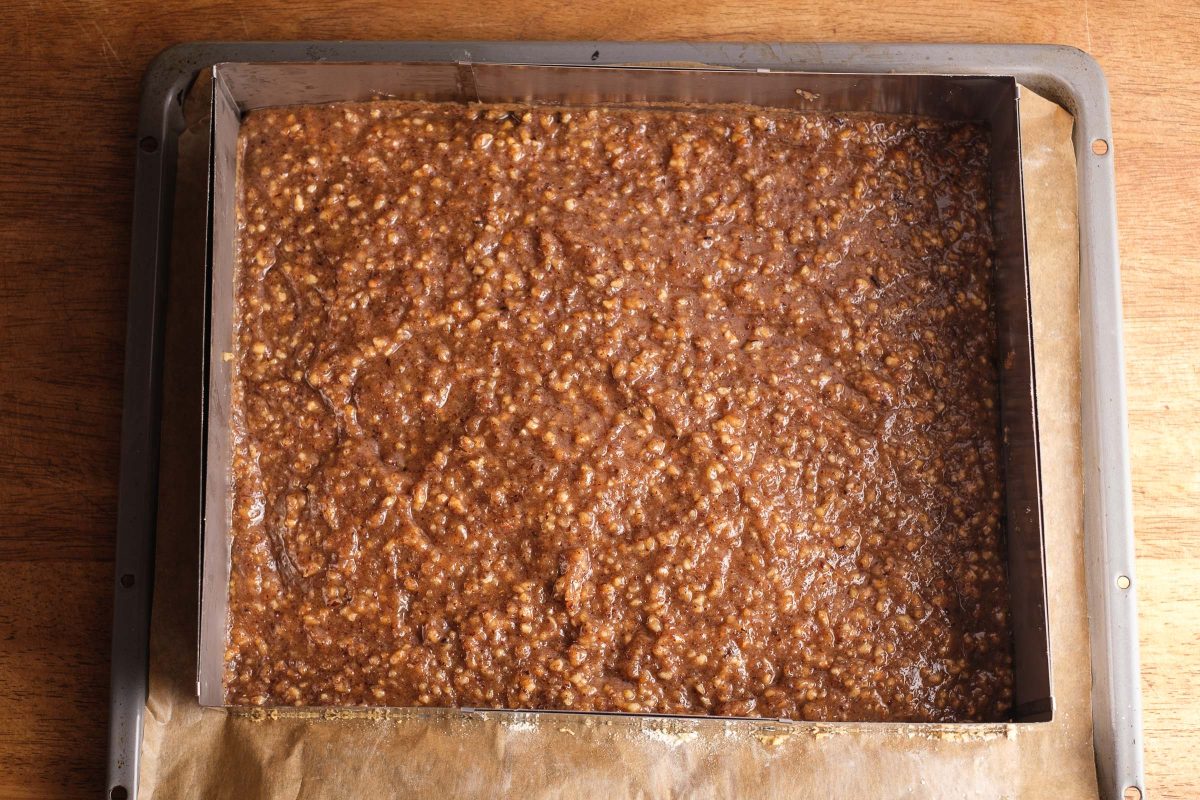
Spread the nut mixture evenly
Provide cake
Let the nut mixture rest for 5 minutes.
Preheat the oven at 180°C top and bottom heat.
Preparation step 35 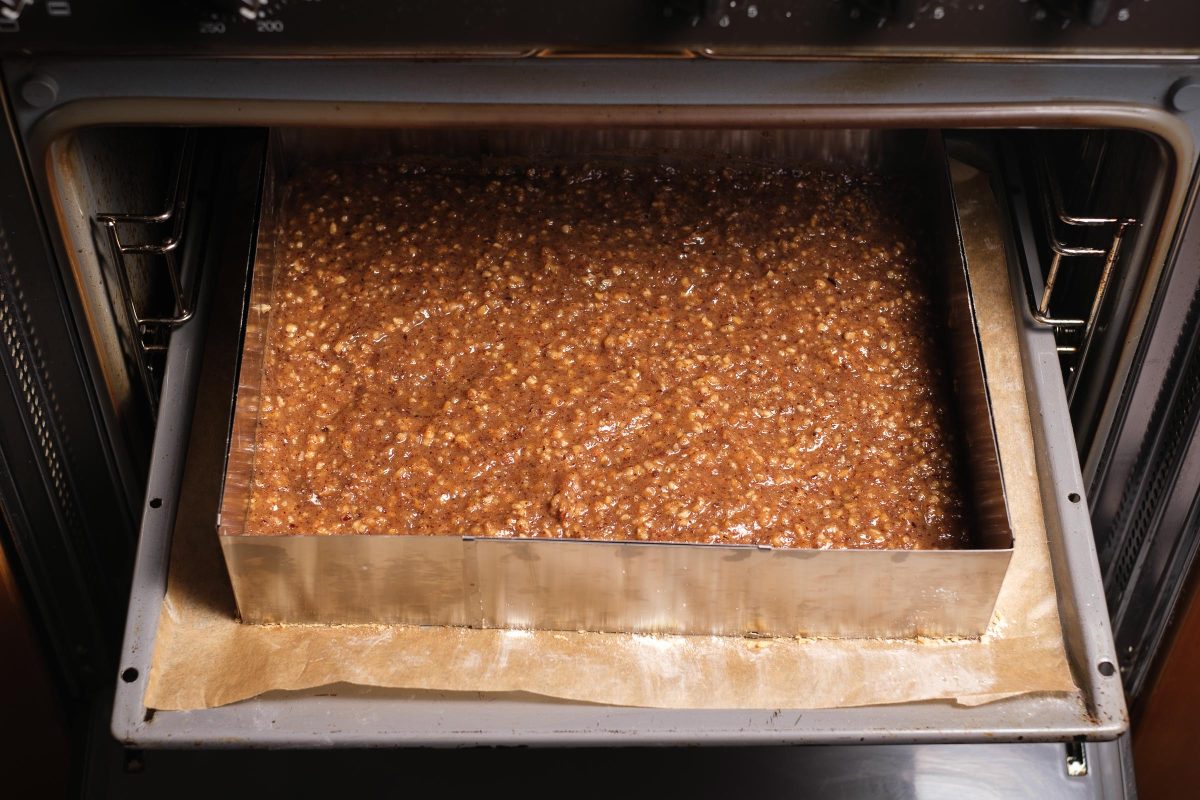
Bake nut cakes
Bake
Place the baking sheet in the oven and bake for 10-11 minutes.
Preparation step 36 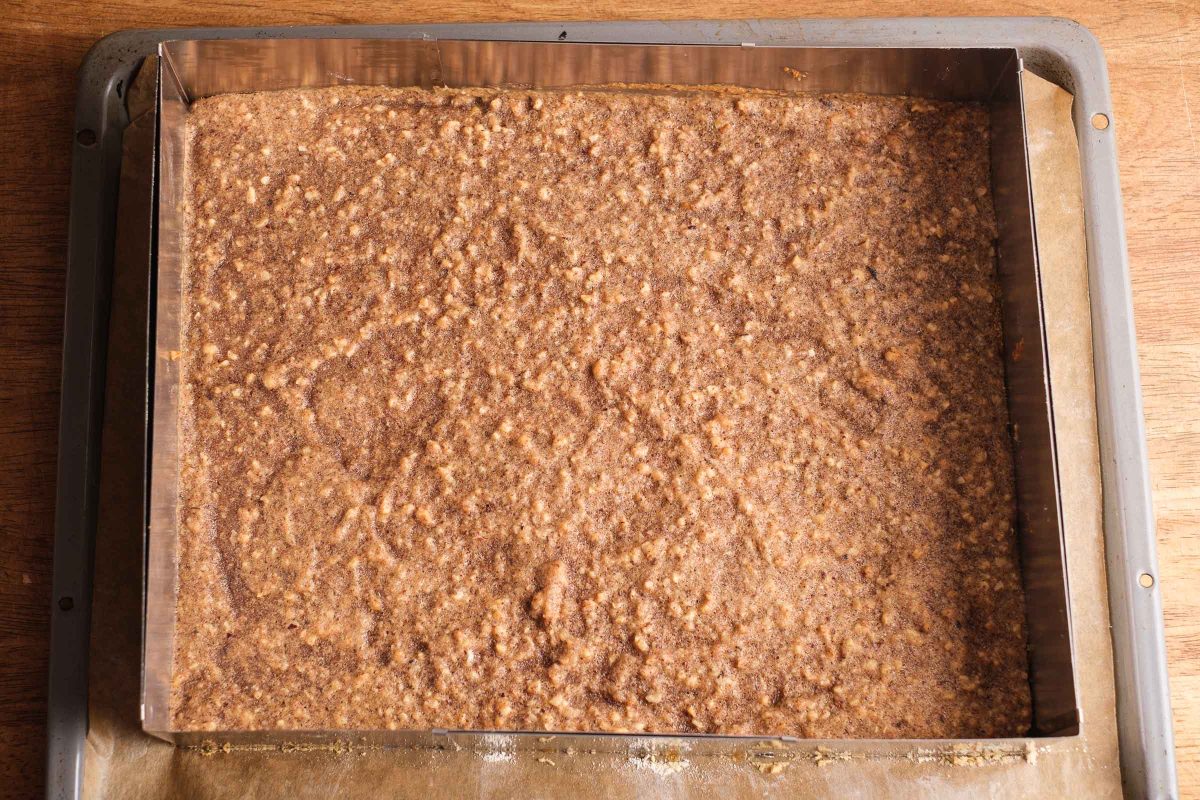
Baked nut corners cake
Remove cake
When the baking time is up, remove the baked nut cake and set it aside on the worktop.
Preparation step 37 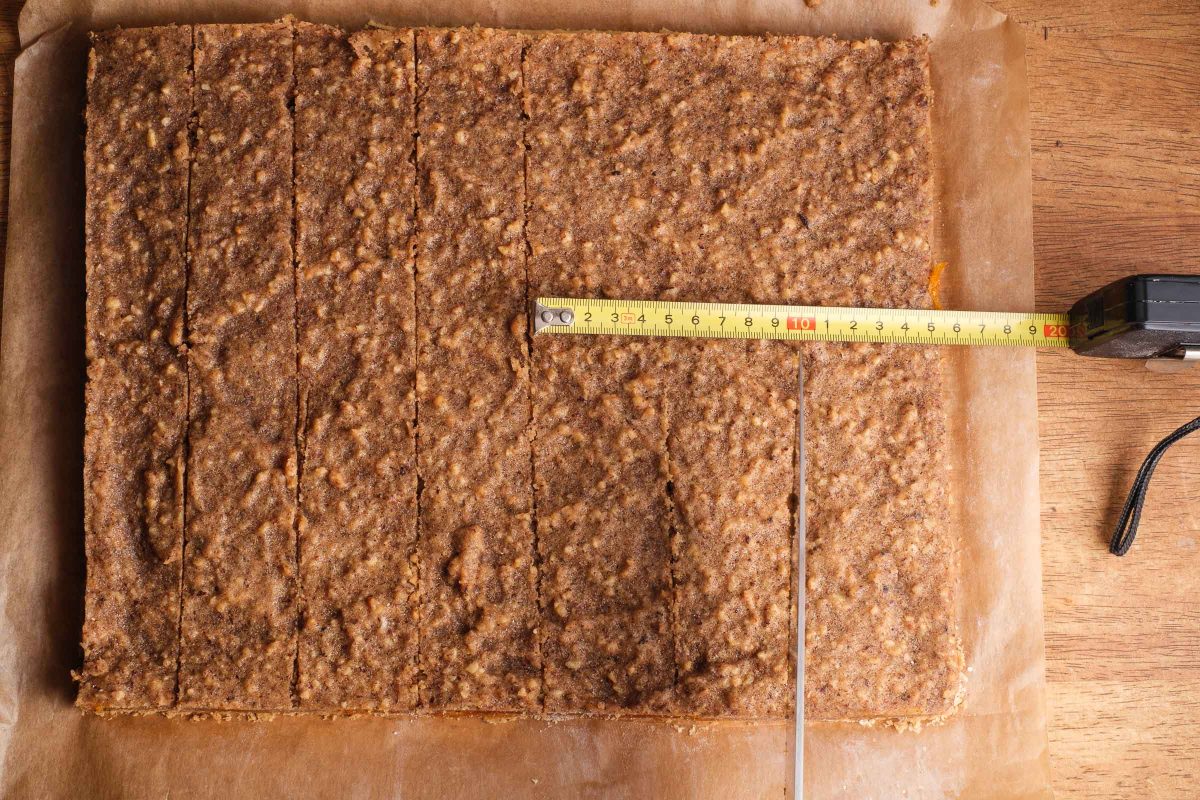
Measure the cutting of the nut corners with the measuring tape.
Cut stripes
Carefully remove the flexible cake tin.
To do this, cut along the shape with a knife and then lift up.
Using a tape measure, cut out 5cm or 6cm strips.
Preparation step 38 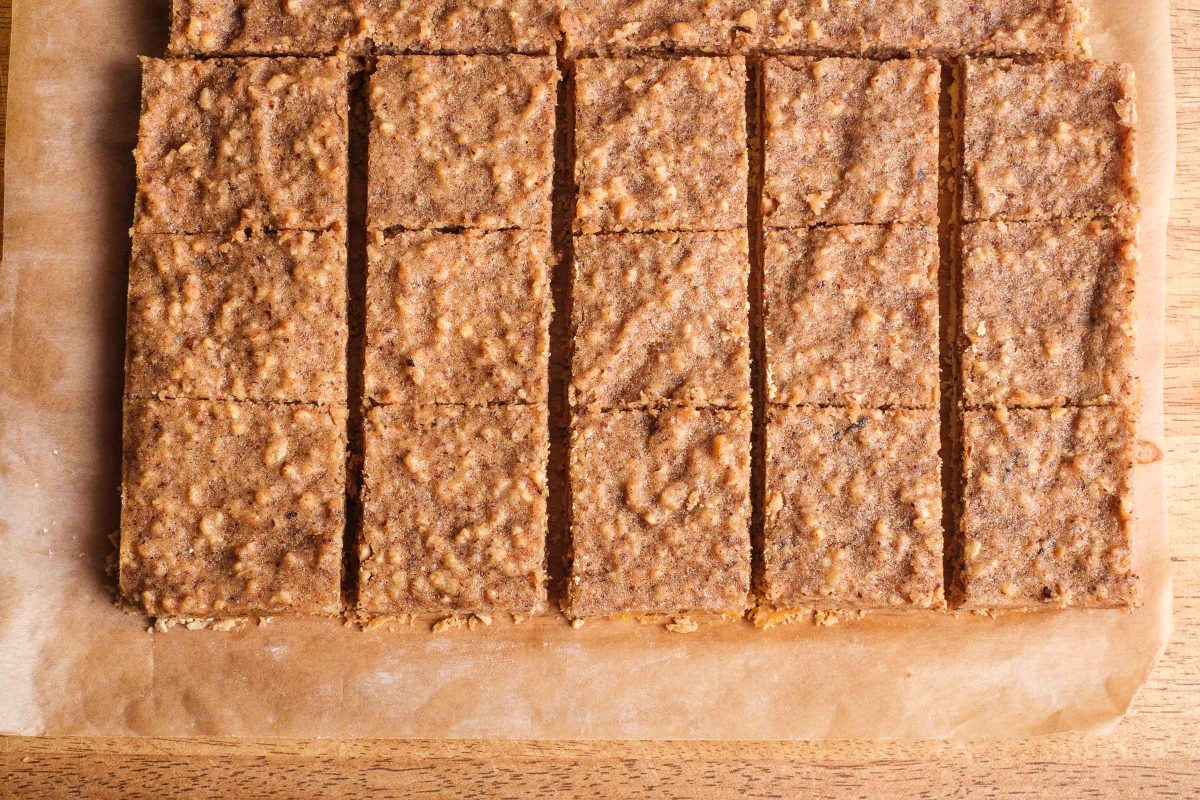
Cut squares out of the nut corners of the cake
Cut squares
Then cut the strips into squares.
Preparation step 39 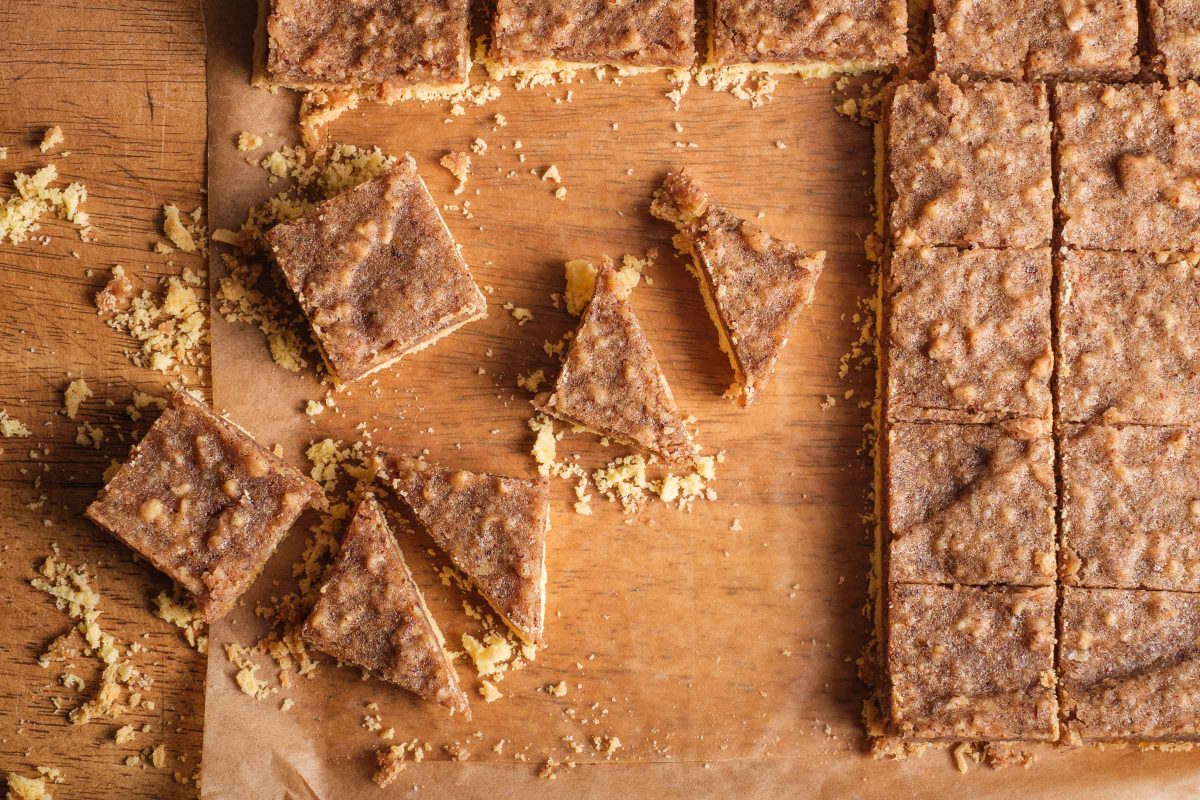
Cut nut corners
Cut corners
Carefully cut the cut squares into triangles.
Prepare glaze
Preparation step 40 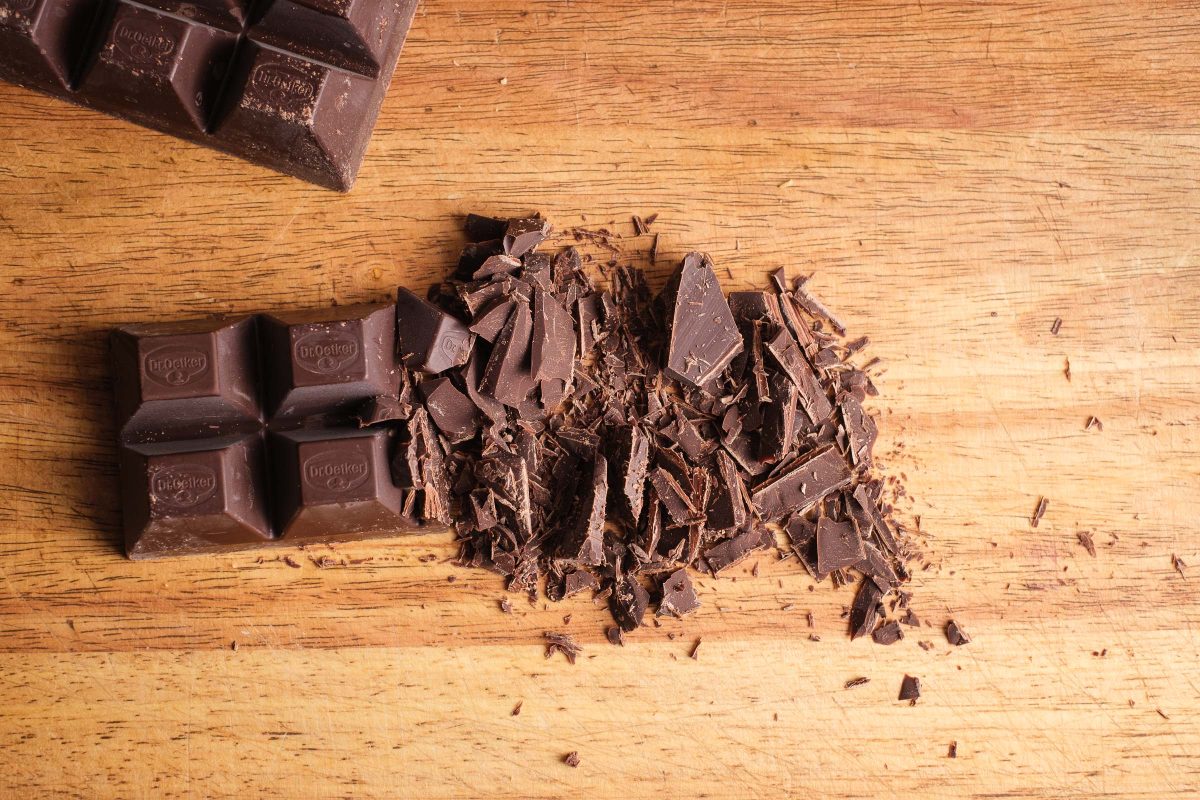
cut chocolate.
Cut chocolate
Using a large chef’s knife, cut the chocolate into small pieces on a sturdy kitchen board.
Slowly melt half of the chopped chocolate in the saucepan at the lowest heat setting.
Preparation step 41 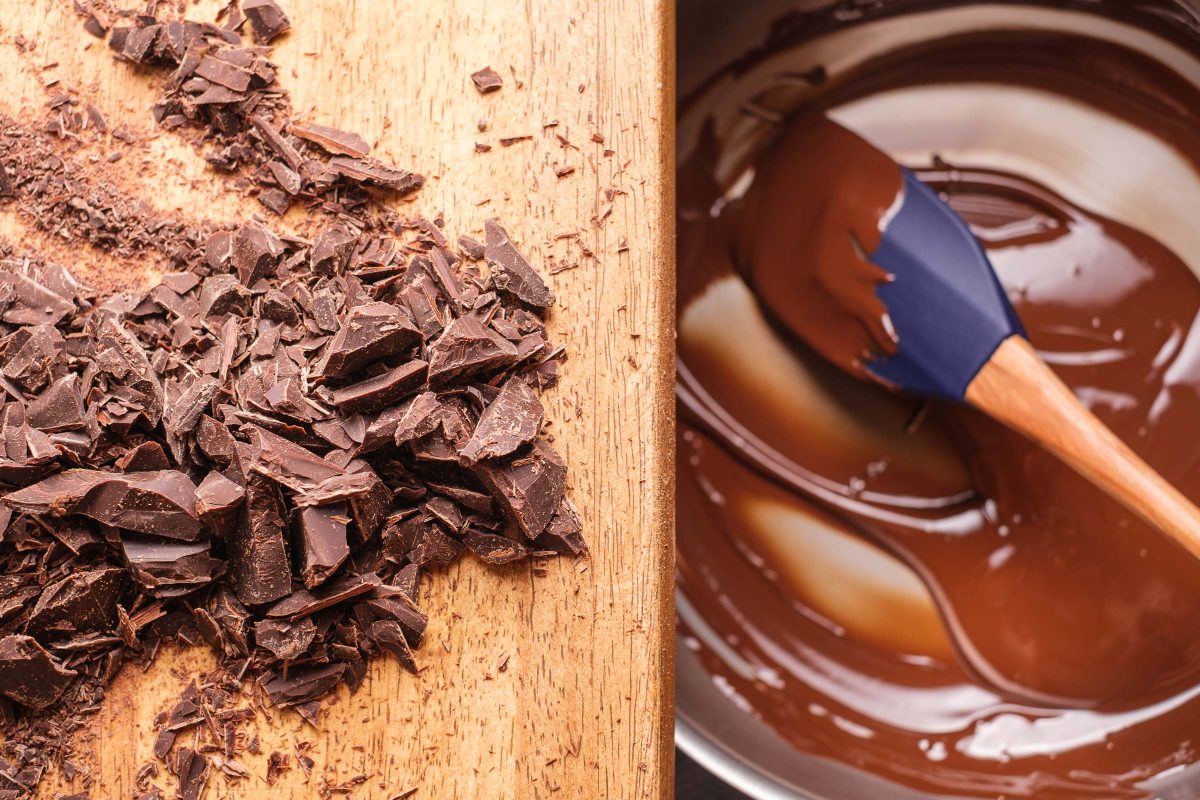
Add chocolate to temper
Add chocolate
Add the second half of the chopped chocolate to the already melted chocolate.
Preparation step 42 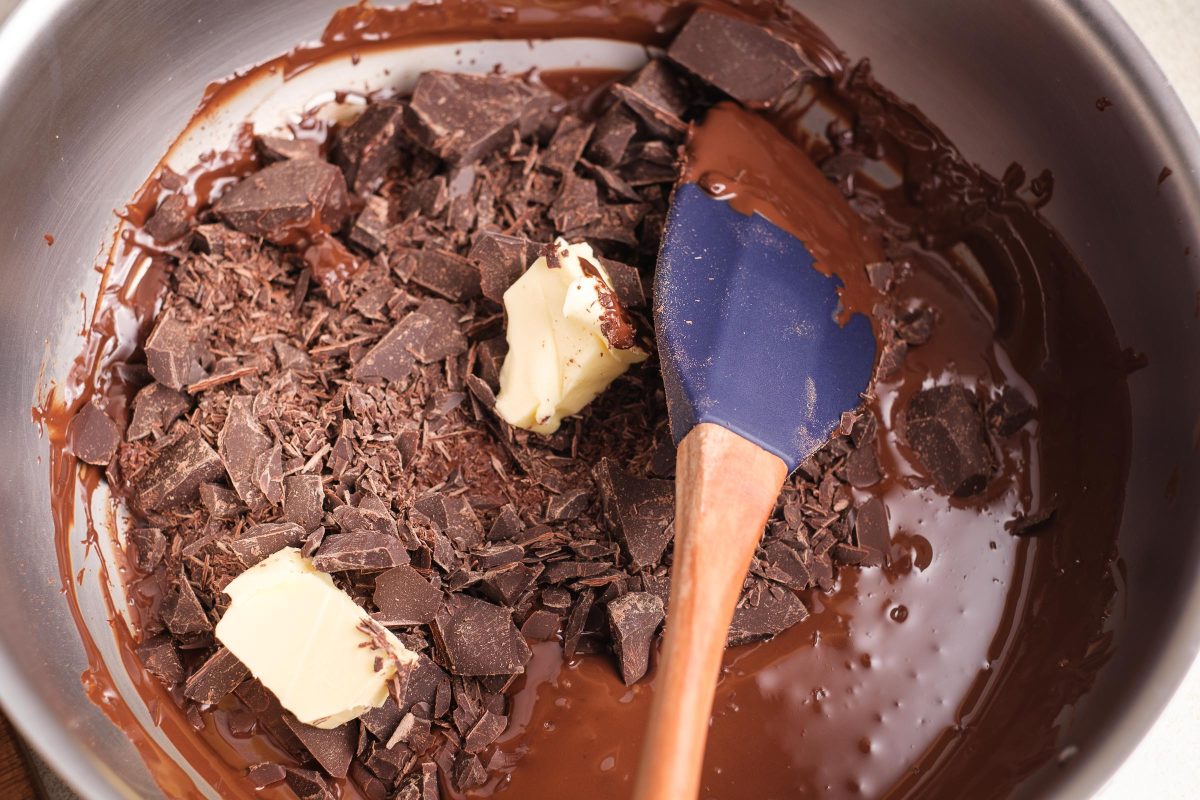
Temper the chocolate
Temper chocolate
Add the butter to the chocolate and melt without adding heat.
The melted chocolate should be in the temperature range around 28°C.
Briefly heat the chocolate to 32°C, then prepare to dip the nut cookies.
Preparation step 43 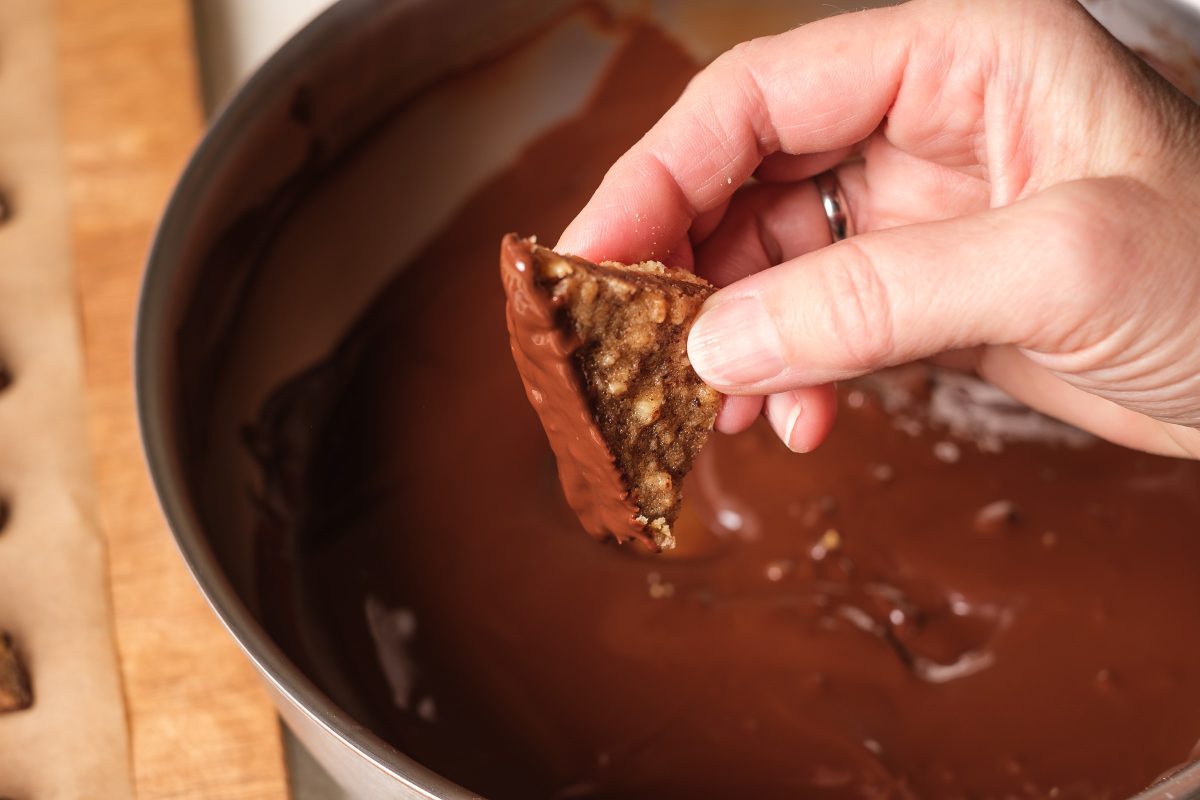
Dip the nut corners in chocolate.
Dip cookies
Dip the long side of the nut cookies corners in the chocolate.
Preparation step 44 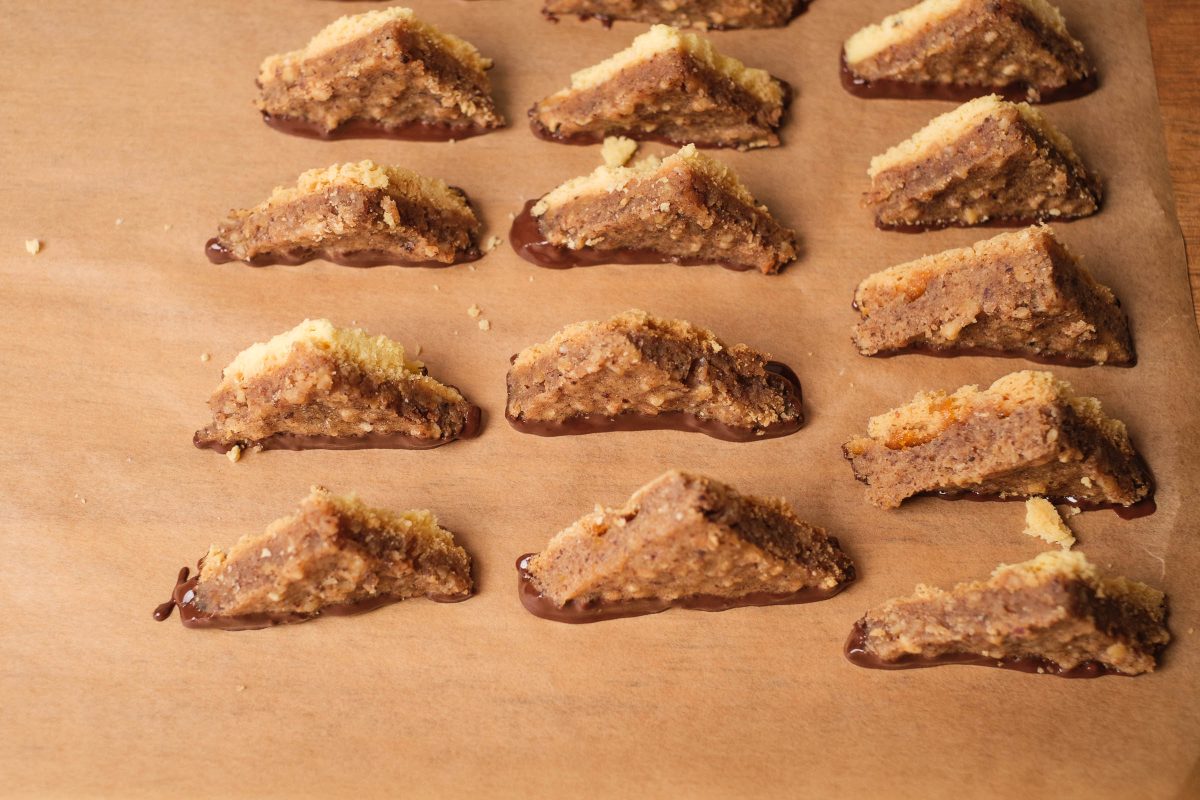
Nut corners with chocolate on baking paper
Cool cookies
Place the dipped side/edge of the nut corners on fresh baking paper.
Preparation step 45 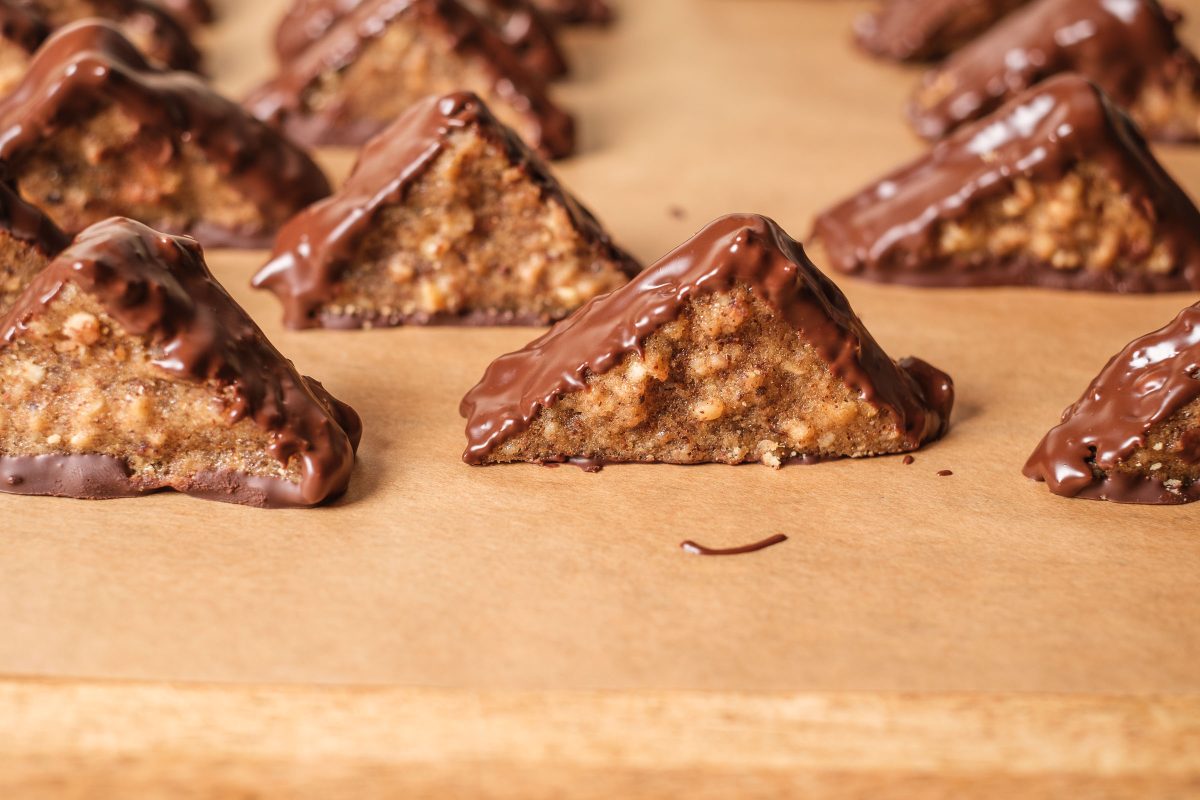
Nut corners with chocolate
Add glaze
In a second step or in a second and third step, dip the other sides/edges of the nut corners in chocolate.
Then let it dry on the parchment paper.
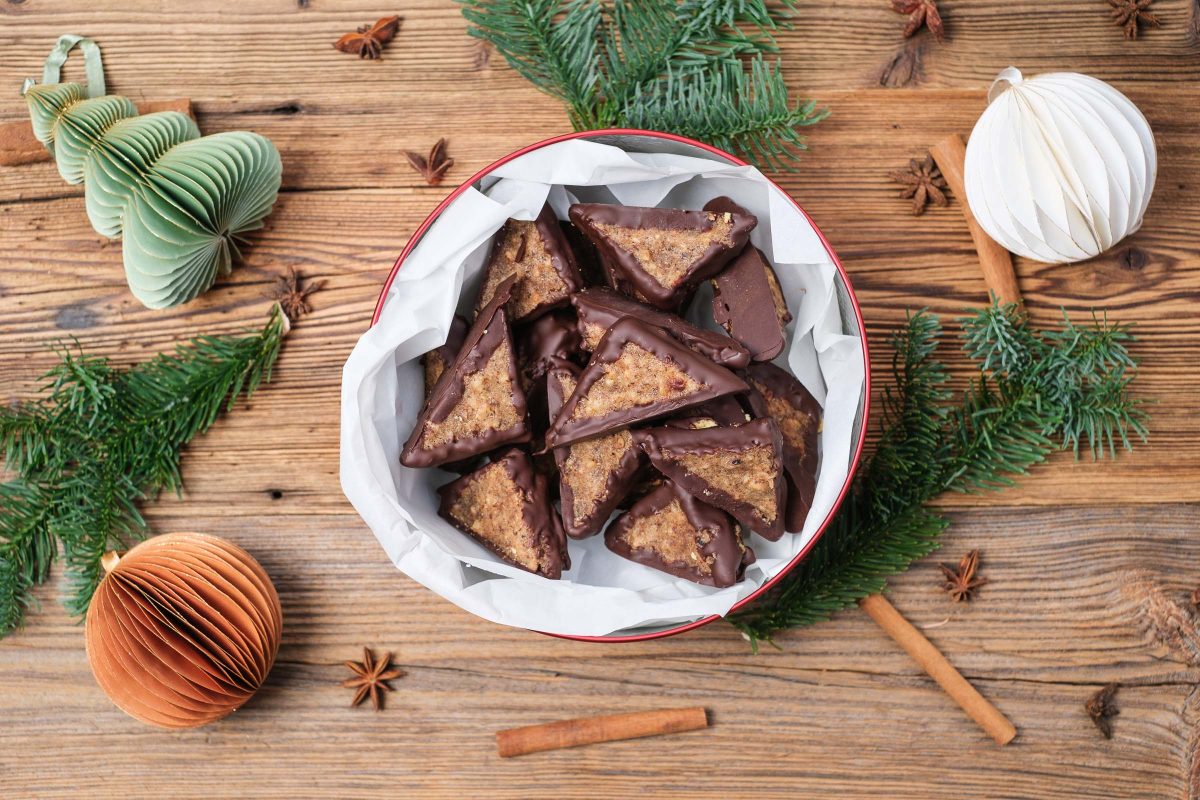
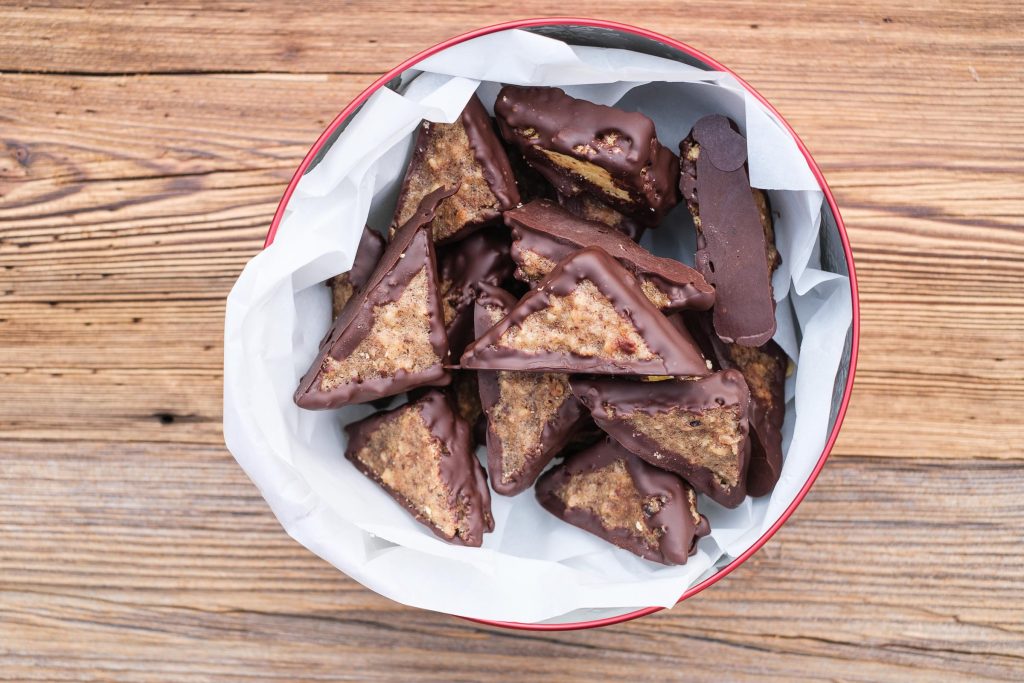
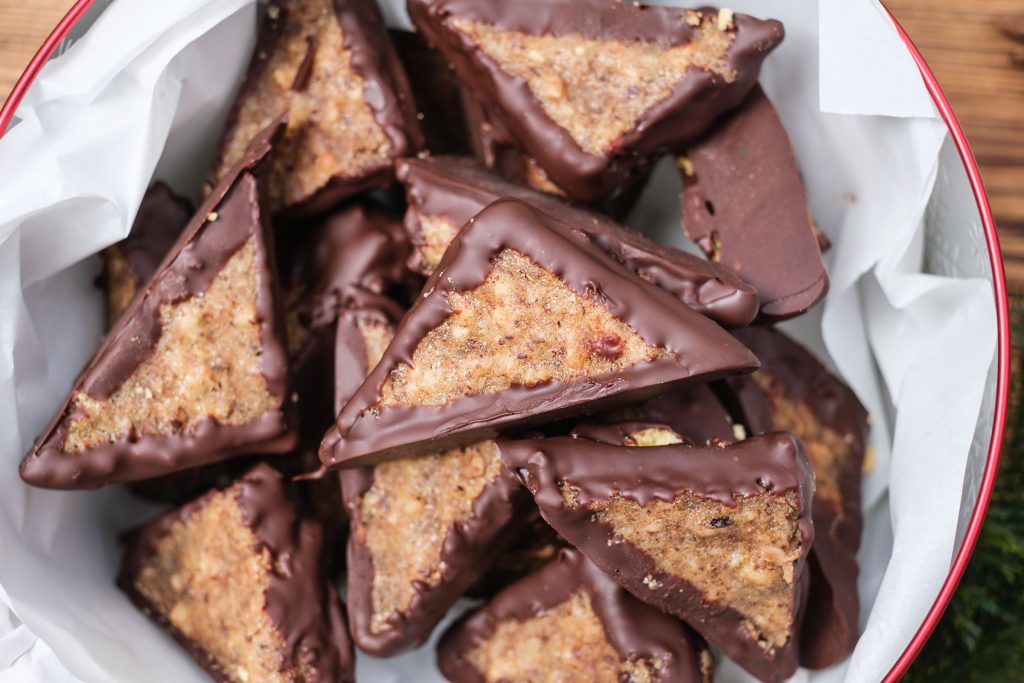
Preparation step 46 Nut Cookies Recipe Image © Thomas Sixt
Pack cookies
After a good 1.5 hours, pack the nut cookies corners in biscuit tins.
Hide the cookie jars well from gnomes and trolls, gnomes and fairies in a cool place.
Video
Tips and information about the ingredients:
-> You can also use 200 g ground hazelnuts.
-> A portion of chopped hazelnuts – instead of ground hazelnuts – gives the nut layer more structure.
-> You can prepare the nut mass with up to 180 g butter.
-> More butter makes the nut mixture finer and softer.
-> When using gluten-free flour, please reduce the baking time of the shortcrust pastry base.
-> We used the gluten-free flour Schär Mix for biscuits. You can also prepare the dough with wheat flour.
–> We liked squares with a size of 5 cm or 6 cm better than squares with a size of 4 cm.
Courses
2. Nutritional Values and Calories
3. Tips For Storing Nut Cookies
You can place your Christmas cookies in large jars or cookie jars after they dry.
I always put sandwich paper in the can.
You can layer the cookies and put paper in between.
A cold place in the pantry, basement or closet will allow the cookies to ripen.
After 3-6 days the taste of the cookies is even better.
4. Info About German Nut Cookies And Corners
Definition:
The nut cookie is a sweet, delicate pastry. It consists of a short pastry base spread with jam and a macaroon mixture with a layer of chopped or grated hazelnuts.
Das Backen dieser “Schichten” erfolgt in mehreren Arbeitsschritten.
Nach dem Backen und Abkühlen werden die Gebäckstücke in Dreiecke oder Rechtecke geschnitten und an den Rändern und Ecken mit Kuvertüre überzogen.
Ein recht ähnliches Gebäck mit Mandeln anstelle von Haselnüssen kennen wir unter der Bezeichnung Mandelschnitte.
Hits:
The pop singer Guildo Horn mentioned raspberry ice cream and nut cookies in his song “Guildo hat euch lieb”:
Lyrics Excerpt:
“Da wär’ ich so gern
War den Sternen nicht mehr all zu fern
Und von dort schick ich Euch meinen Liebesbeweis
Nussecken und Himbeereis”
He purposefully used his fondness for his mother’s nut cookies to make public appearances.
The pastry gained special attention through its participation in the Eurovision Song Contest in 1998.
Records:
On December 17, 2010, the world’s largest nut corner was assembled in Koblenz by the Rhine-Moselle-Eifel Bakers’ Guild.
The record pastry measured 5.6 x 5.7 x 9 meters and weighed 450 kilograms.
The record was confirmed by a judge for the Guinness Book of Records.
4. More Ideas For Christmas Cookies
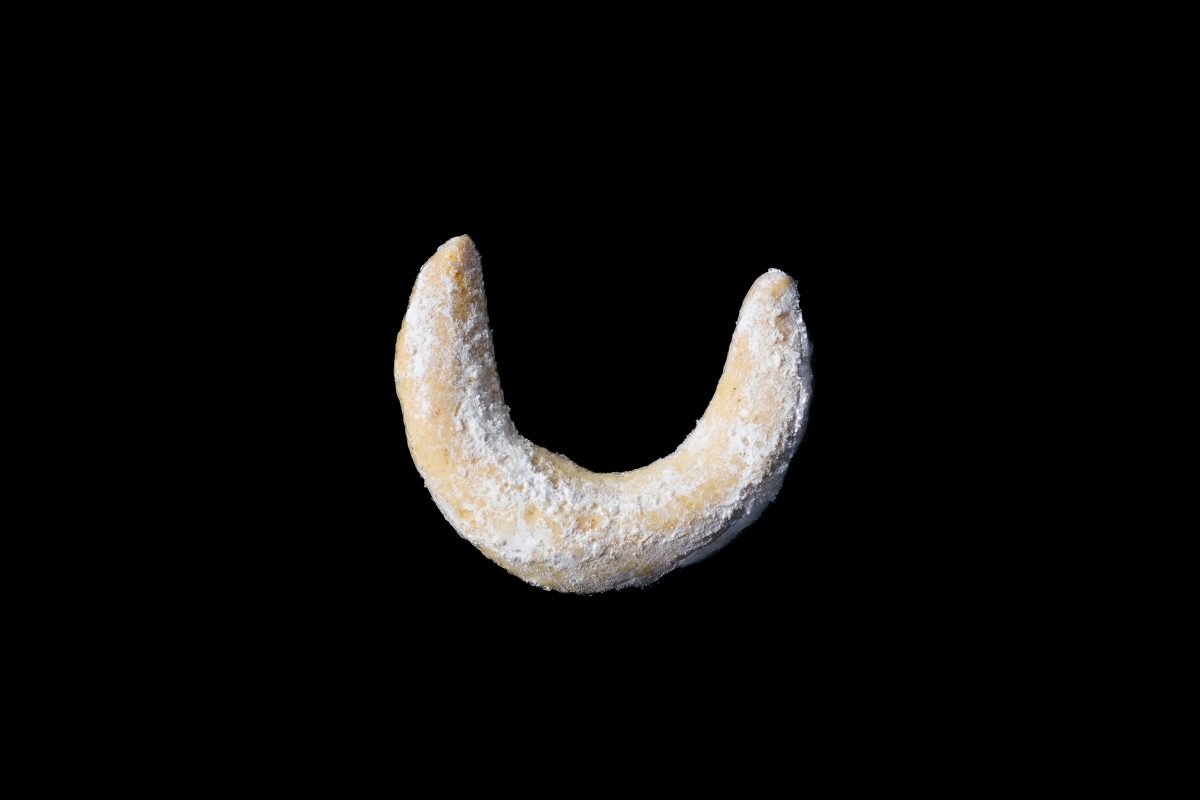
Vanilla Crescent Cookies Recipe In Two Variants
Nut Cookies Recipe

Christmas Cookie Recipe

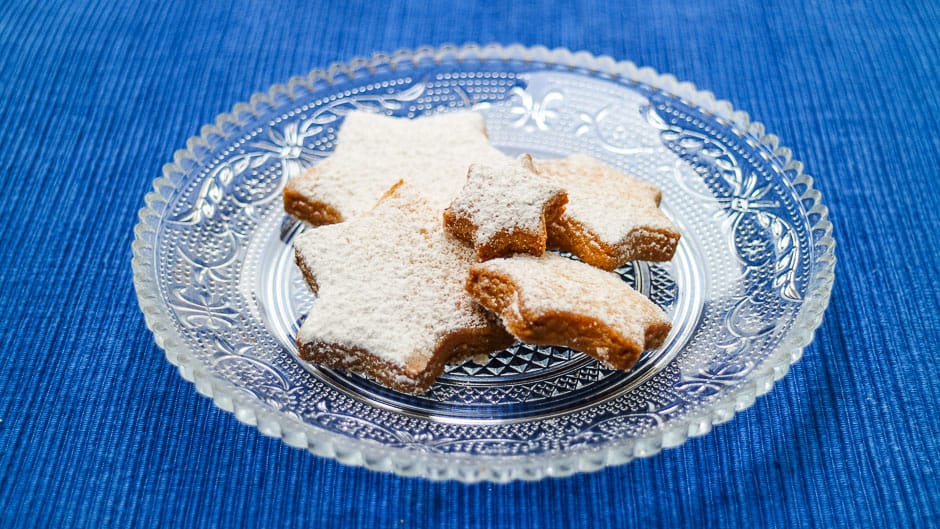
Cinnamon Cookies Recipe
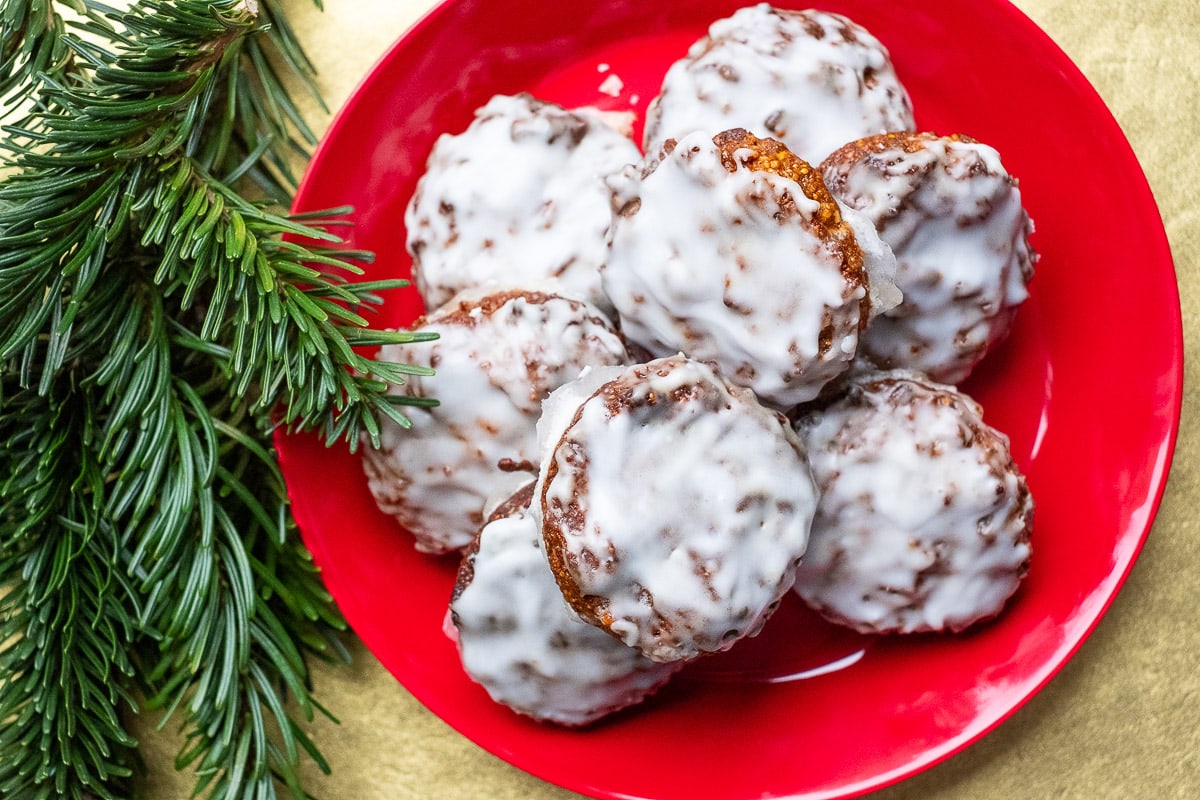
Traditional Gingerbread Recipe
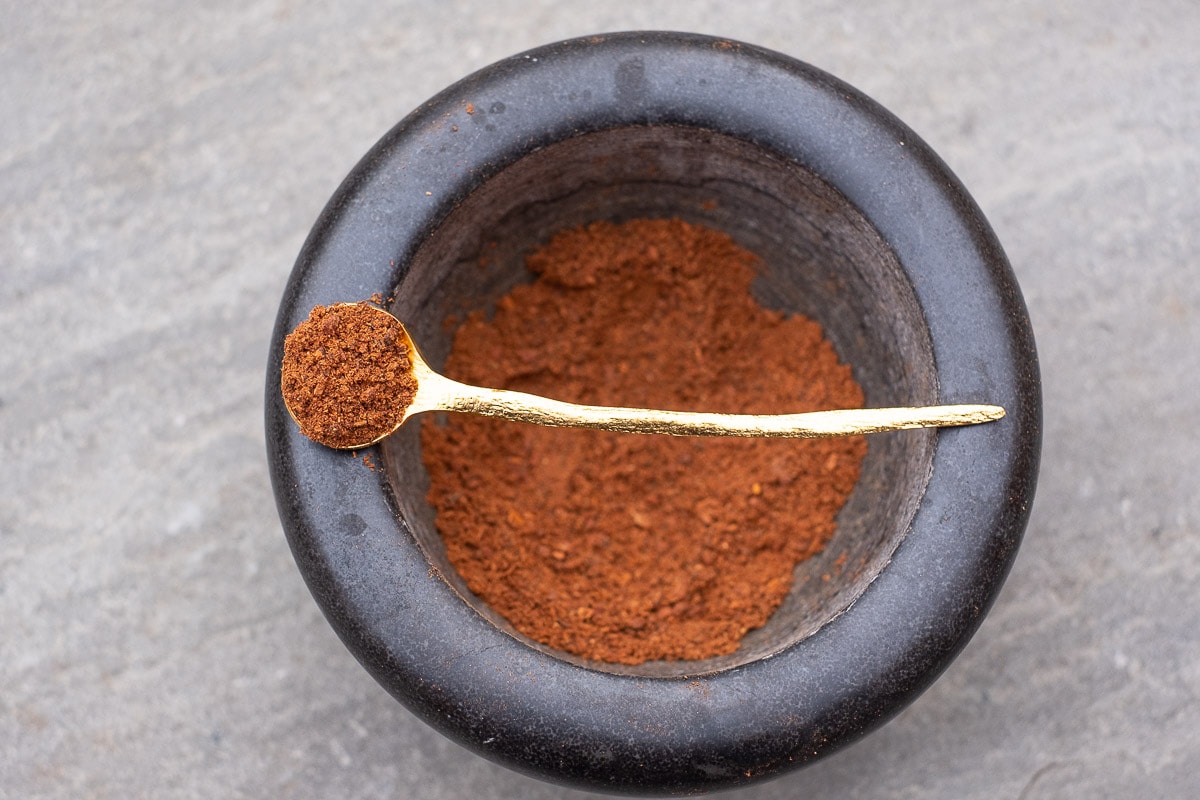
Gingerbread Spice Recipe
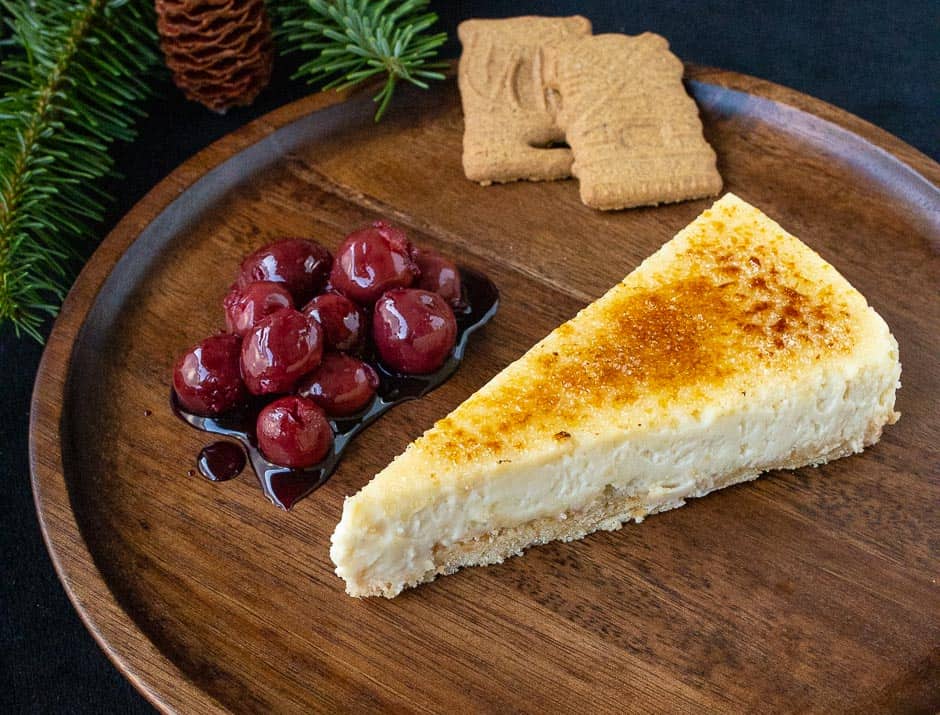
Christmas Cake Recipe
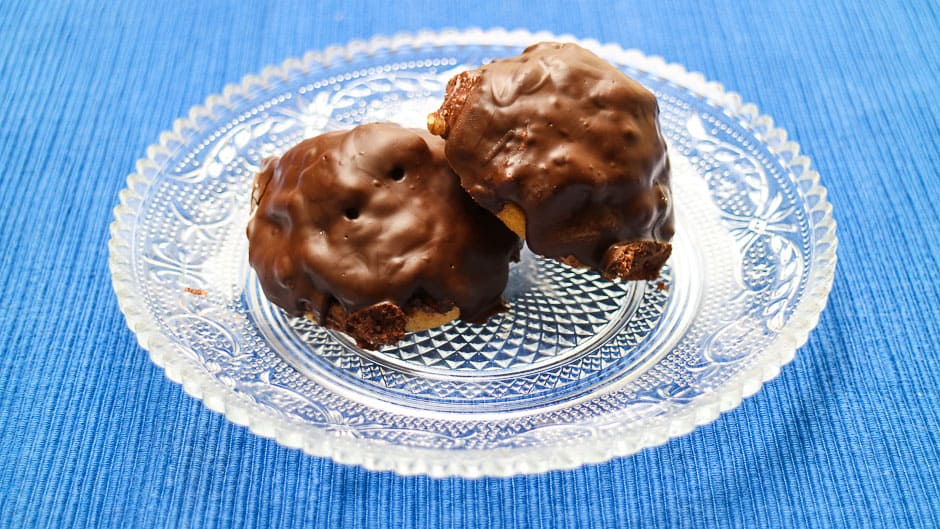
Chocolate Crossies Recipe with Variations
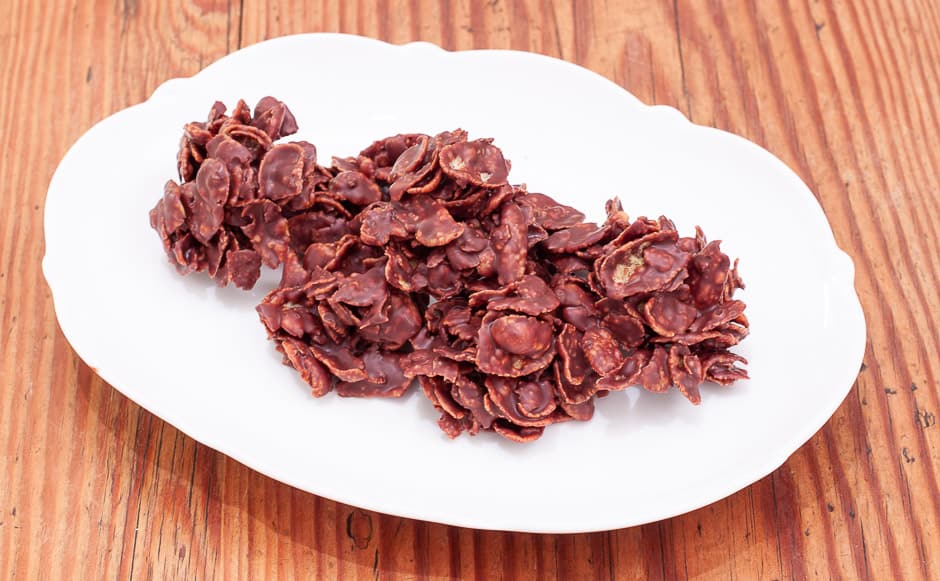
Chocolate Mountains Recipe – German Granatsplitter
Coconut Macaroons Recipe
Christmas Cookies Recipe for Classic Biscuits with Shortcrust Pastry
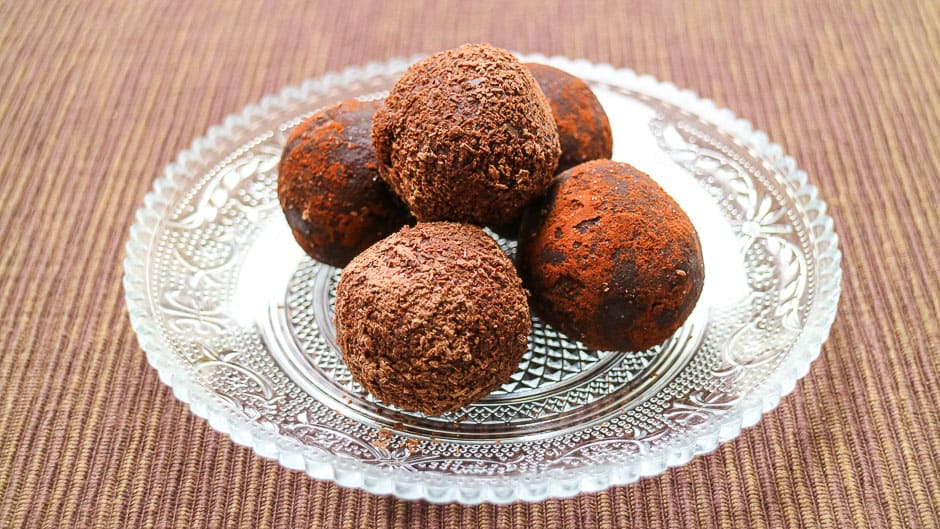
Rum Balls Recipe two Variations
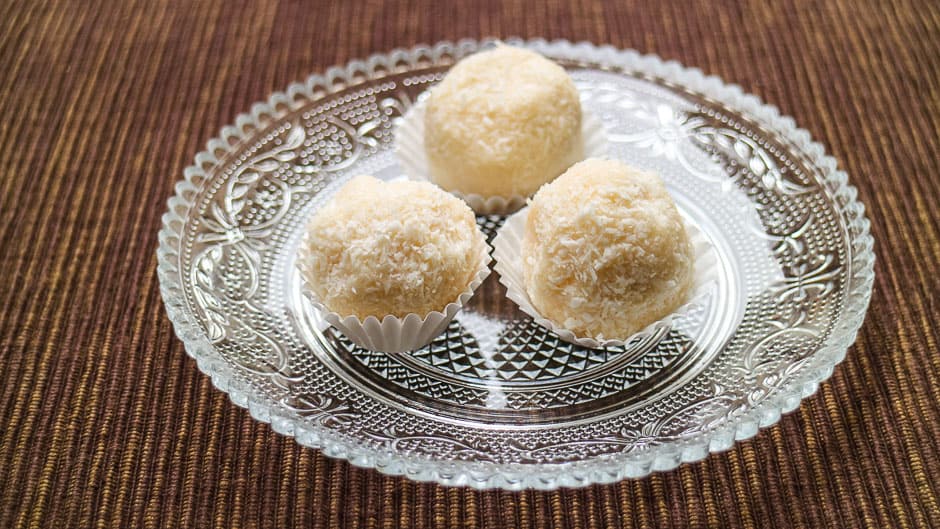
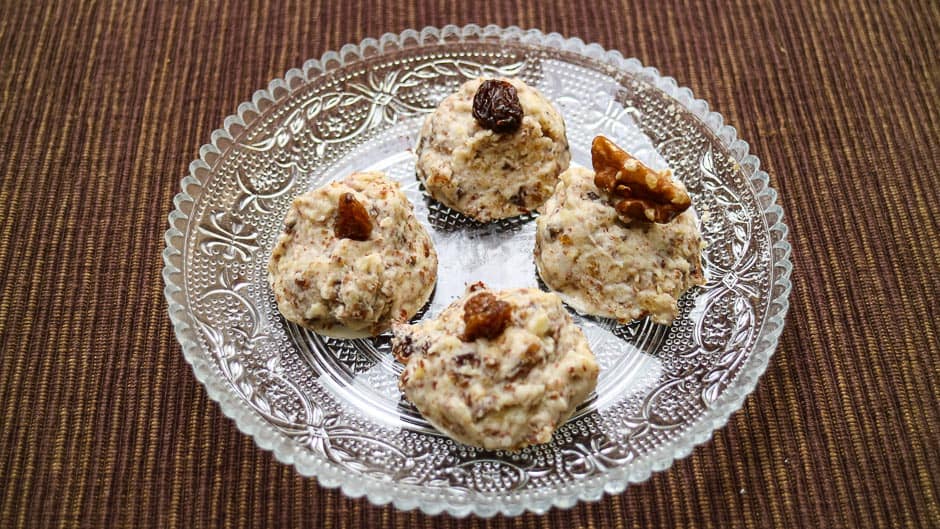
Coconut Balls Recipe in 3 Variations
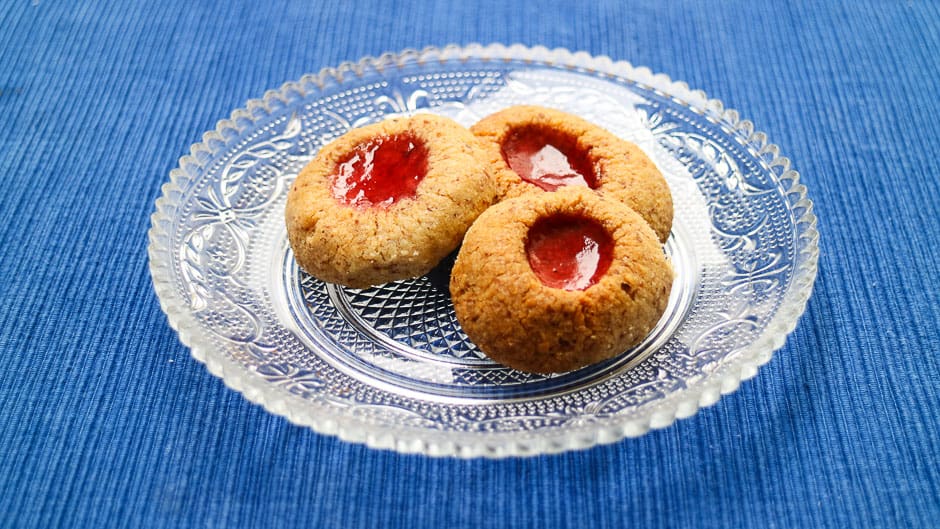
Angels Eyes Recipe, Heavenly Biscuits Made Easy
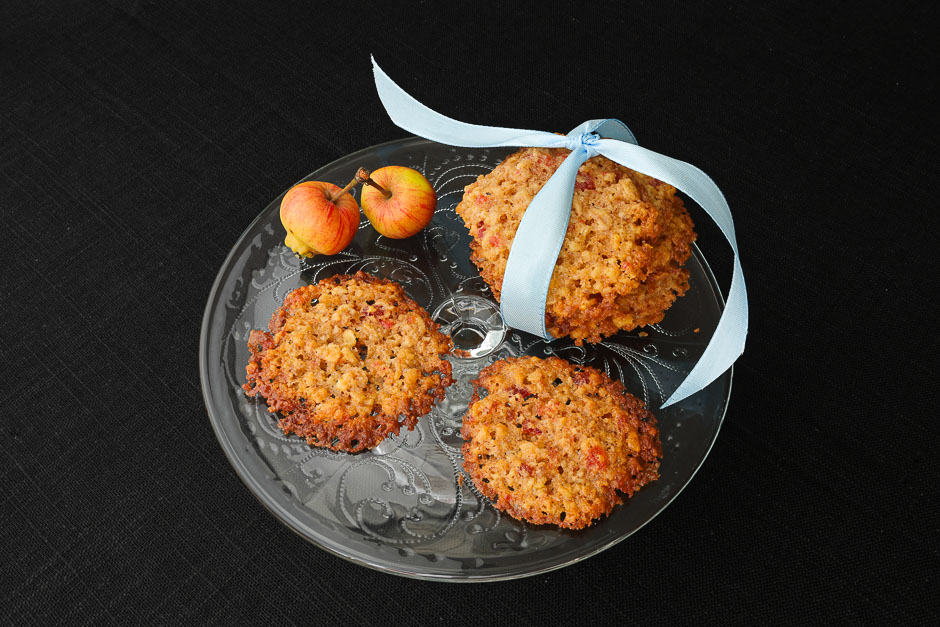
Oat Biscuits Recipe
Prepare Christmas Tart with Cookie Dough, Recipe with Video!
Comments, Cooking Questions and Answers
Below you can write to me directly.
Please don’t forget the star rating on the recipe, 5 stars means you liked it!
Hi Carol,
thank you for your nice feedback and the positive feedback.
By the way, you can write me with every recipe, should you have a question or want to share something nice!
Feel free to contact me again …
Love greetings Thomas
Hello Thomas,
your recipes look really great.
Since no question remains unanswered and the photos of the steps are really very helpful.
These nut cookies are very fine, I will bake these again.
Clear recommendation for all who read along.
Love greetings Carol