Fruit Cake Base Recipe for Your Easy German Sunday Cake
Author:
Thomas Sixt is a chef, food photographer, cookbook author and blogger.
Here he shares recipes, answers cooking questions and helps with cooking.
You can find my fruit cake base recipe in this post. I am of the opinion: The typical fruitcake base should not be missing in any food blog.
The cake base is quickly prepared and can be topped with a variety of fruits. It really tastes good to all guests and pleases both the eye and the palate.
If you’ve stumbled across various fruits while shopping and are headed for a summer baking experience, please stay tuned and take us into your bakery.
Now wish a lot of fun and good luck, friendly comments are welcome 🙂
Table of Contents
1. Recipe Fruit Cake Base
Here follows the instructions for your bakery. Note the tips after the recipe and feel free to write me a cooking question at the bottom of the page via the comment function.
Fruit Cake Base
Instructions by chef Thomas Sixt.
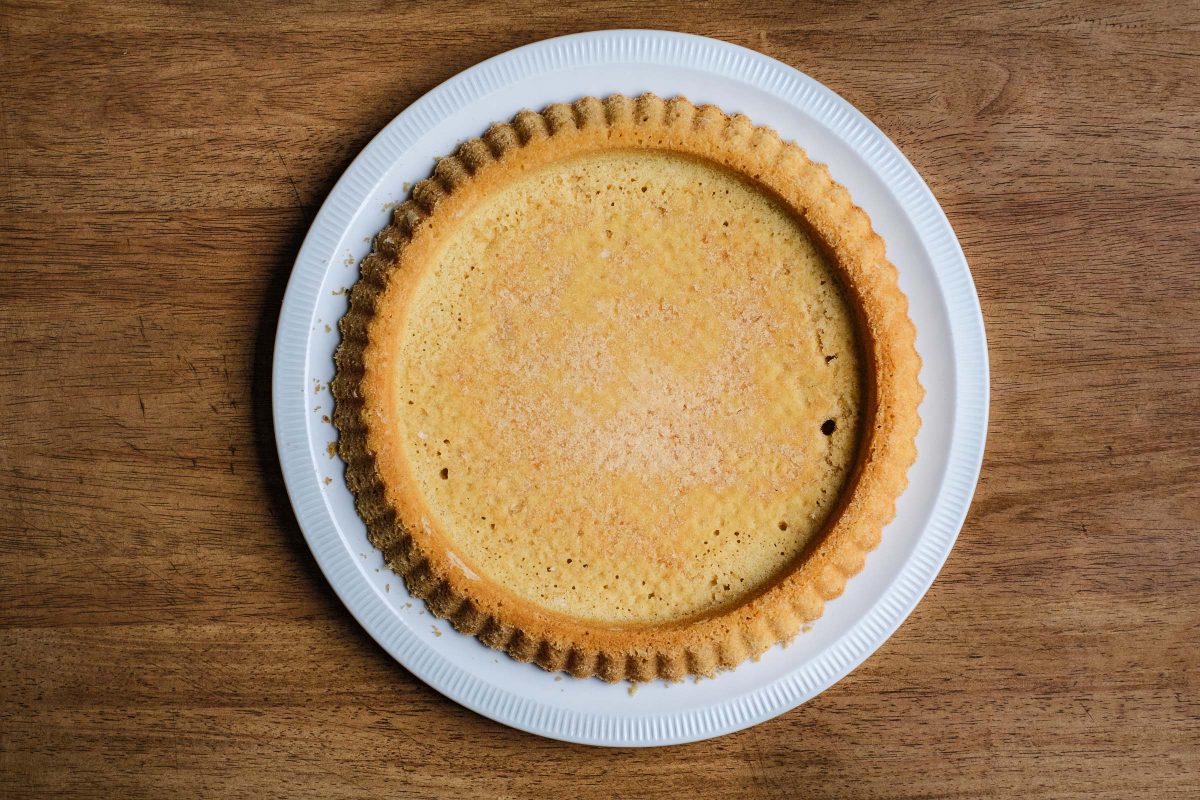
Fruit cake base recipe for your fine german fruit tart.

Ingredients
| cake batter | ||
| 75 | g | butter |
| 35 | g | breadcrumbs |
| 75 | g | brown can sugar |
| 1 | Pck. | vanilla sugar |
| 3 | Prisen | primal salt |
| 2 | Stück | eggs |
| 125 | g | flour (Wheat flour, gluten free, mix) |
| 1 | TL | Baking Powder (level tsp) |
| 1 | EL | Cream (or milk) |
Instruction
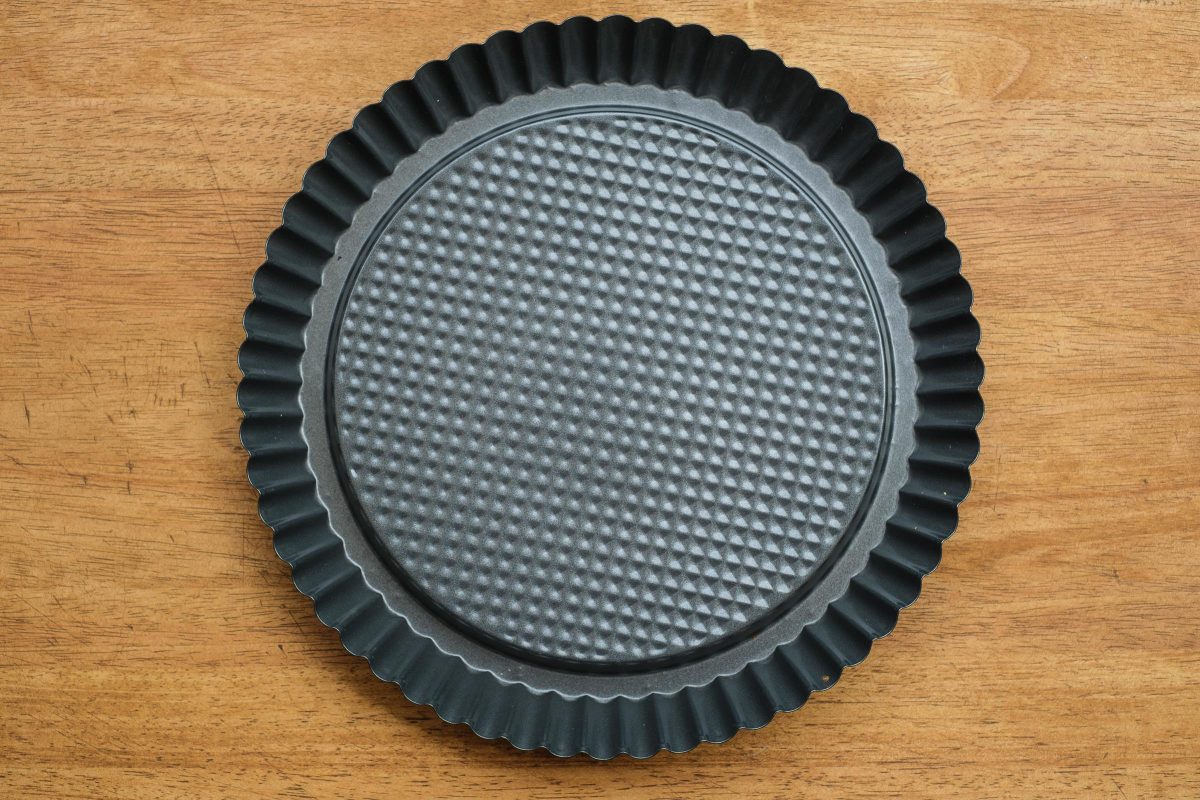
Prepare baking pan
Prepare a baking mold for a 28 cm fruit tart.
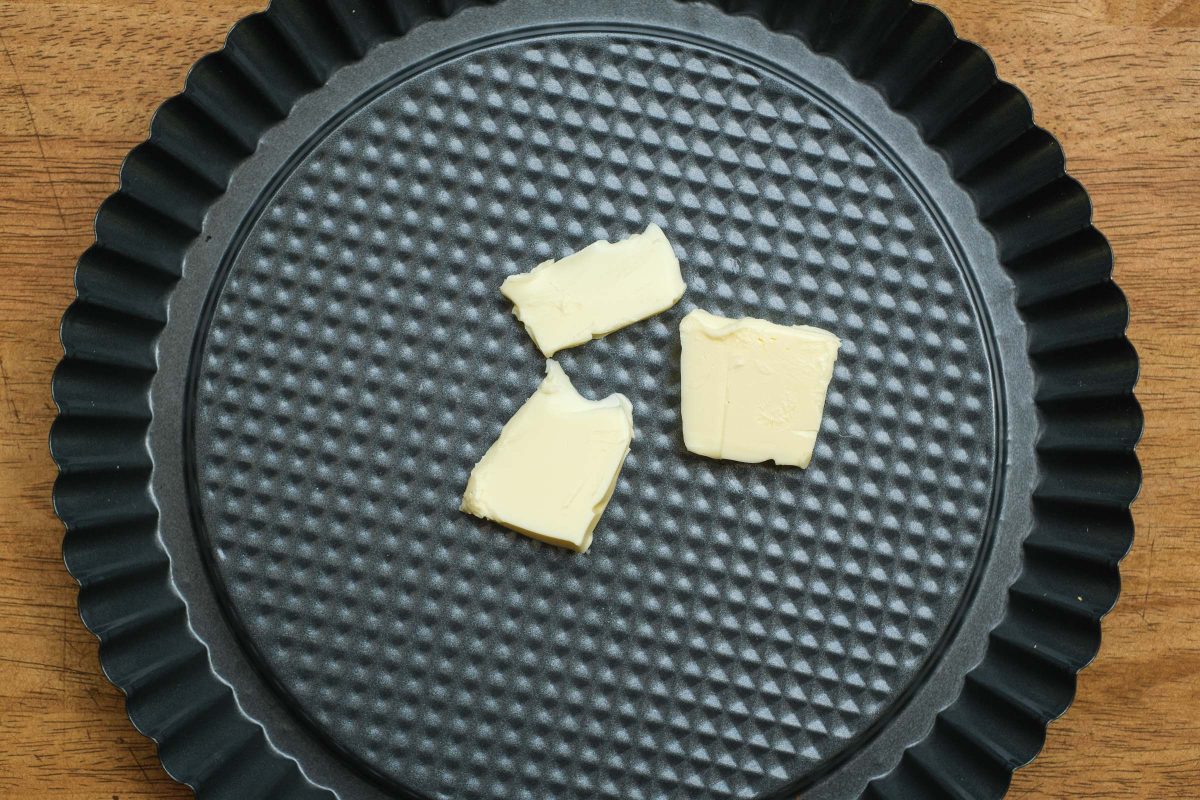
Butter the baking pan
Put the 70 g softened butter on the baking dish.
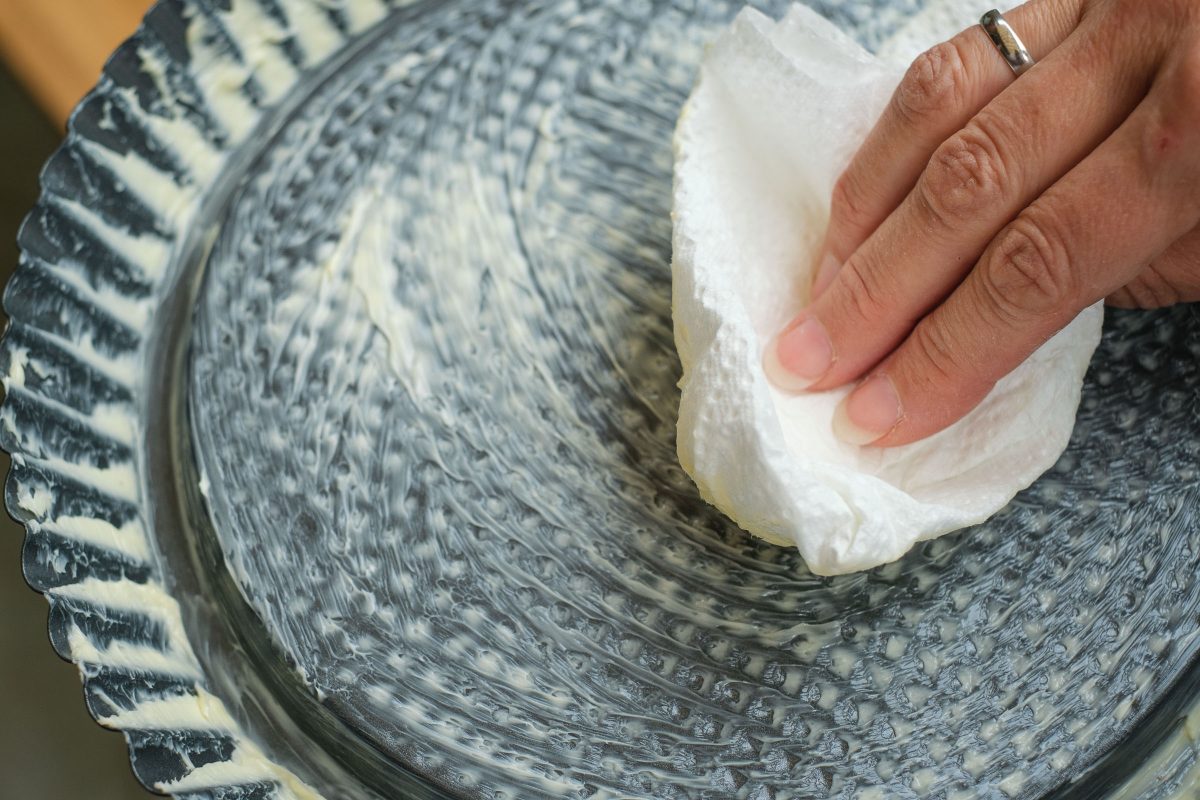
Distribute butter
Spread the butter generously with kitchen paper in and on the sides of the dish.
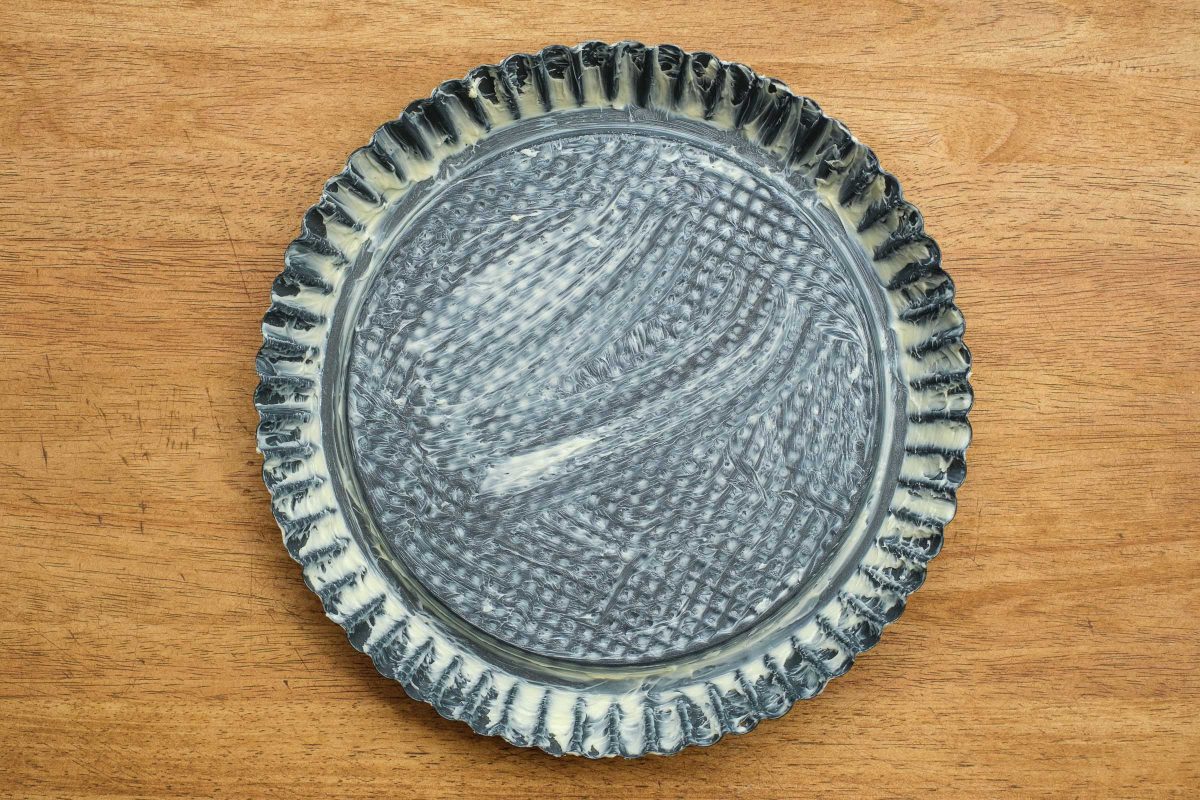
Provide baking pan
Prepare the buttered cake pan.
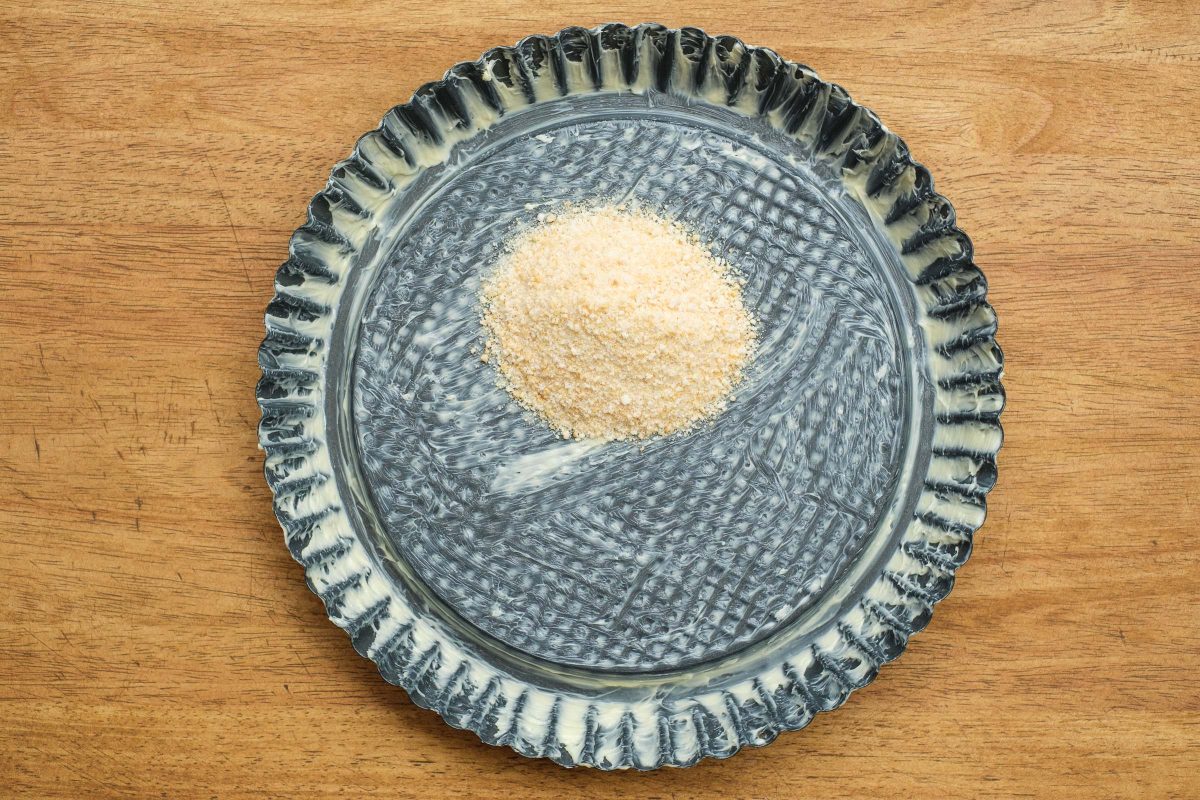
Add breadcrumbs
Heap the 35g of breadcrumbs onto the buttered dish.
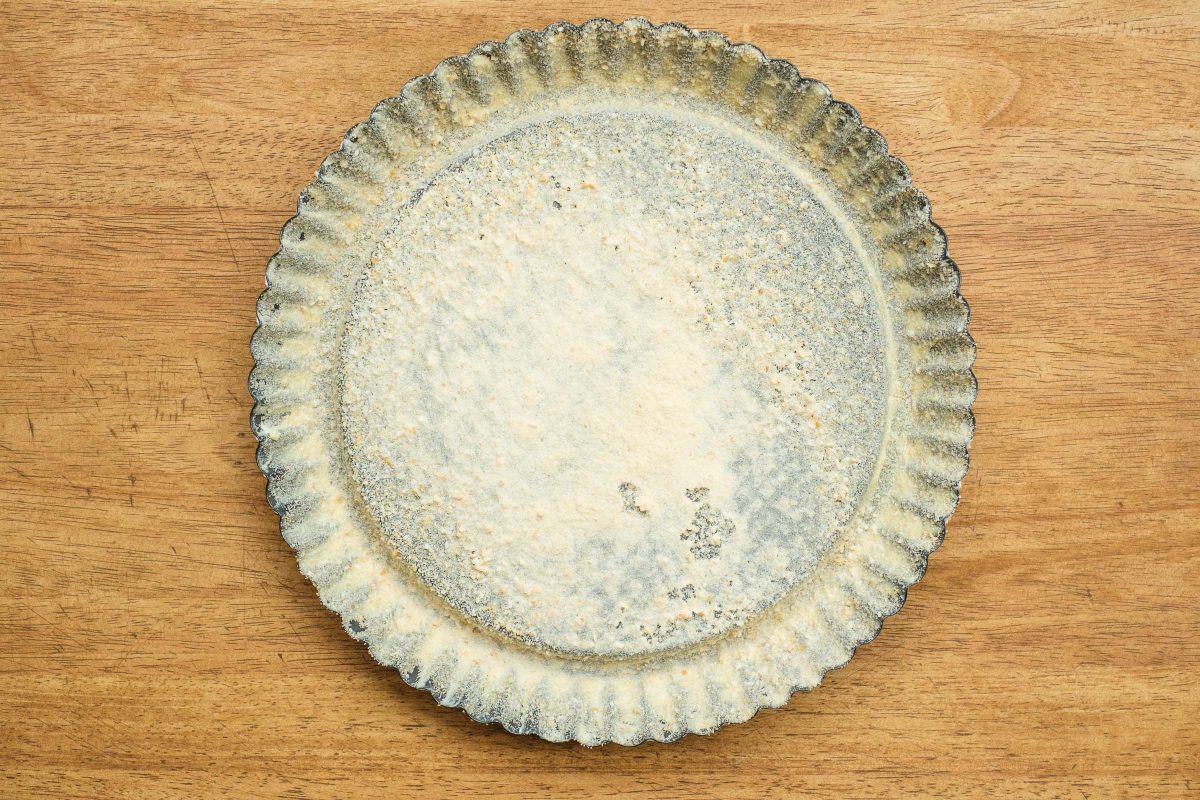
Spread breadcrumbs
Swirl the breadcrumbs evenly in the baking pan.
Preheat the oven at 170°C.
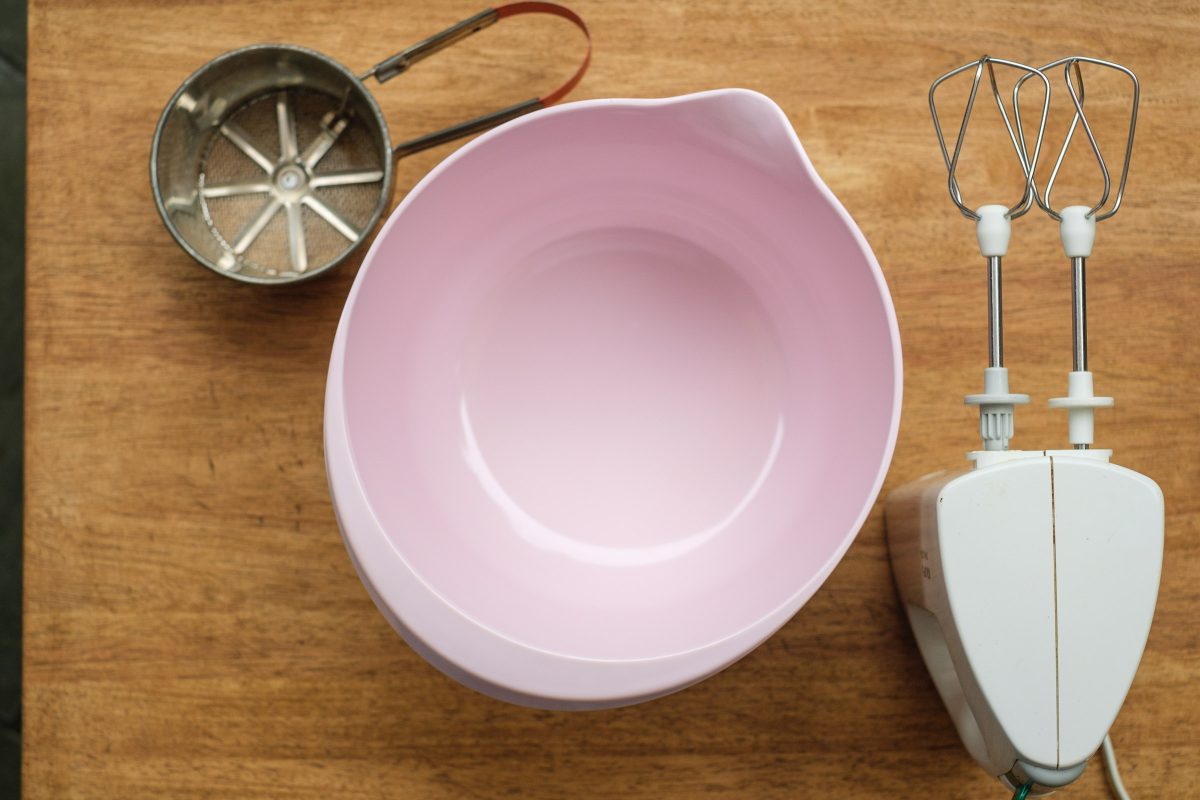
Provide tools
Provide tools for the dough preparation:
–> flour sifter
–> bowl of dough
-> Hand mixer with whisk
–> dough card
–> Scales and bowls for weighing
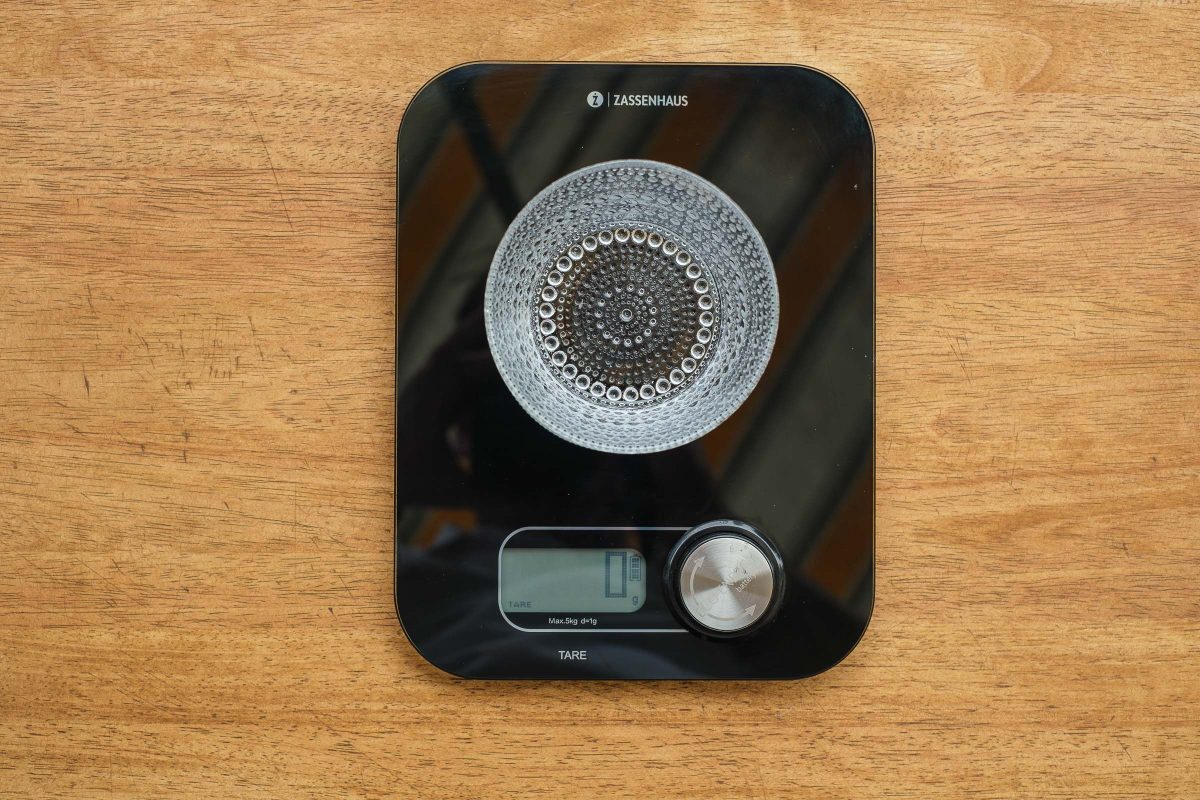
Prepare scale
Put the scale into operation. I have a model that turns the knob to stand by.
Set up a bowl and press tara.
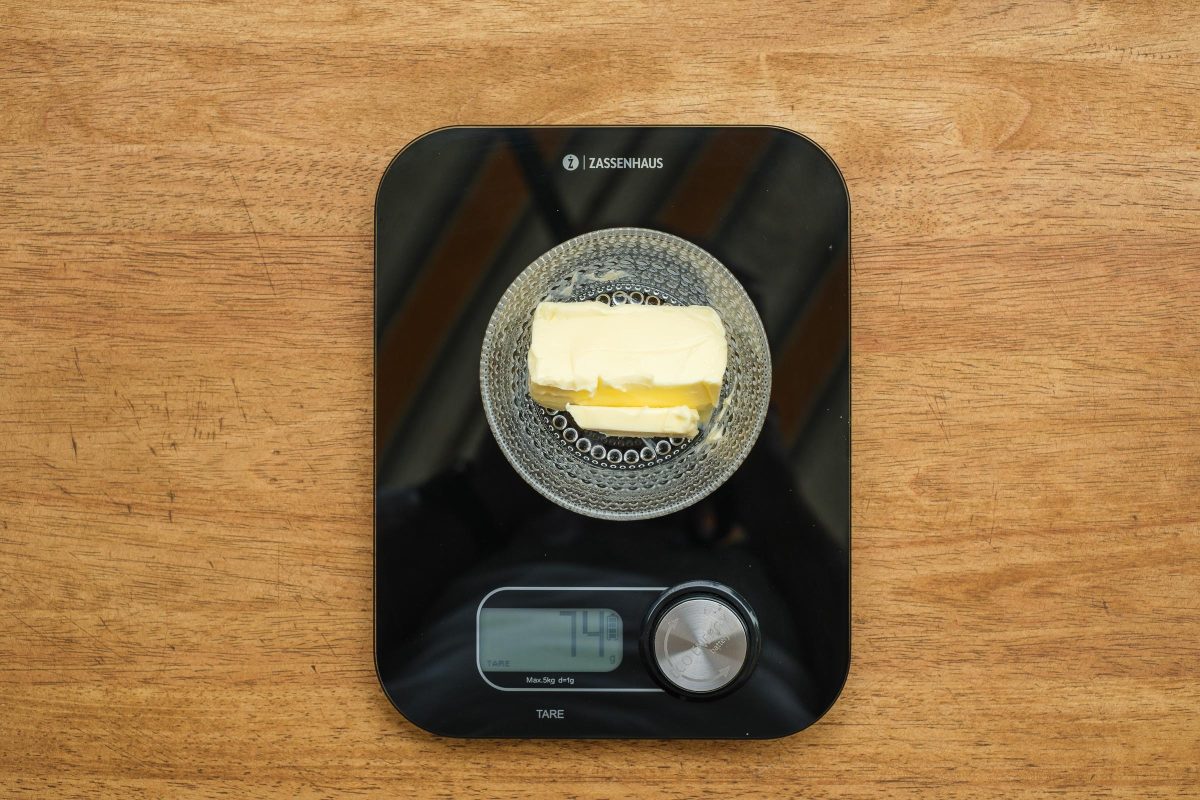
Weigh butter
Weigh the 75 g softened butter in the bowl and have it ready.
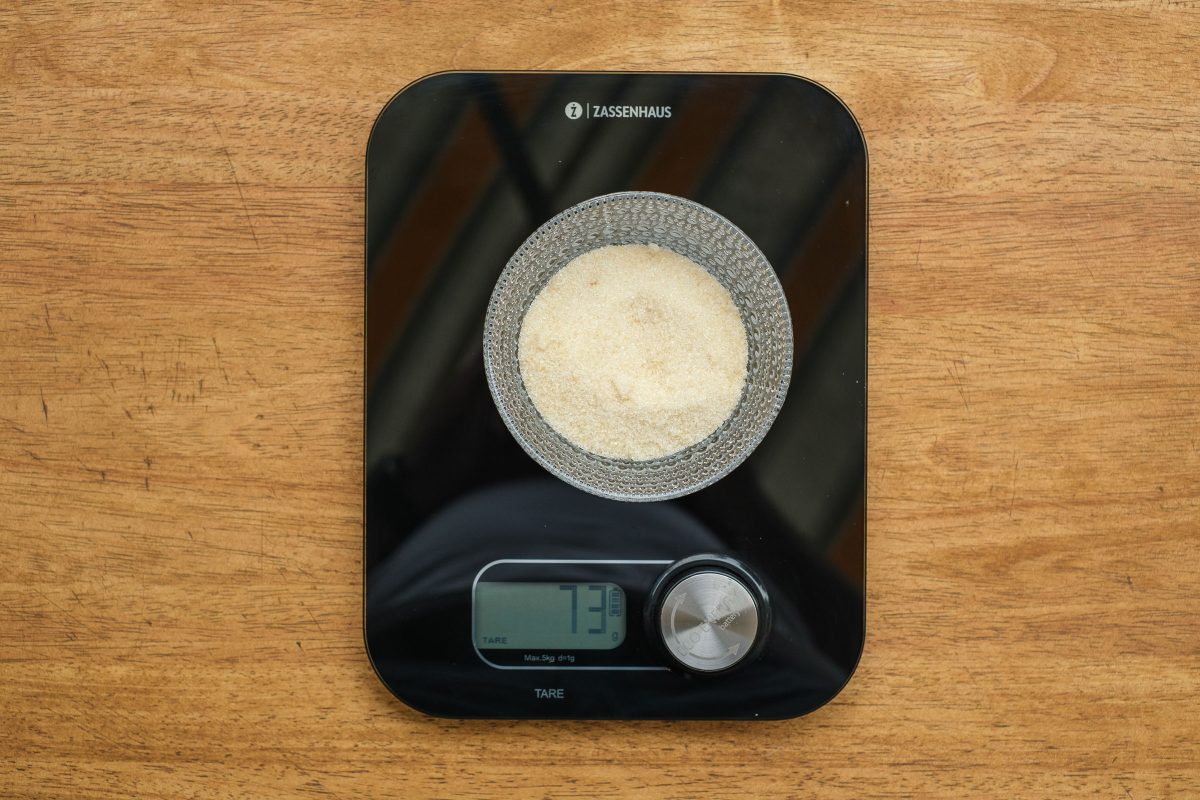
Weigh sugar
Weigh the 75 g of raw cane sugar and have it ready.
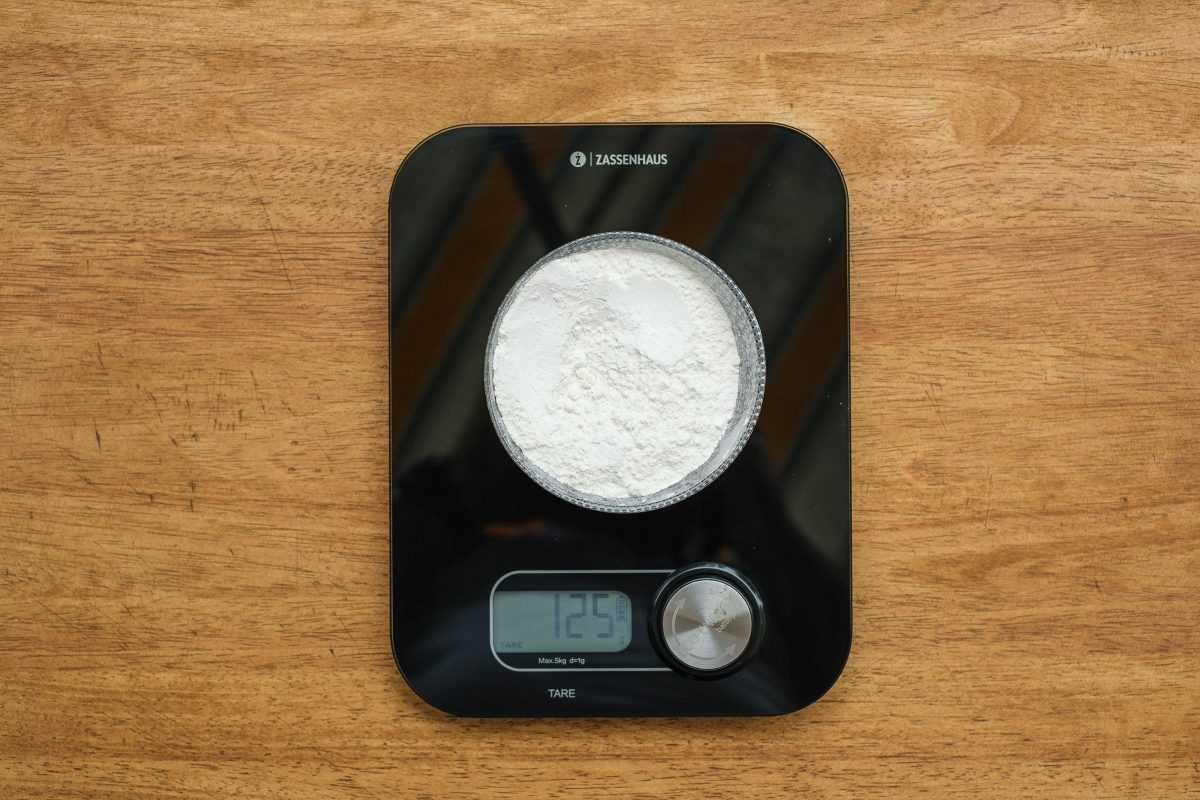
Weigh flour
Weigh the flour, 125 g and have it ready.
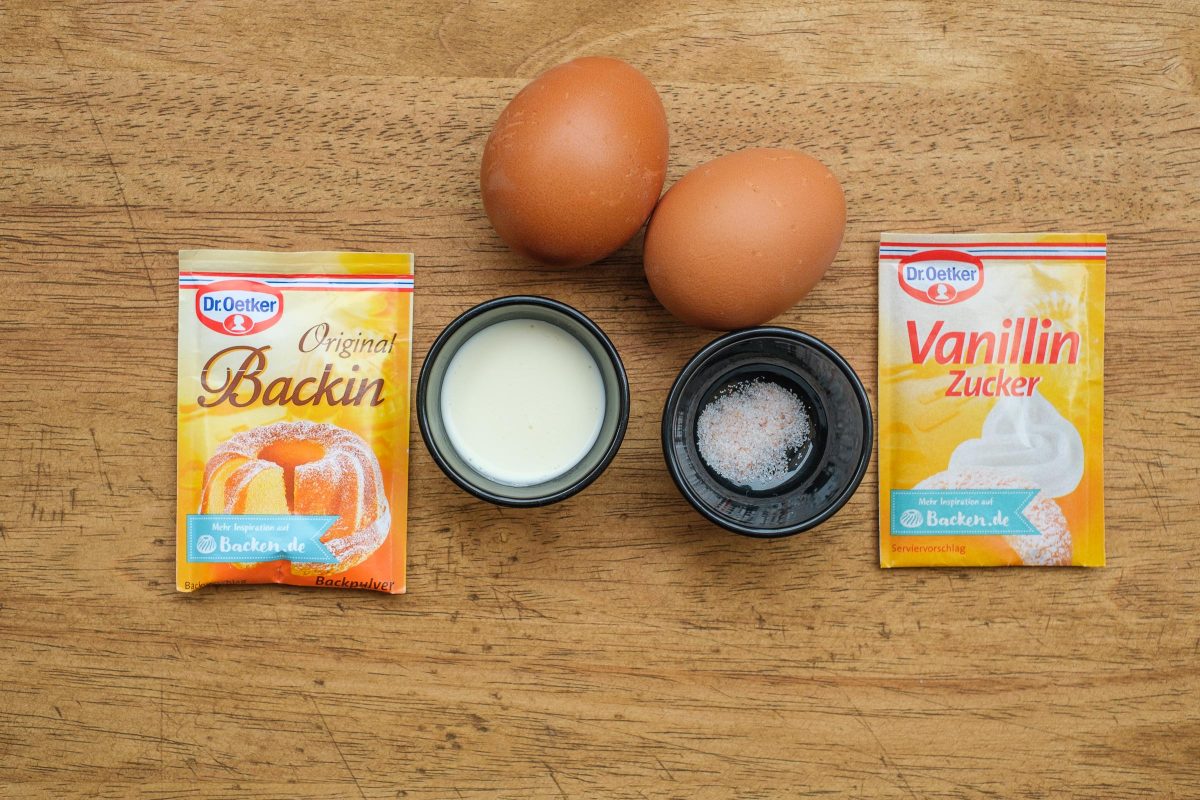
Prepare the cake ingredients
Prepare the two eggs, a tablespoon of cream, 3 pinches of salt, baking powder and vanilla sugar.
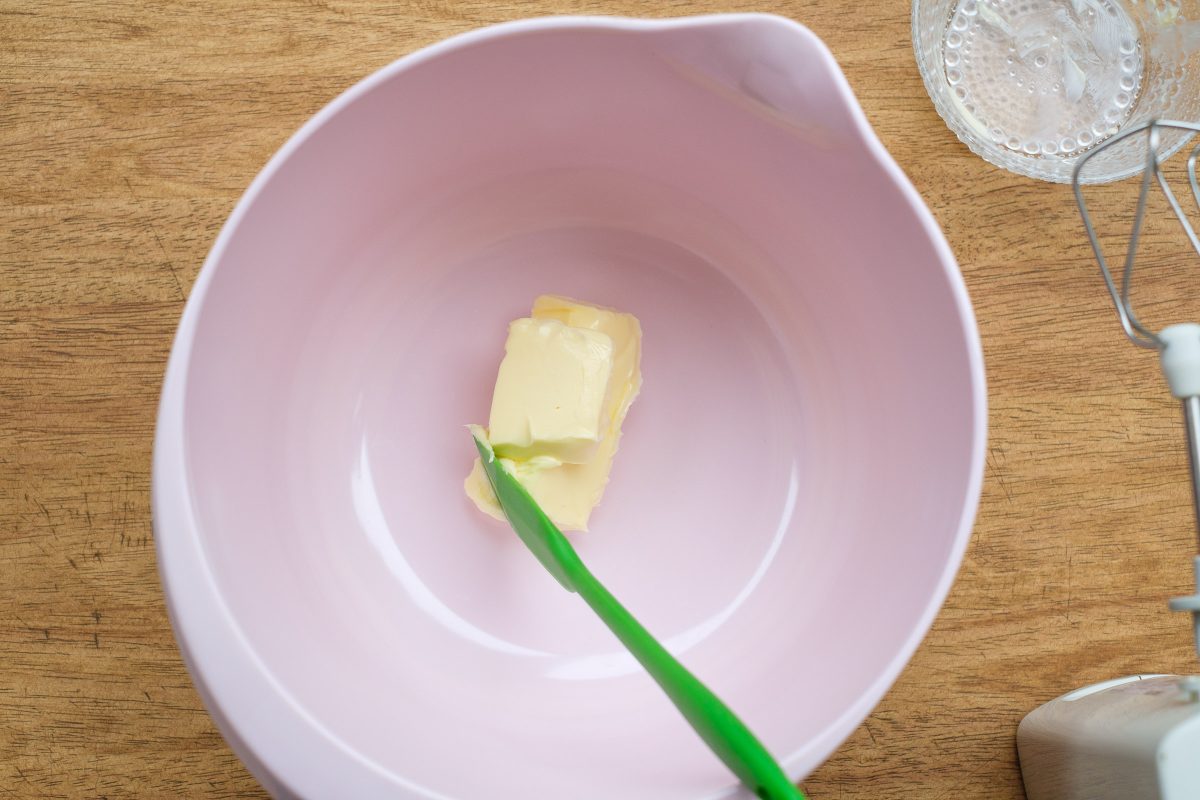
Provide butter
Put prepared softened butter (75 g) in the baking bowl.
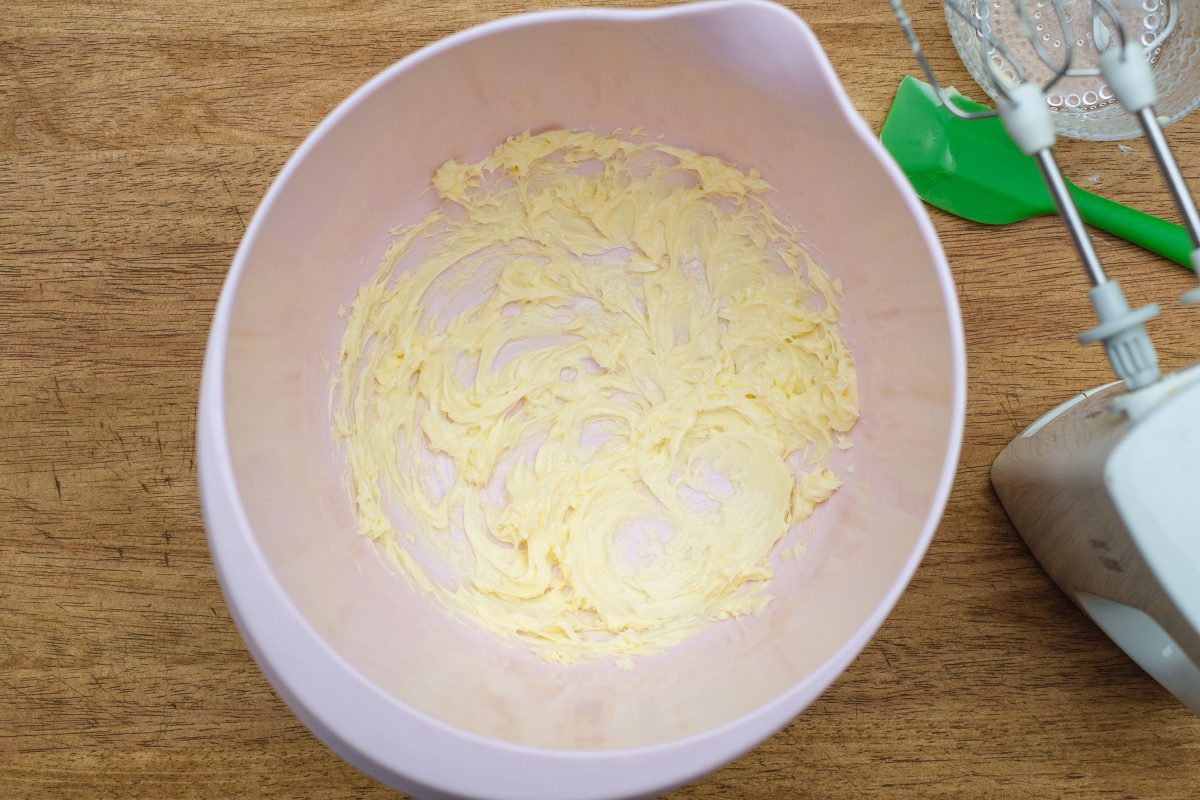
Mix butter
Using a hand mixer or whisk, beat the butter until smooth for 30 seconds.
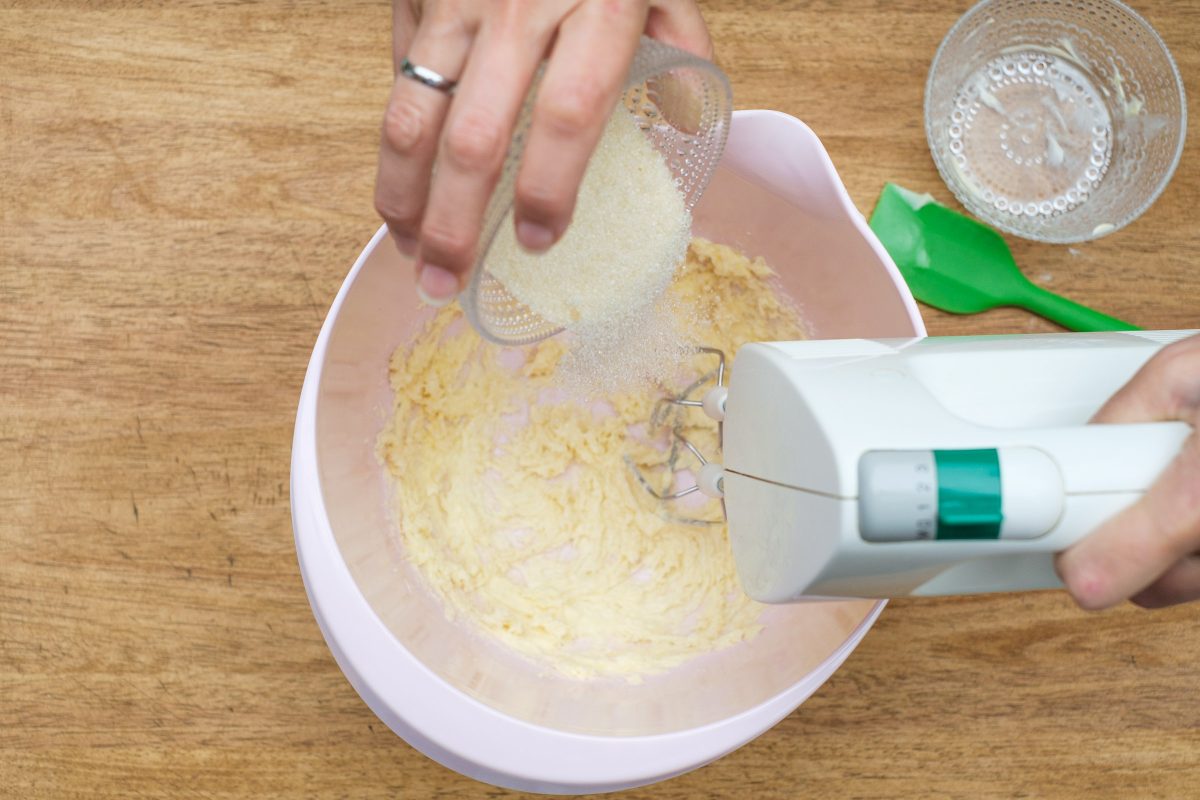
Stir in sugar
Gradually stir in the prepared 75 g raw cane sugar.
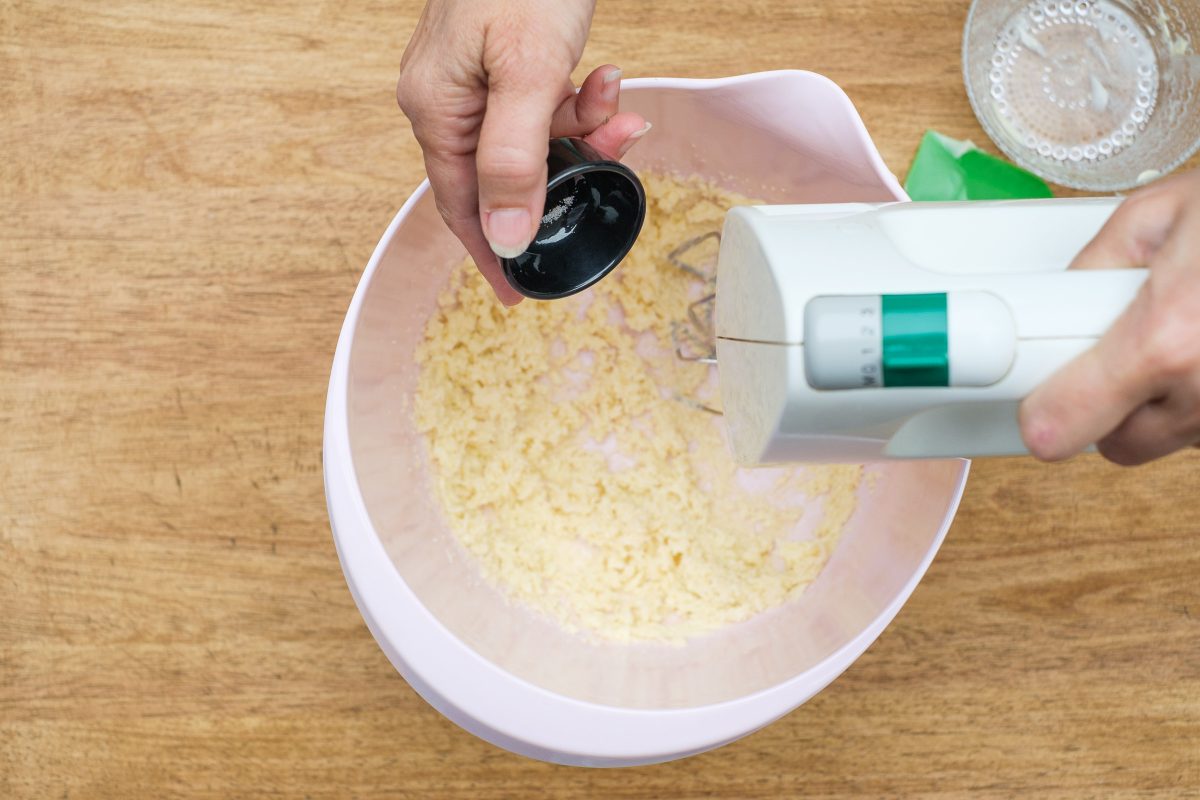
Stir in salt
Add the three pinches of salt to the butter and mix well.
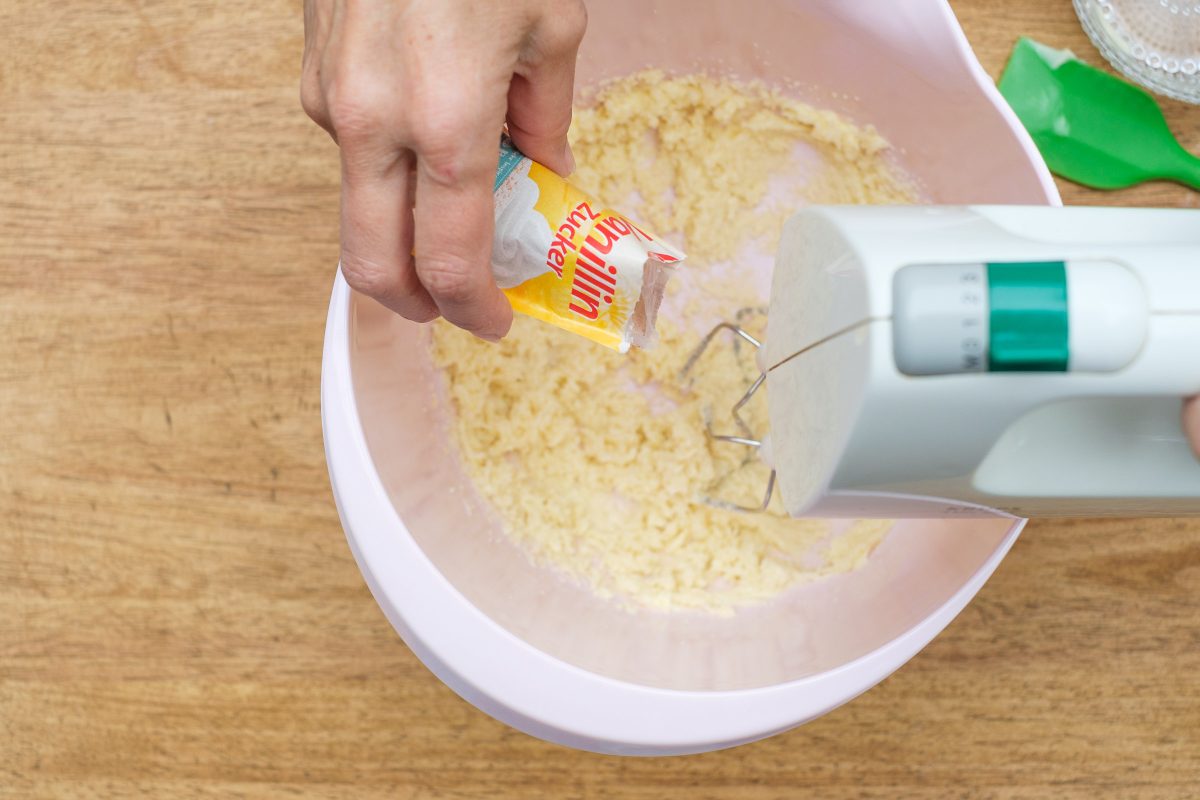
Stir in vanilla sugar
Stir in the whole packet of vanilla sugar.
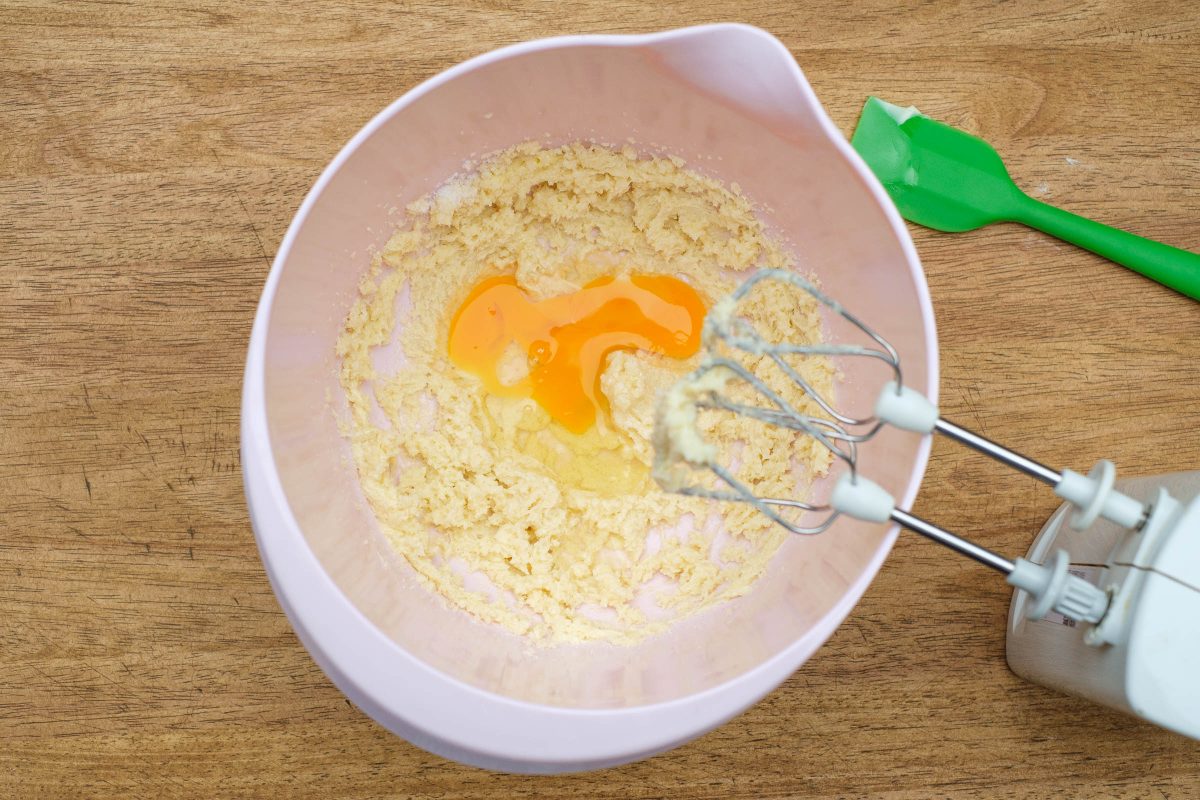
Add egg
Beat the first egg into the butter.
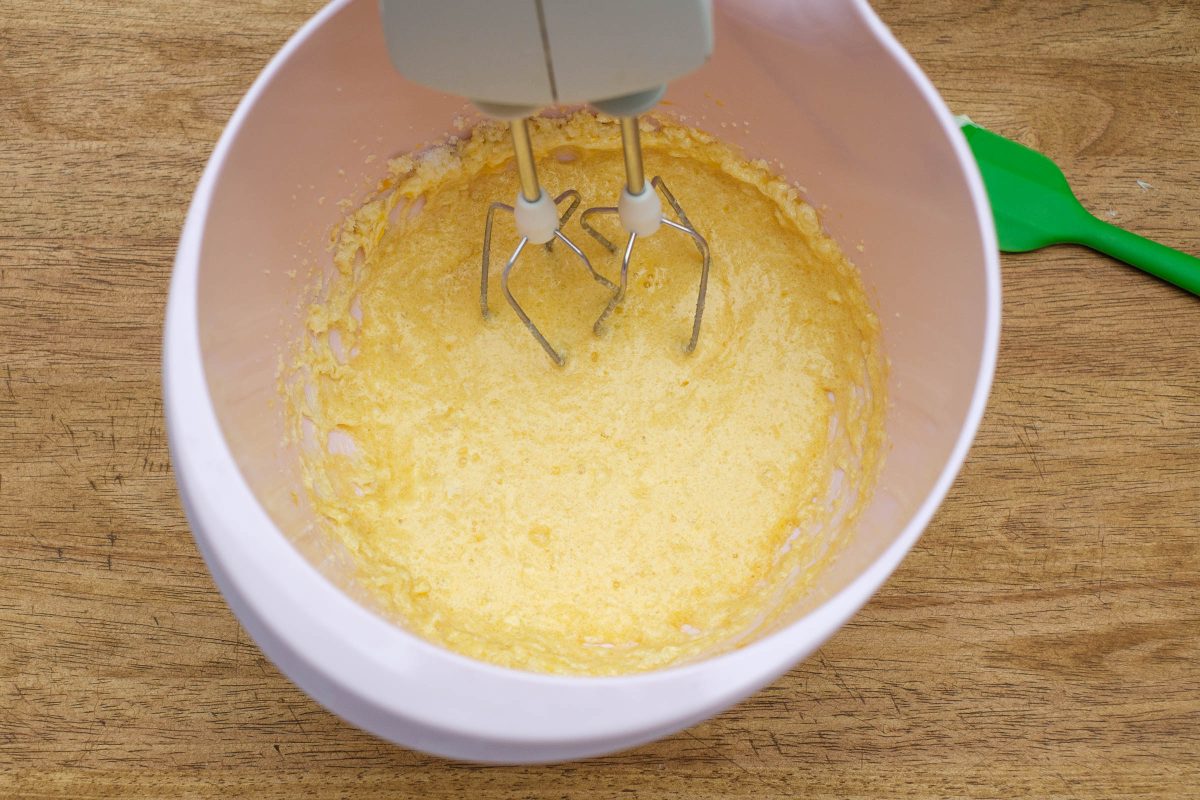
Stir in egg
Beat the first egg.
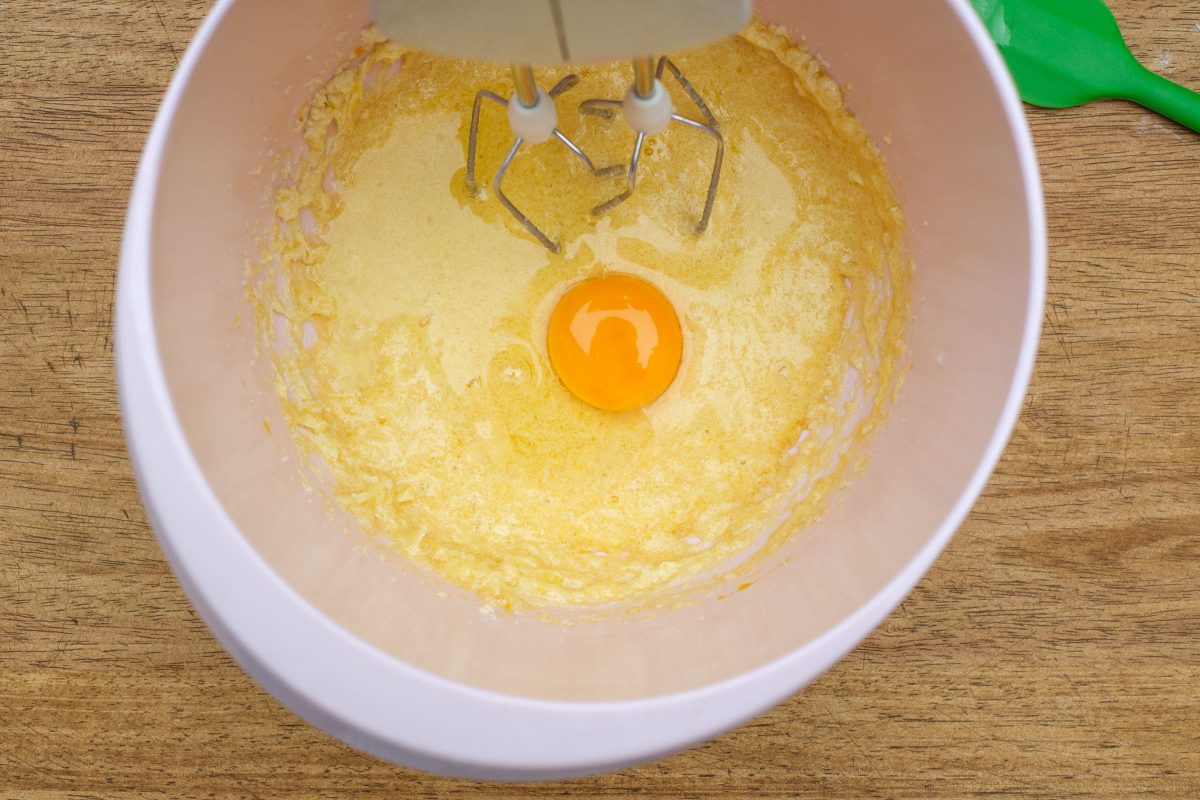
Second egg
Beat the second egg into the butter mixture.
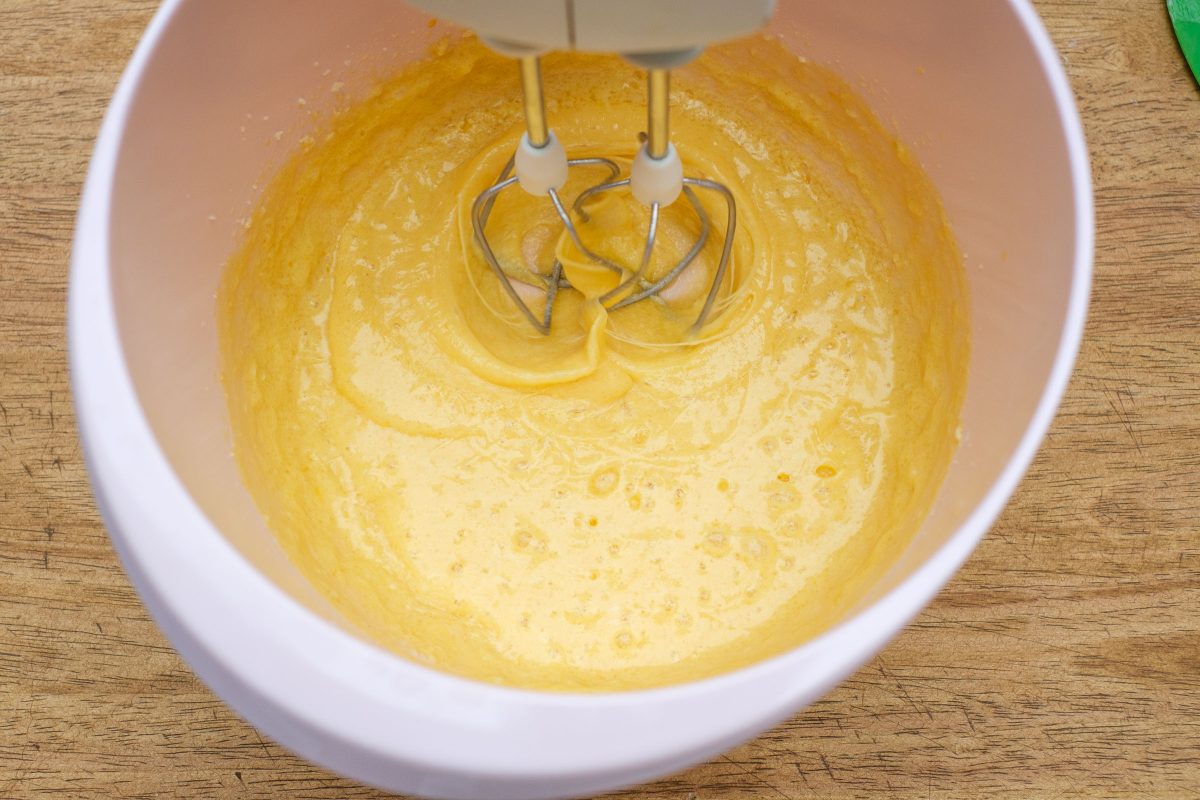
Stir egg
Beat in the second egg. The dough should react slightly foamy.
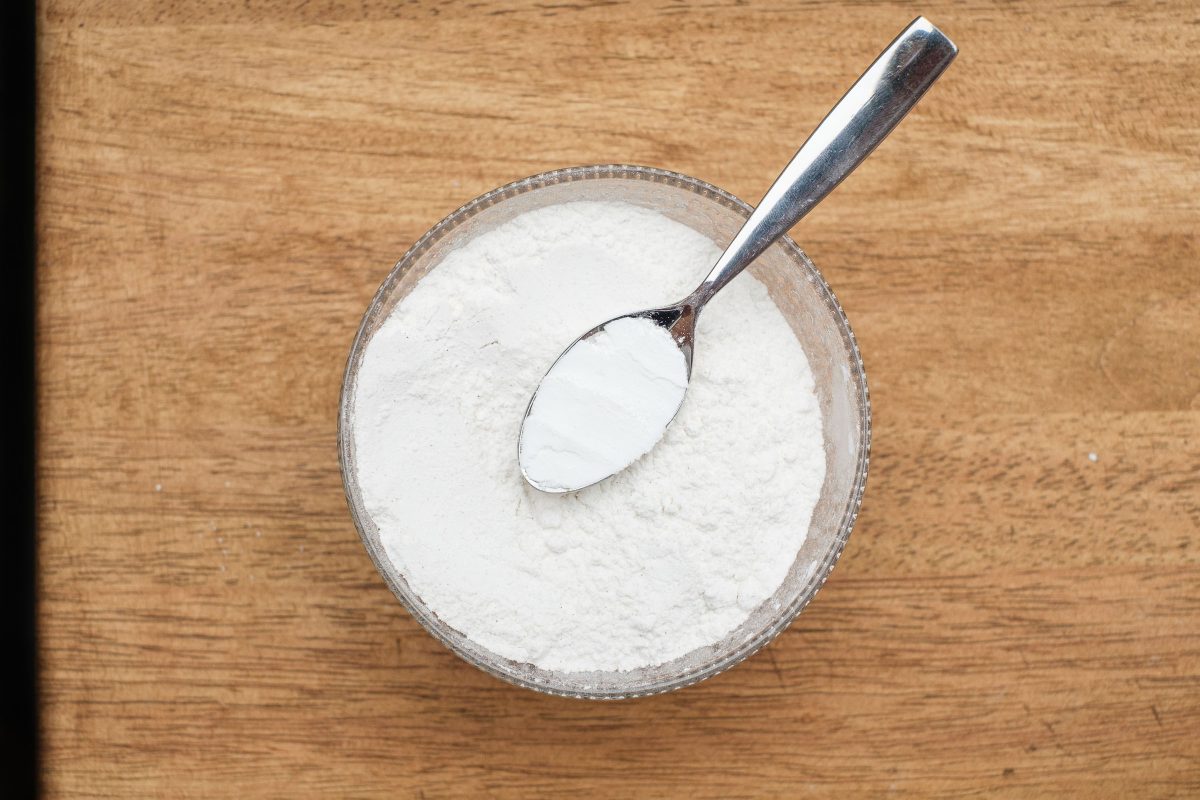
Baking powder and flour
Add a level teaspoon of baking powder to the weighed flour.
Prepare seven
Take the flour and the flour sifter.
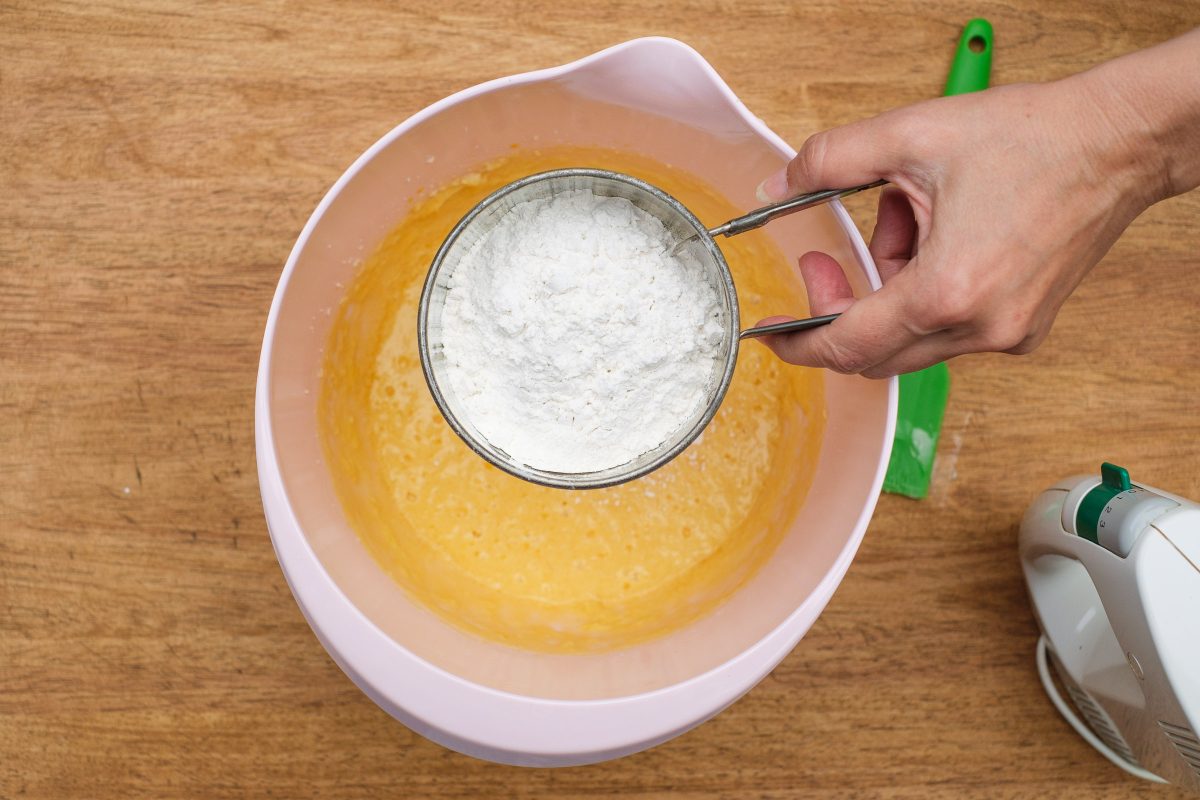
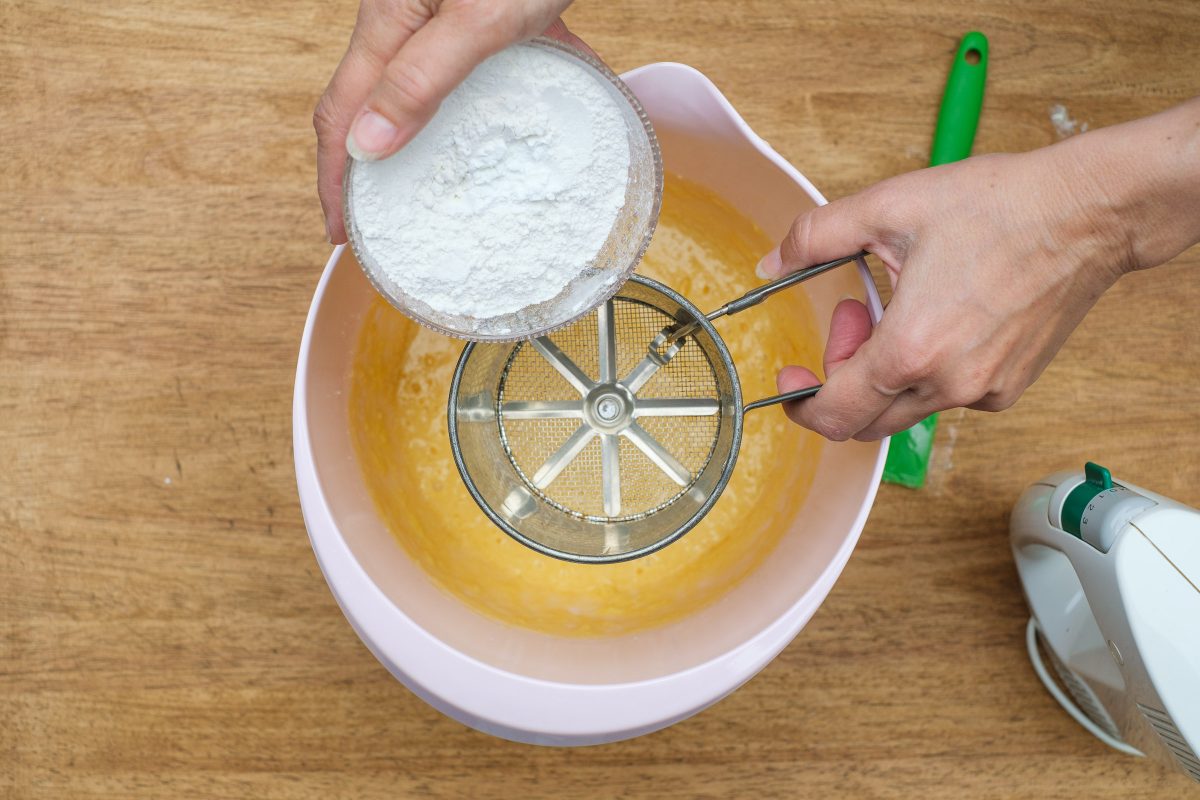
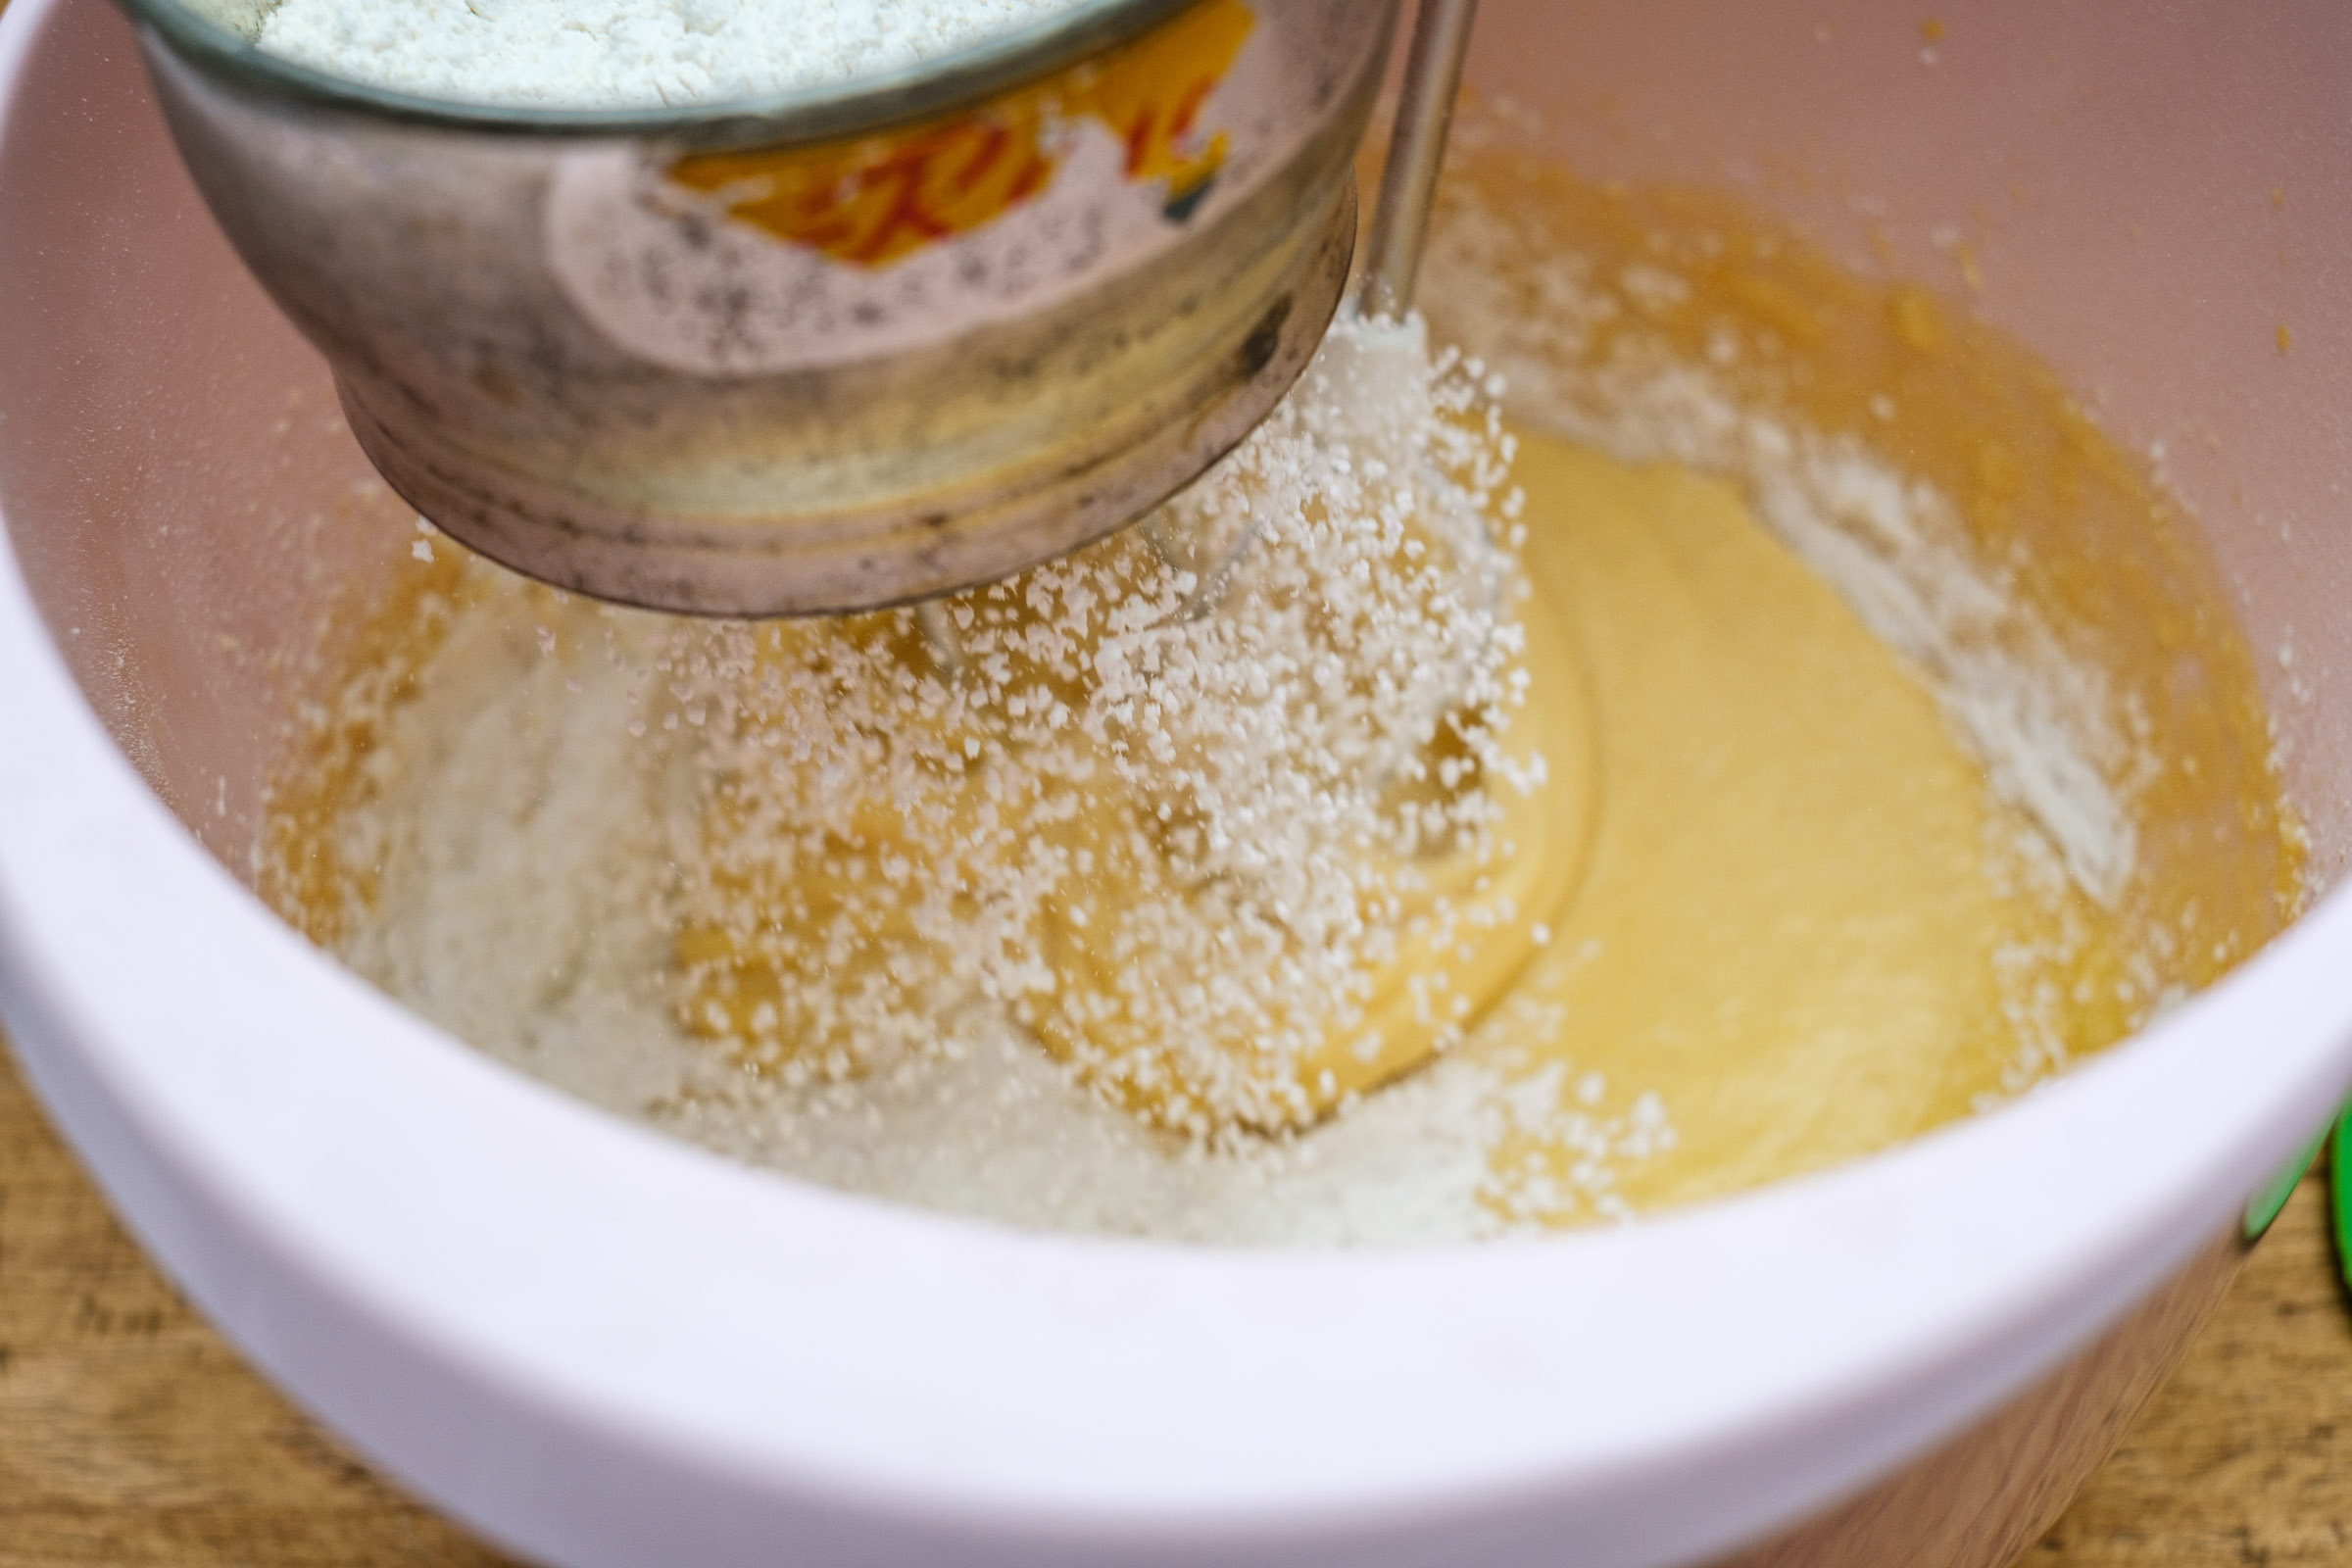
Sift in the flour
Dust the flour into the butter-egg mixture.
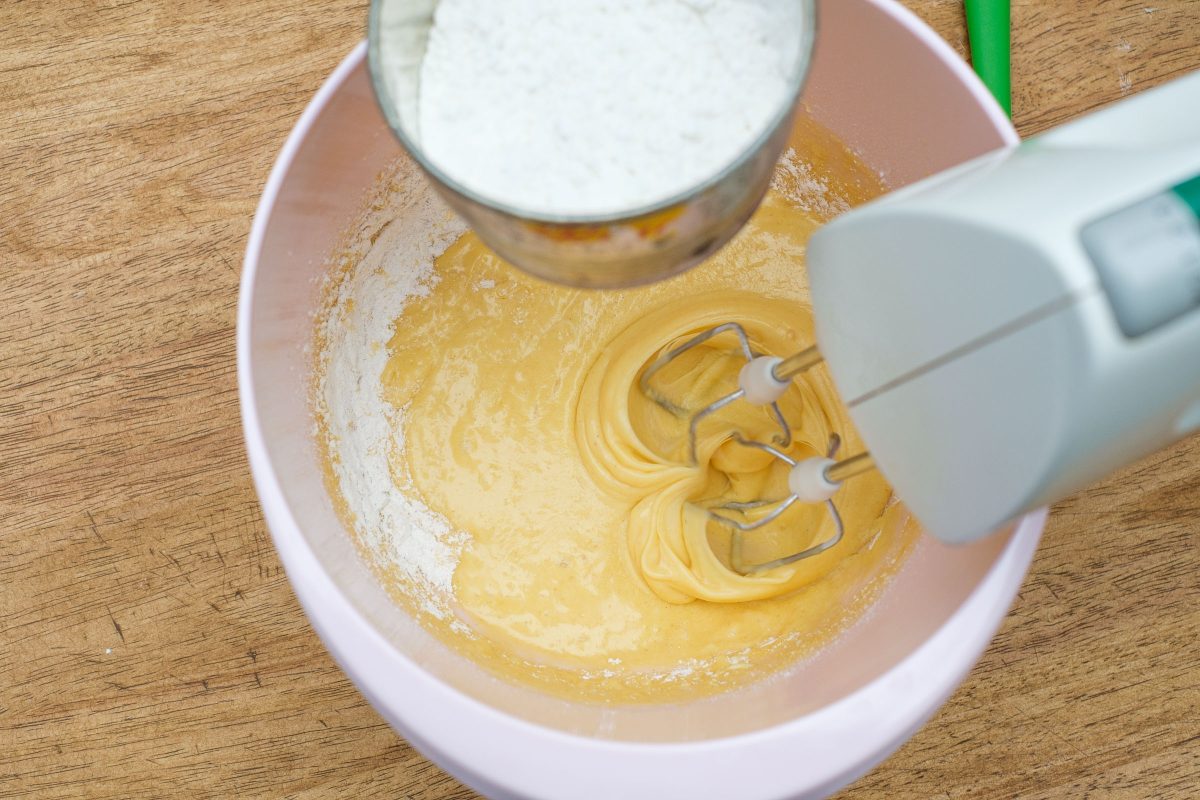
Stir in flour
Stir in the sifted flour evenly with a hand mixer.
Dust the flour loosely and mix the dough evenly.
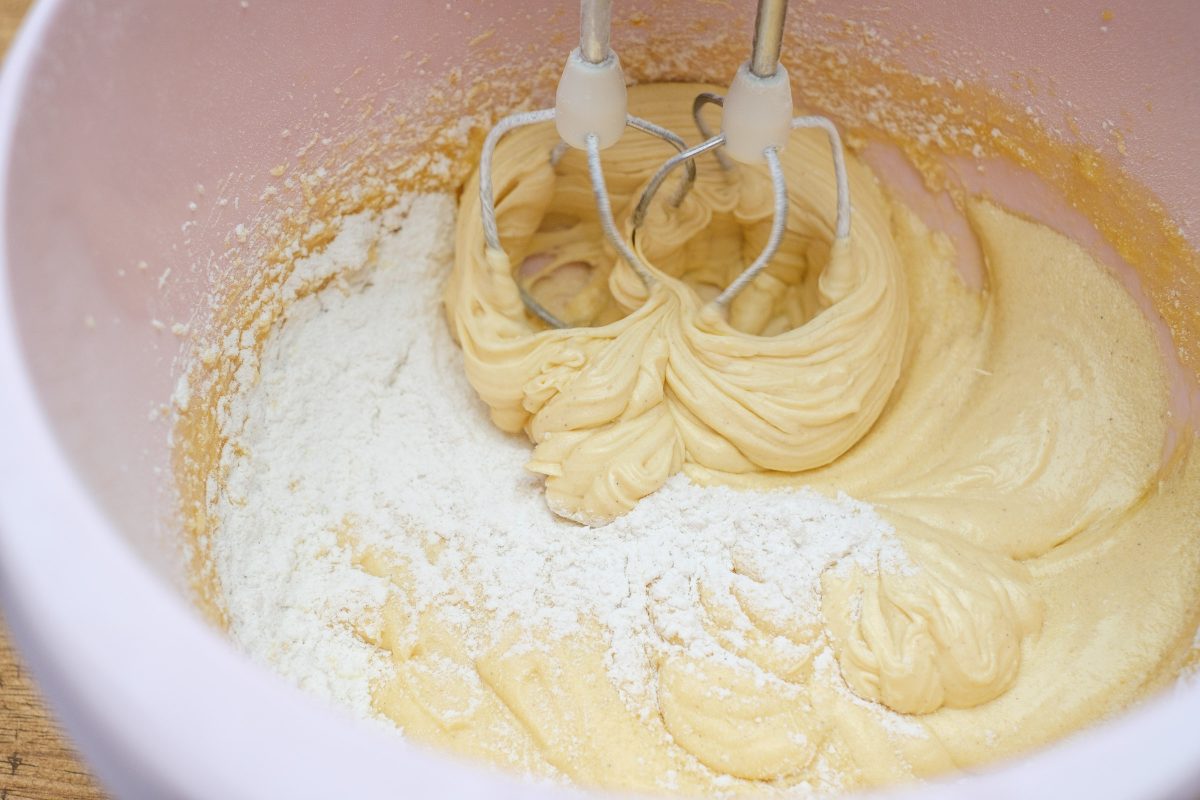
Mix the dough
The dough absorbs the flour smoothly.
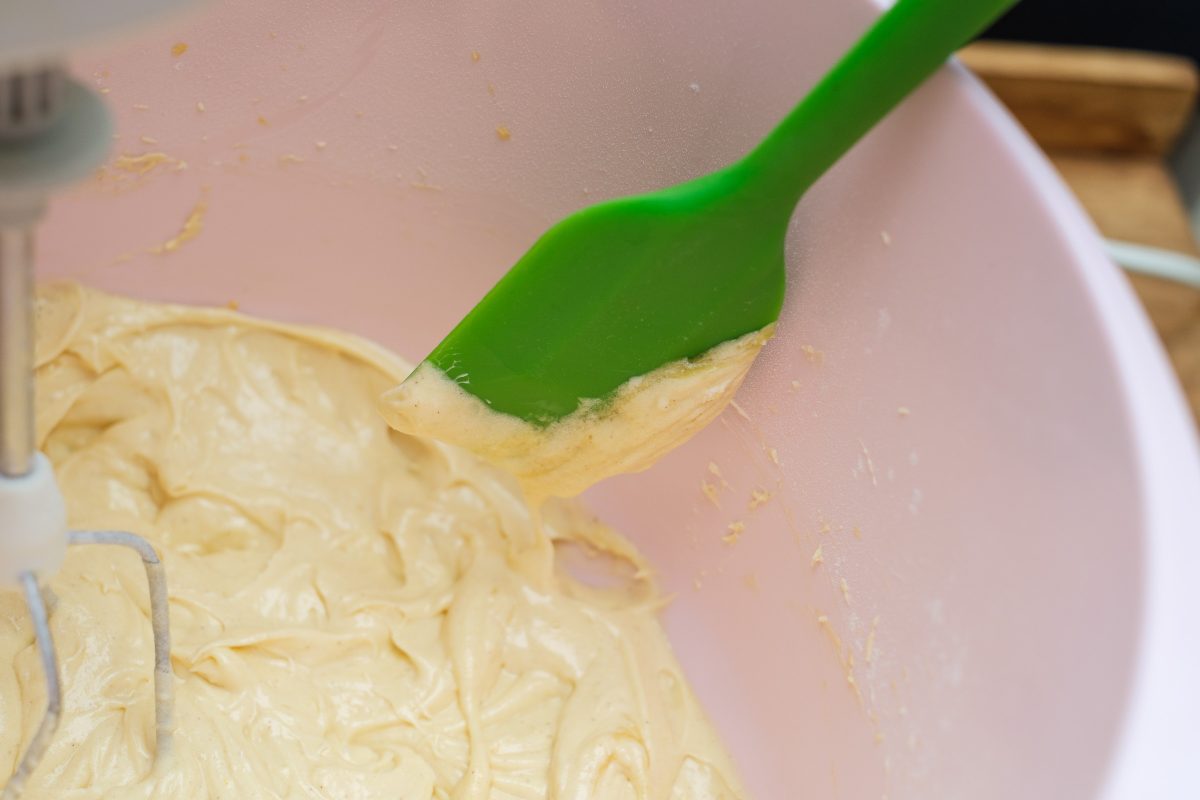
Clean bowl rim
Clean the edge of the bowl with a spatula.
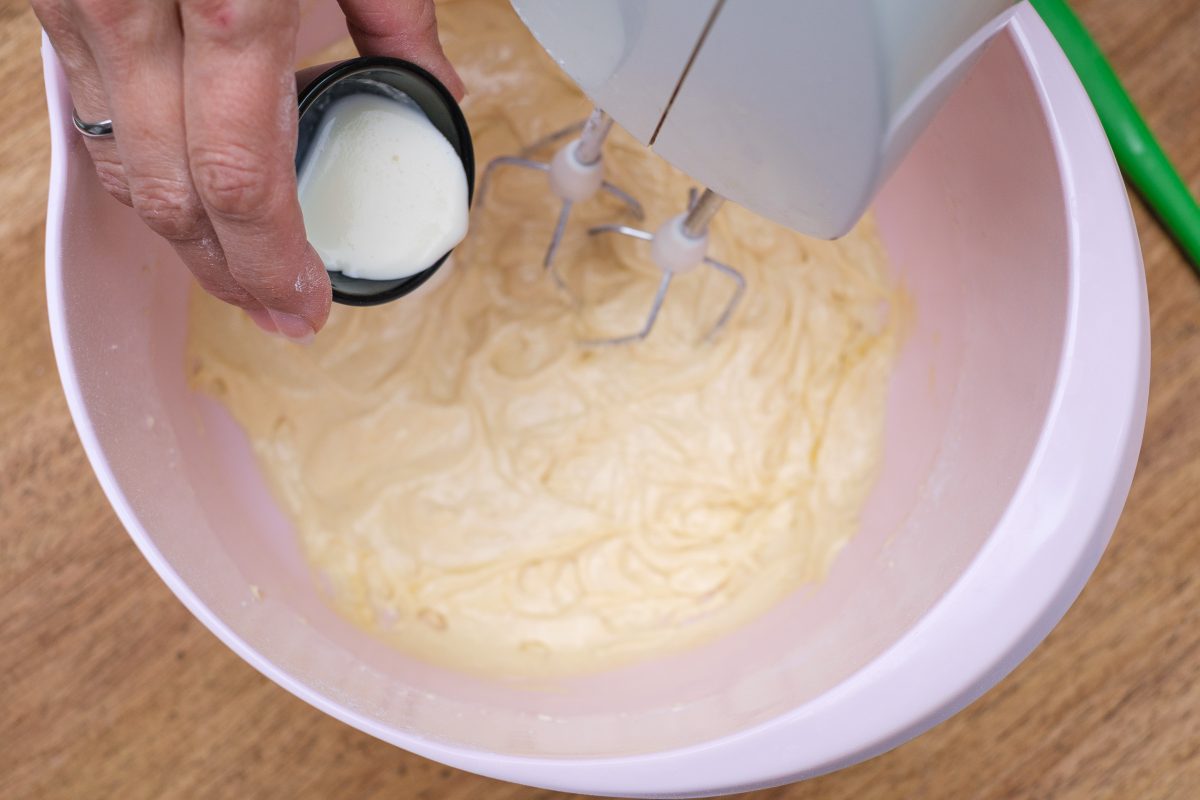
Add cream
Add the cream to the cake batter and stir.
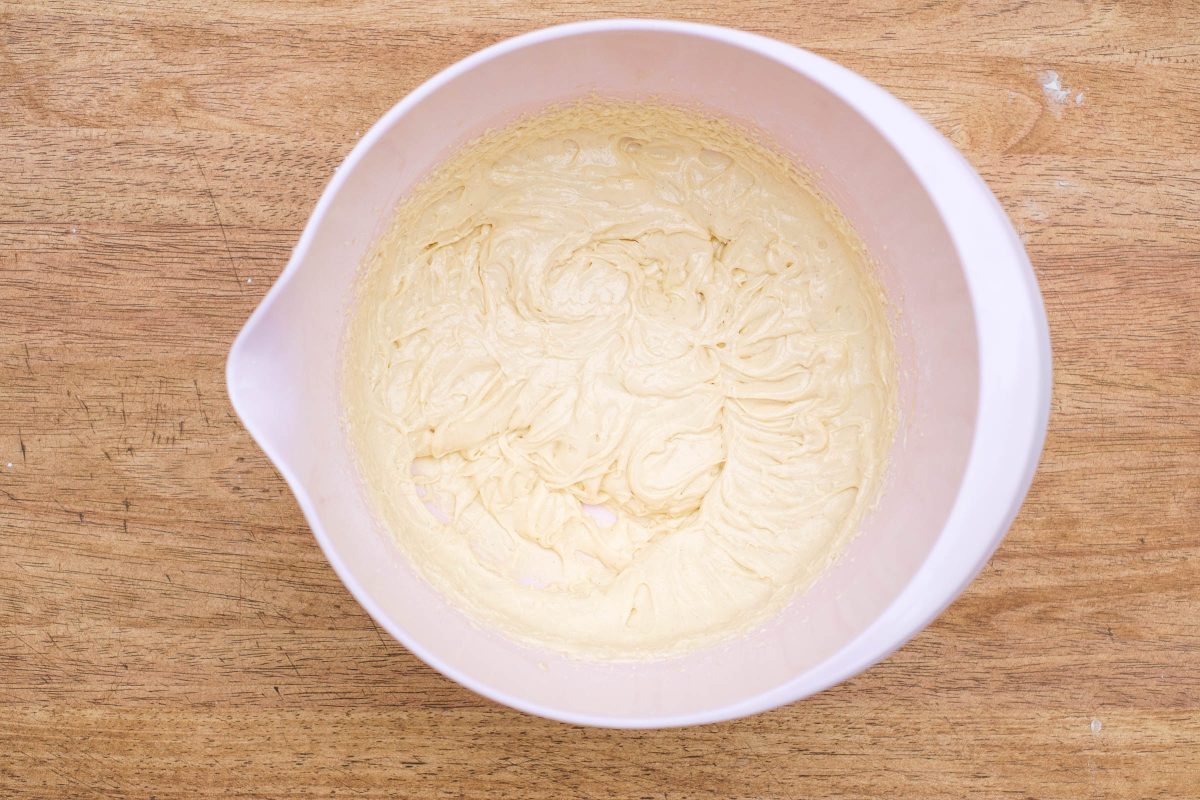
Cake batter ready
Prepare the mixed cake batter ready to pour into the mold.
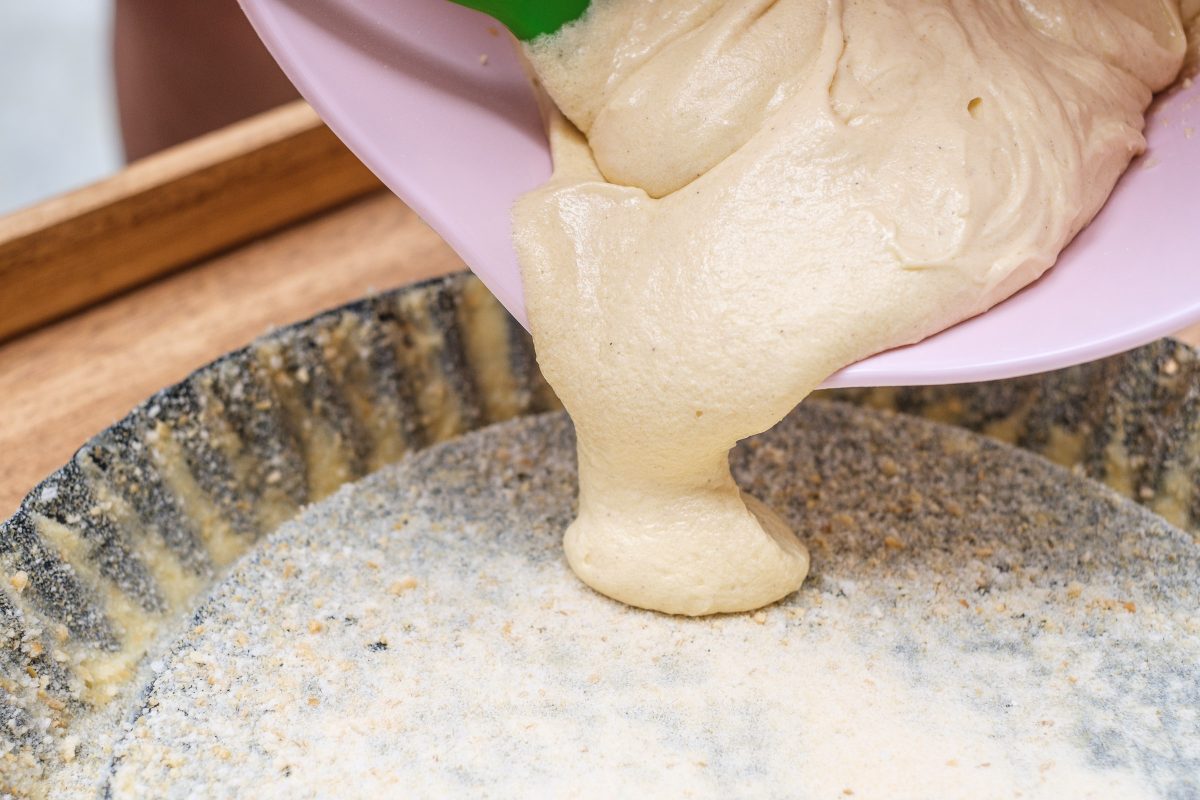
Pour in the cake batter
Pour the cake batter into the prepared pan.
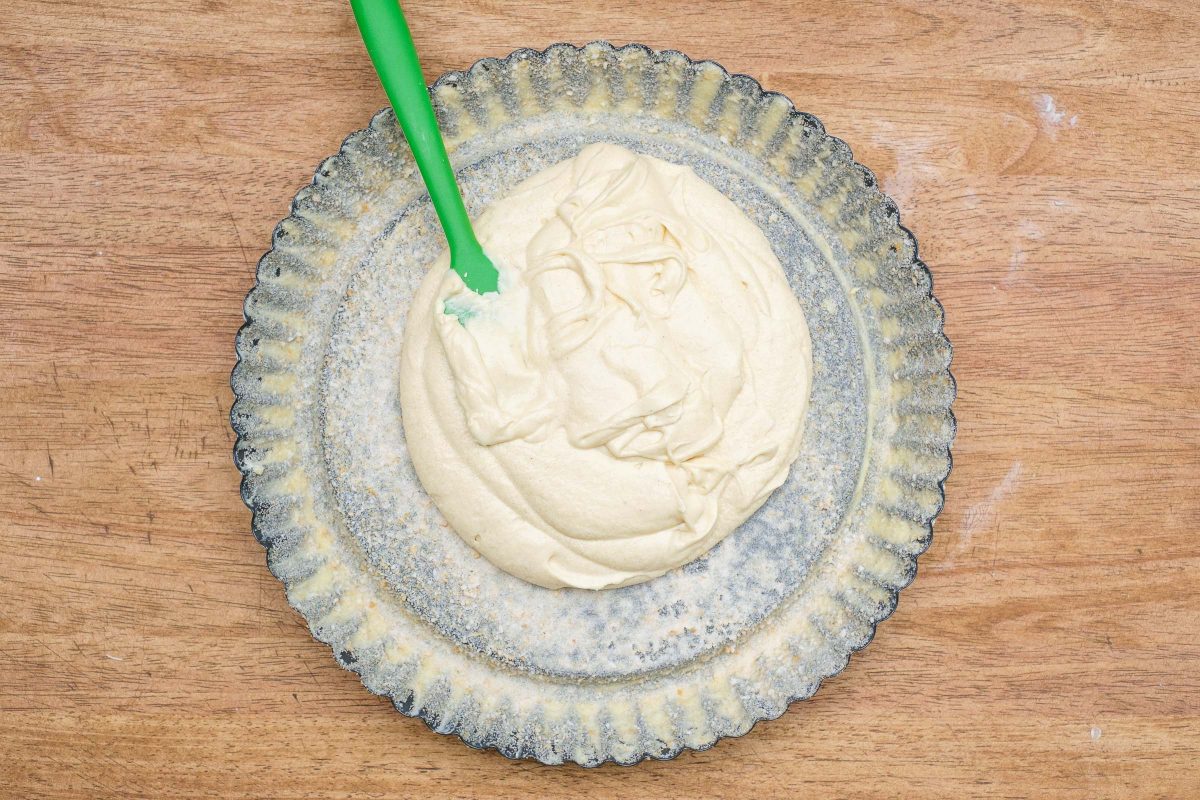
Spread cake batter
Spread the cake batter with a spatula.
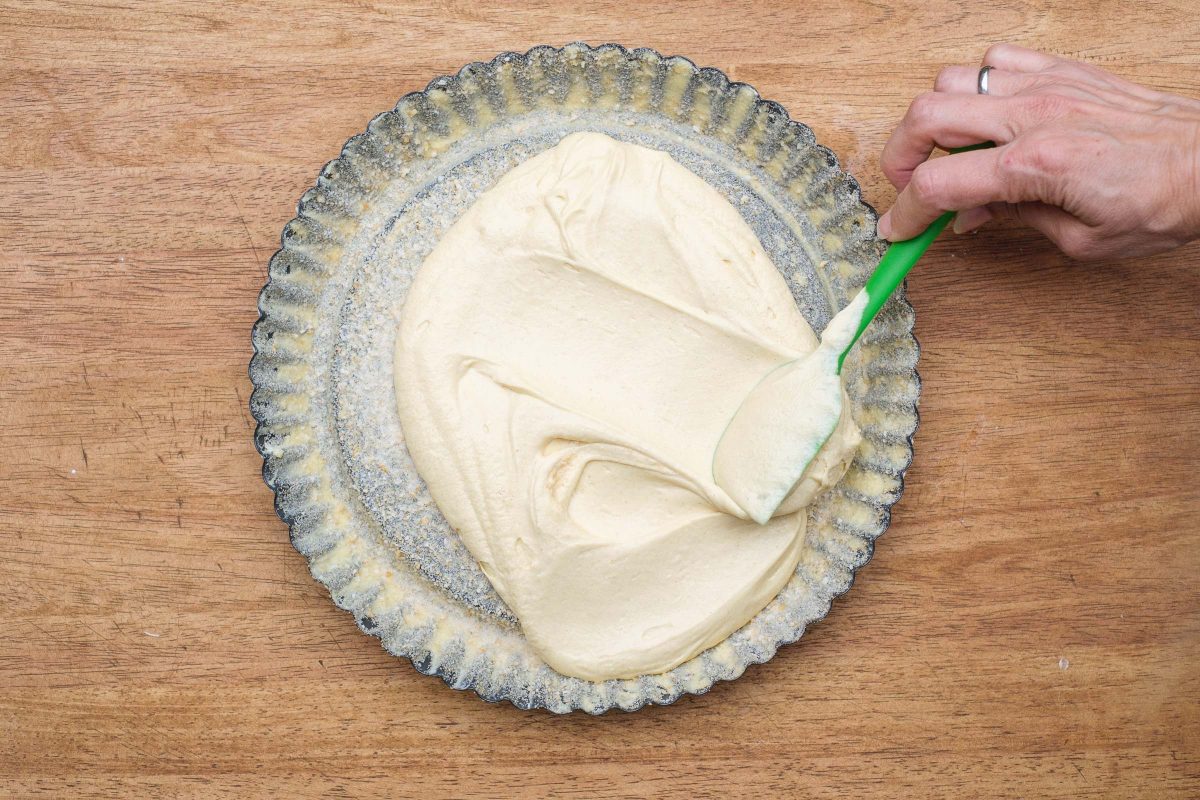
Pull out the cake batter
Gently pull the cake batter outwards to the edge.
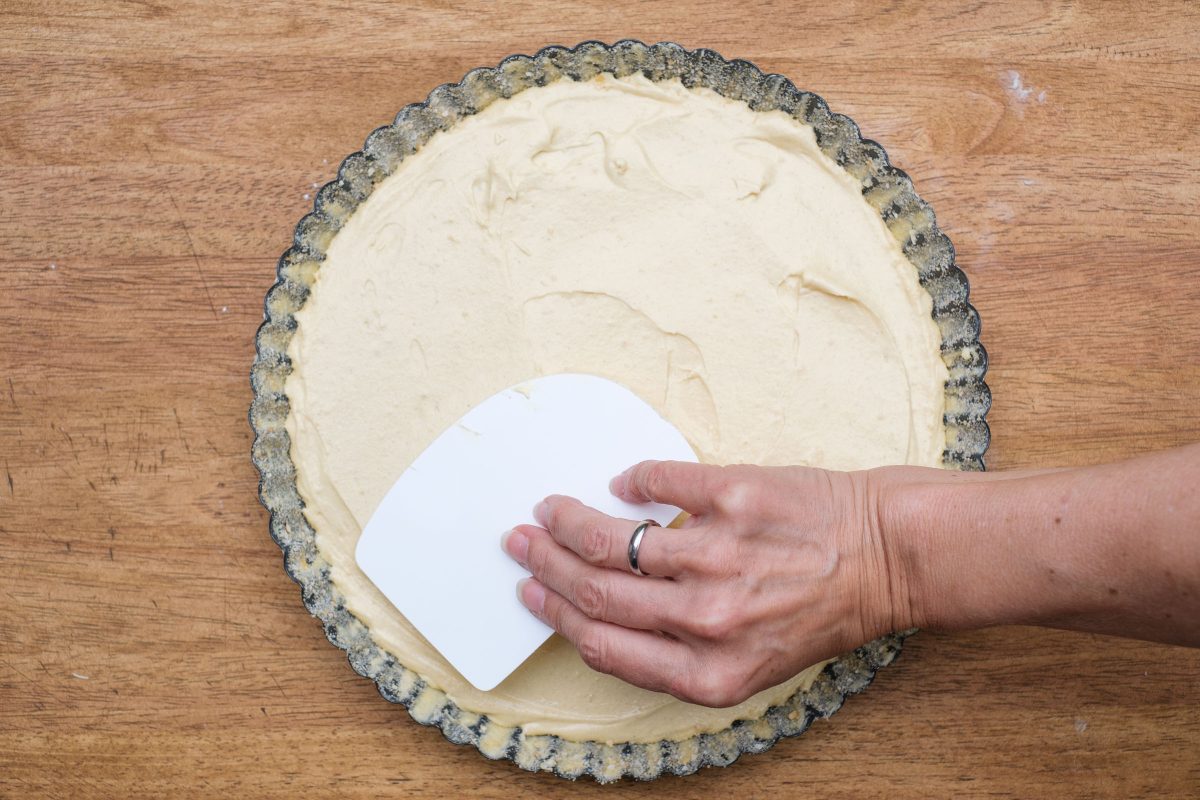
Smooth cake batter
Smooth out the cake batter in the mold with a pastry card.
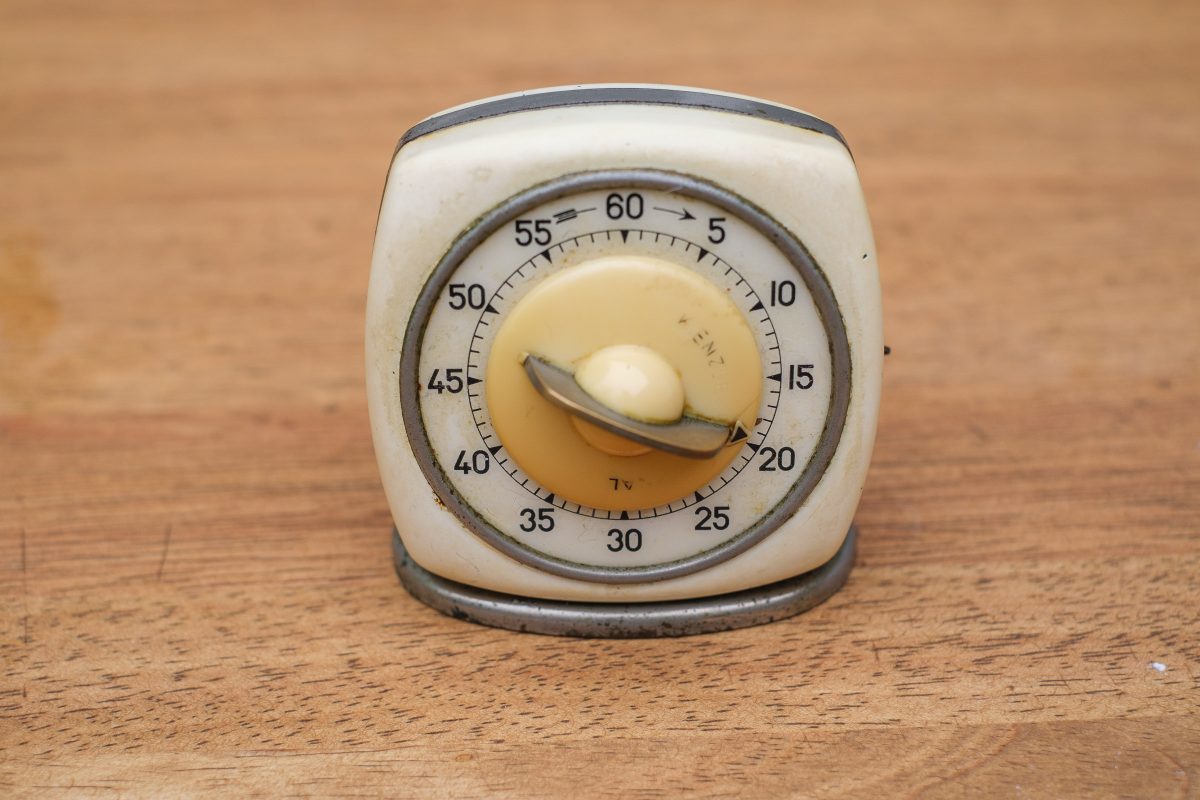
Bake fruit cake base
Bake the fruit crust in the oven, middle shelf, on a wire rack for 20 minutes at 160-170°C.
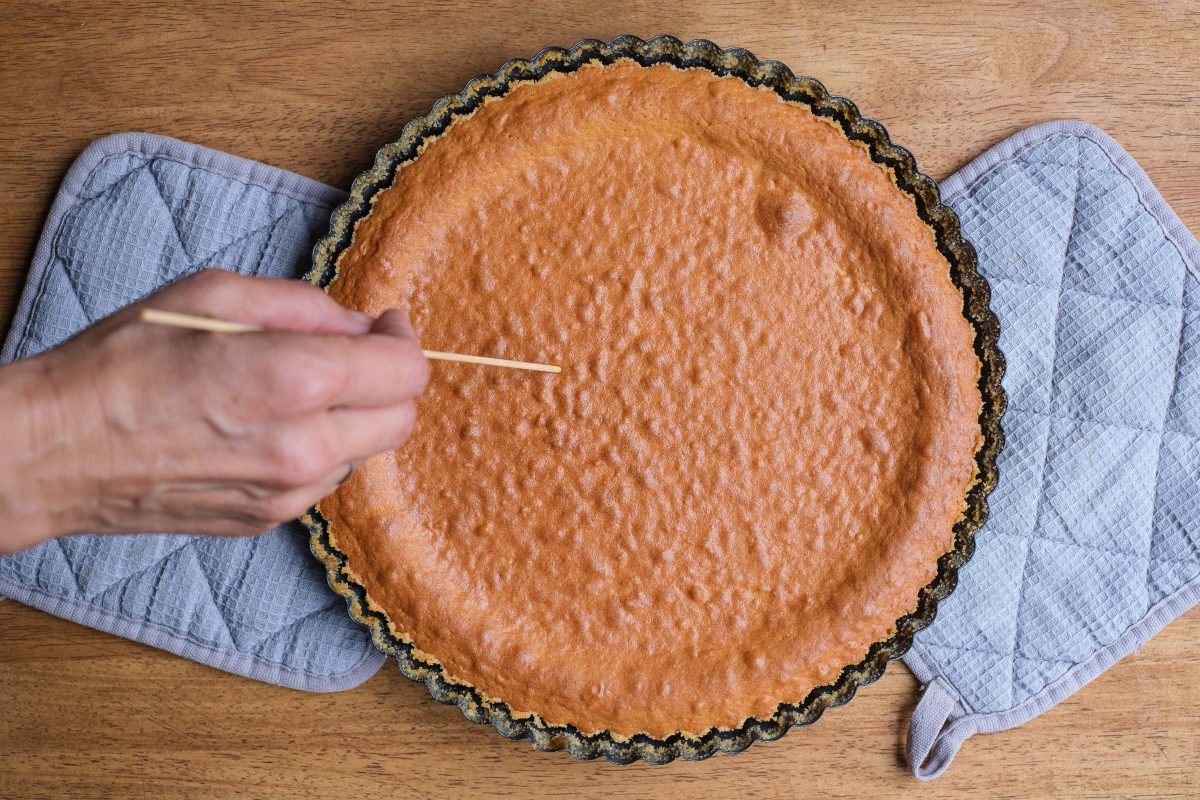
Chopstick sample
Remove the baking pan from the oven after the baking time has elapsed.
–> Pierce the middle with a wooden skewer.
–> No crumbs on the wooden skewer means: the cake base is baked.
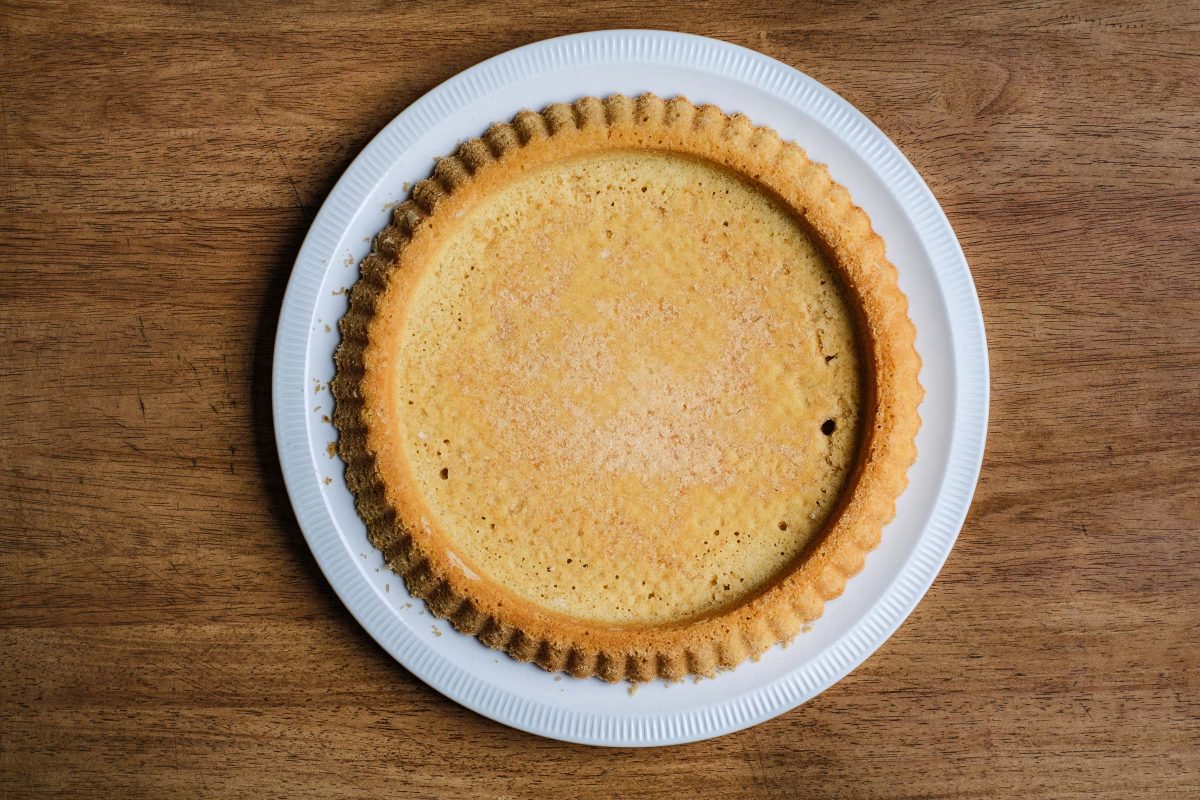
Topple the cake base
Immediately turn the cake base onto a plate:
–> Place a large cake plate upside down on the tin.
-> Hold the cake tin and plate together and turn them boldly.
–> The cake comes out nicely from the baking pan.
Push the fruit layer onto a wire rack and let cool. Fill with fruit if desired and enjoy.
Video
Courses
2. Calories and Nutritional Values
3. Tips for Baking Fruit Cake Base
So that your baking 100% successful I have summarized some baking tips for you:
Baking pan
The typical baking pan I recommend you in the sheet metal version. Metal is durable and survives even several moves. My experience is: silicone and plastic change negatively after two to three years. The plastic looks strange, silicone sometimes becomes sticky. Besides, there is already enough plastic in the world. Sheet metal is really better and more sustainable.
Grease the baking pan
At this point, please forget the pastry brush and use a piece of kitchen paper to spread the soft butter. Please brush the mold generously and thickly with butter, so that the cake jumps out of the mold easily at the end. The photos above at the steps are not an exaggeration 🙂 after all, we want baking happiness and not a broken cake.
Breadcrumbs for the buttered baking dish
The crumbs in the buttered baking pan are like a second parachute when you jump out of a plane. My grandmother used to do it this way and there was never a cake that stuck in the baking pan. Breadcrumbs are now available gluten-free, so it’s not a problem with any diet.
Start with soft butter
The soft butter is the base of the dough and only room-warm butter works well. You can either temper the cold butter at room temperature for a good hour or use the microwave. The butter should have a nice and even consistency after mixing so that the rest of the ingredients can be incorporated smoothly.
Add eggs to the dough one at a time
The eggs really need to be gradually added to the butter-sugar base. Please do this in a relaxed manner. Stir the beaten egg into the mixture for about 30 seconds. You can see the nice consistency of the butter-sugar-egg base then. Too much egg at once means less binding. Don’t forget the second egg and add it just as quickly. Then we come to the flour…
Sift flour
Mrs. Sixt and I have tried it several times! The dough is really better and more uniform if you pass the flour through a sieve before preparation. There is no way around the flour sifter for a perfect baking result.
Add milk or cream to the dough
In the recipe I have specified one tablespoon of cream to add to the dough. Depending on the type of flour, you can increase the amount of liquid to two to three tablespoons. With flour type 405 –> one tablespoon of liquid, with a portion of Viennese semolina –> two tablespoons of cream or milk and with gluten-free flour you can add up to –> 3 tablespoons of liquid.
Baking time and temperature
Note the oven temperature of 170°C. For hot air, 160°C is better. The oven should be preheated. Baking time is pretty much exactly 20 minutes, this is due to the thin layer of dough in the special cake pan.
Turn cake base hot
When the kitchen alarm clock rings, take your baking dish out of the oven. Now immediately pierce the center with a wooden skewer and check the consistency! If no more crumbs stick to the wooden skewer, the cake base is baked. I immediately turn the cake out onto a plate and then slide the cake base onto a rack to cool.
Enjoy cake
You can cover the cake base with fruit immediately after cooling and then serve. Fresh tastes the cake most delicious 🙂 or save a day goes quite well. Freezing of the cooled cake base is possible, but I do not do that, fresh is Mrs. Sixt and I prefer.
4. Topping Ideas for Your Fruit Cake Base
You can top your homemade cake base with a wide variety of fruits. Here you will find a creative selection:
Apple –> You can caramelize apple slices briefly in the pan and then put on top.
Bananas –> Put on sliced with or without cream and add fruit glaze.
Pear –> Prepare fresh like apple, you can put pickled pear halves directly on top.
Blackberries –> Fresh in summer a dream, frozen also taste 🙂
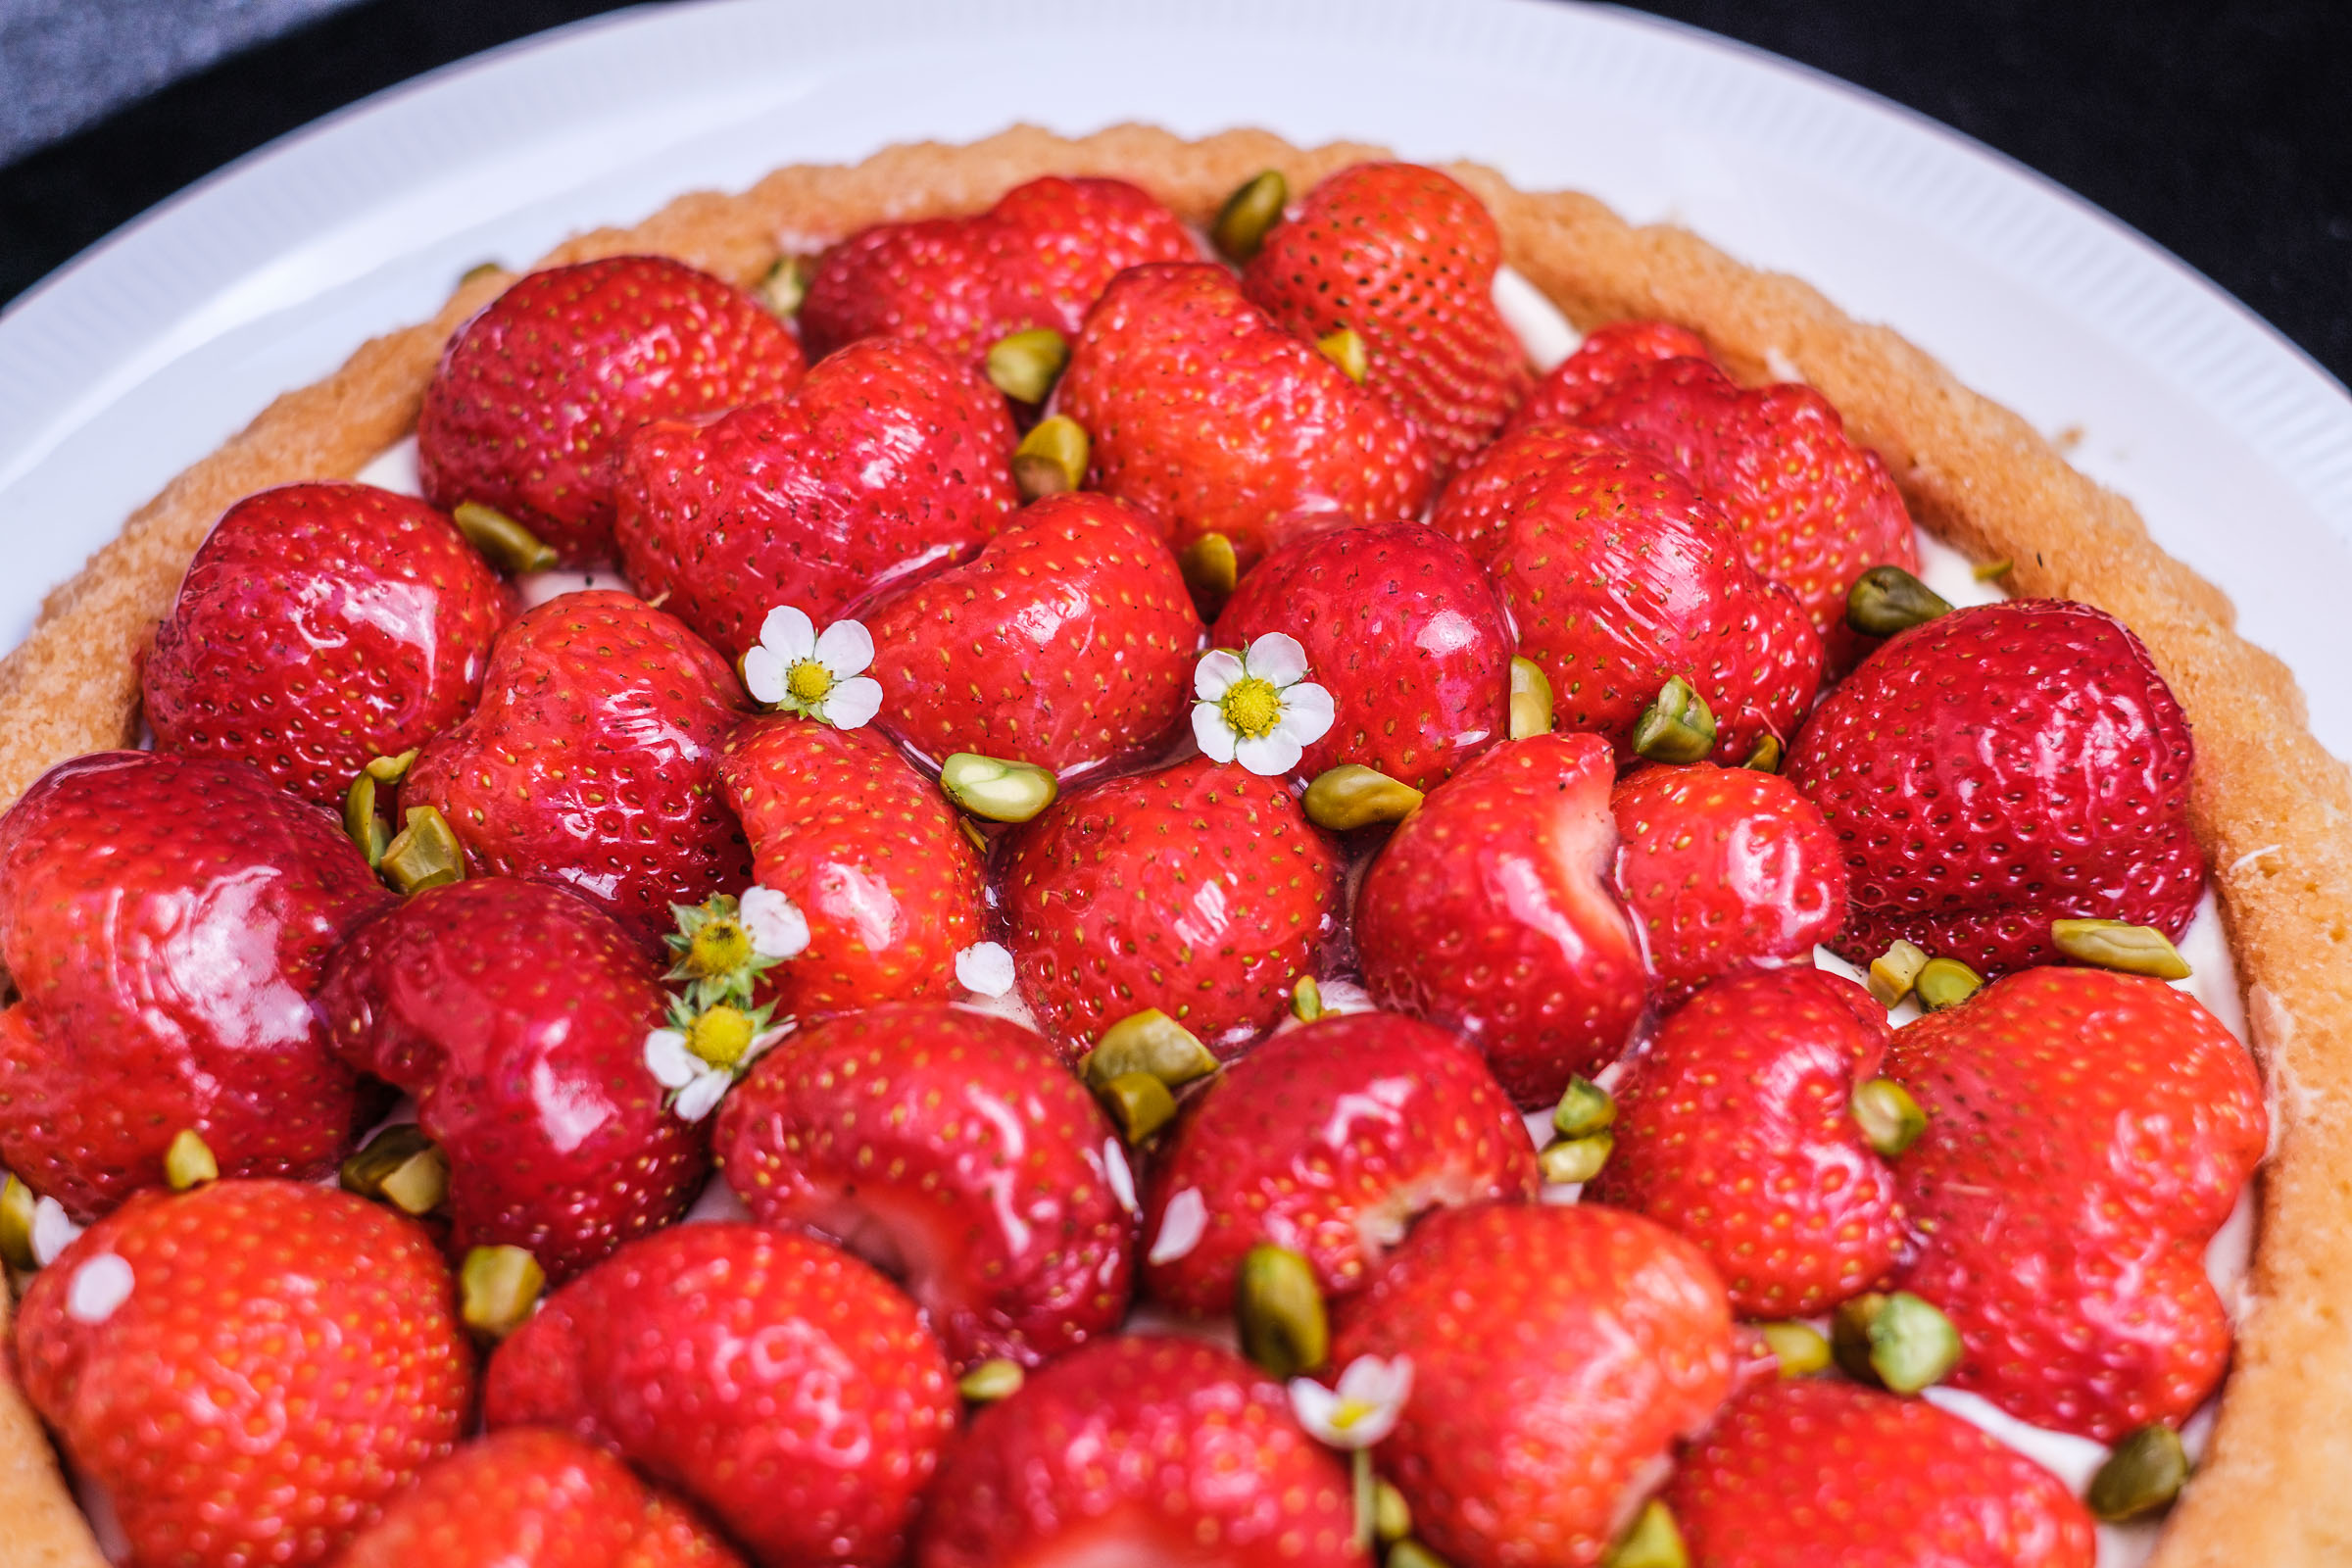
Strawberries –> With or without cream cushion a good idea. Here is my strawberry cake
Figs –> I like to put hulled, fresh figs in a lemon cream cheese spread.
Blueberries –> Always delicious with fruit icing or on filling cream!
Raspberries –> Taste best in a bed of cream without the shishy.
Peaches –> Put halves, without skin in little filling cream, caramelize with Bunsen burner.
Cranberries –> Best cold stirred directly put on yourself. From the jar: also delicious!
Cherries –> Fresh in the cream – without stone! – or rather boiled down with fruit glaze.
Kiwi –> put on slices or wedges, typically in fruit glaze with cream it tastes finer.
Currants –> Fresh from the bush, they taste better with sweet filling cream.
Tip: Prepare a suitable cake glaze according to the instructions on the package. Fill in the fruit and then pour the glaze over it. Your fruit tart is ready to serve after one hour of chilling.
5. More Baking Ideas
Stuffed Pancakes
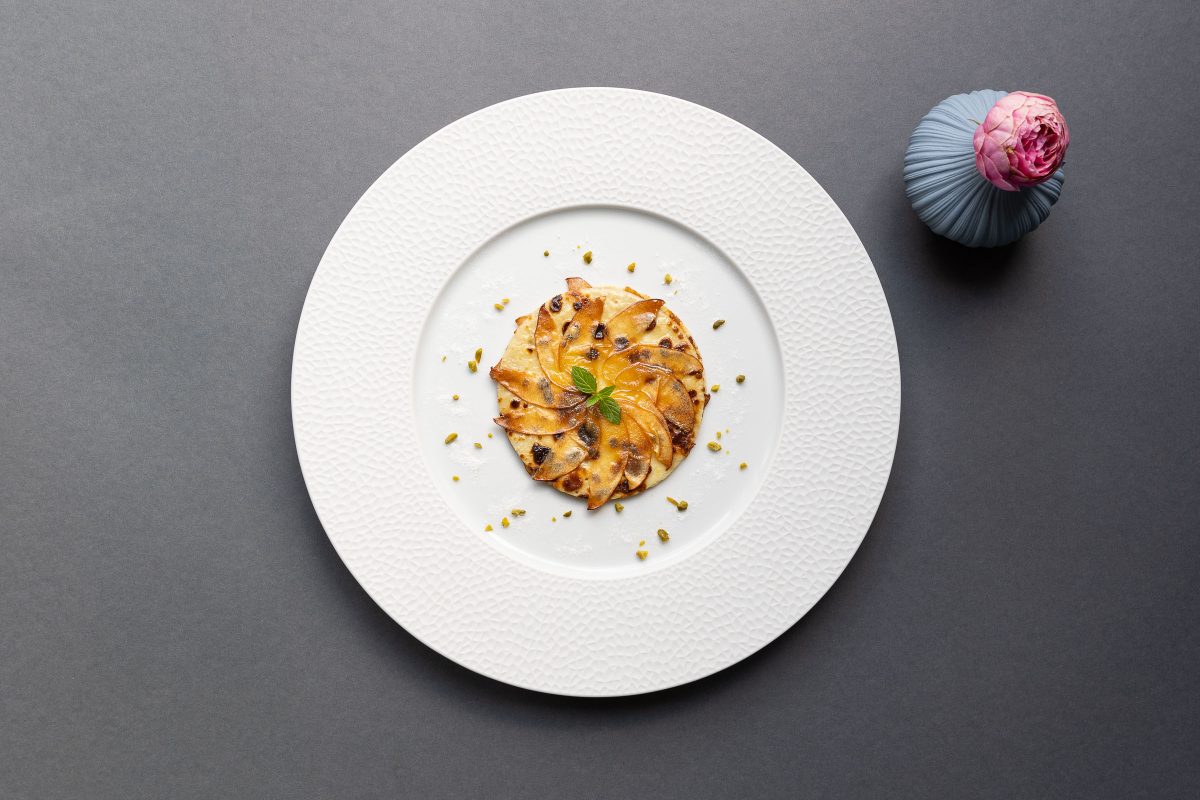
Apple Pancake
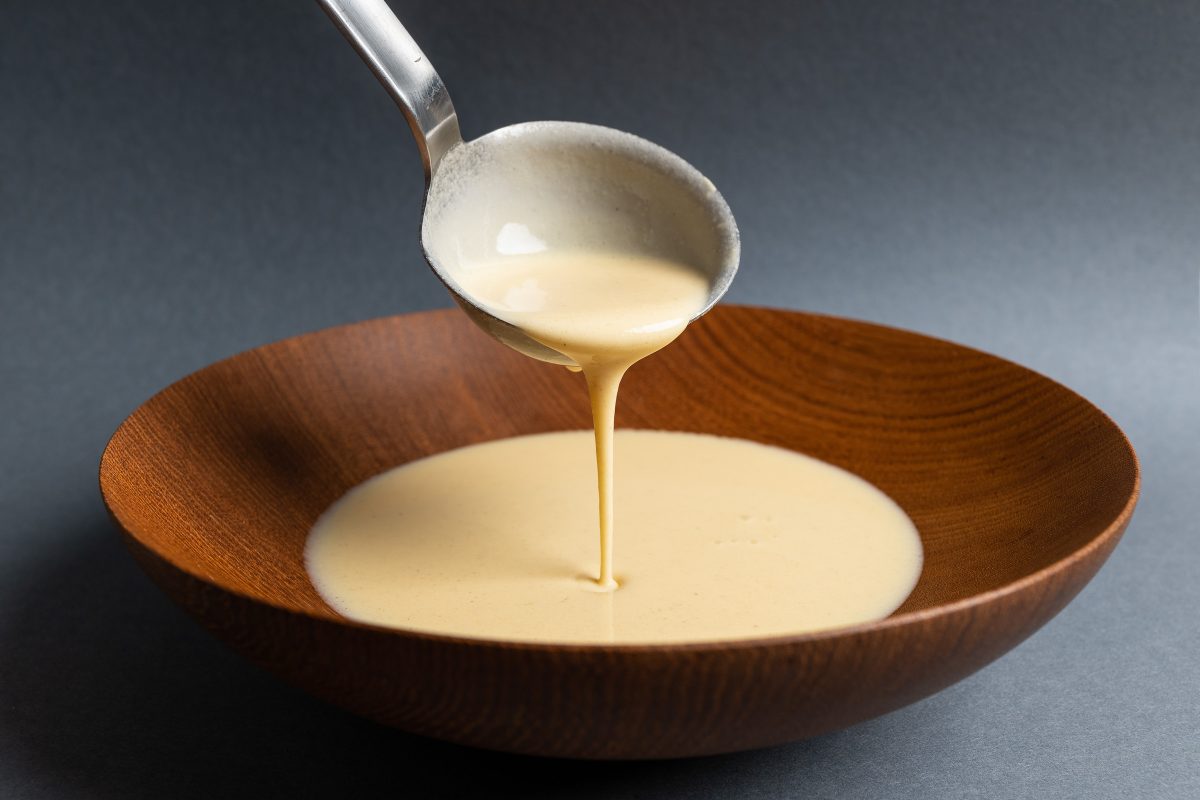
Pancake Batter
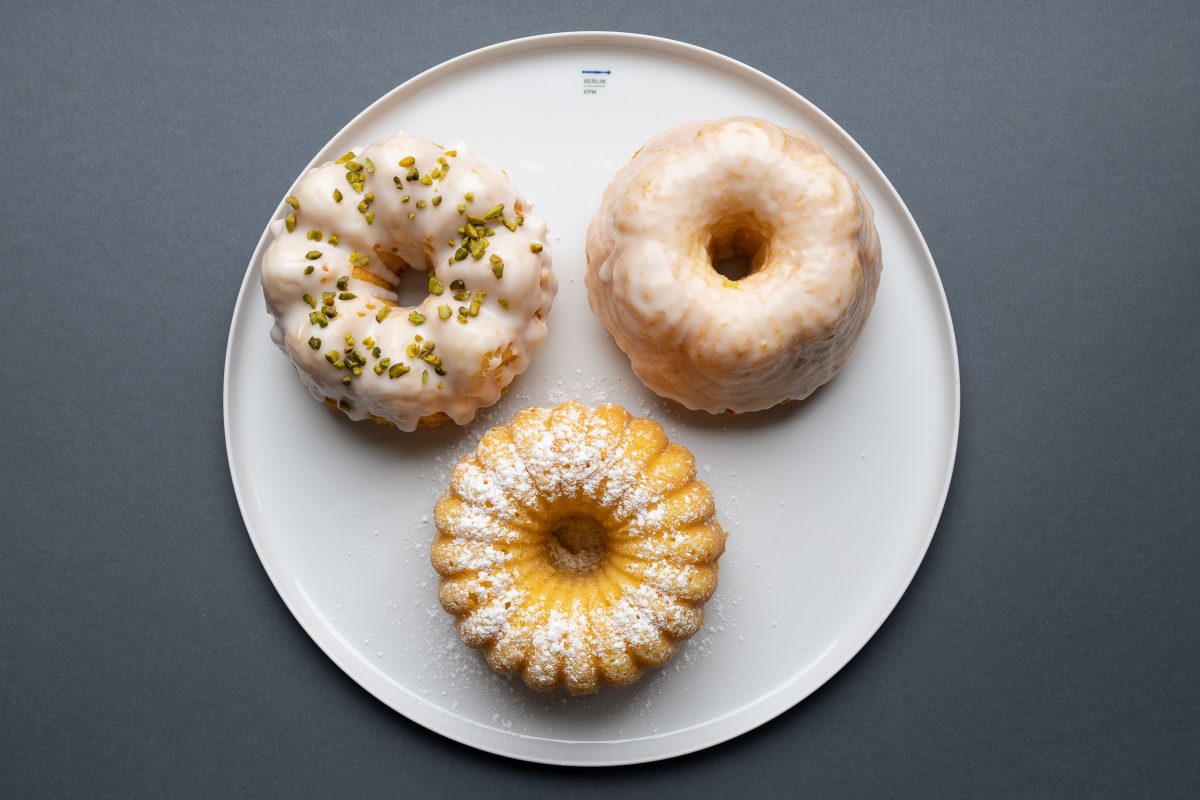
Lemon Cake
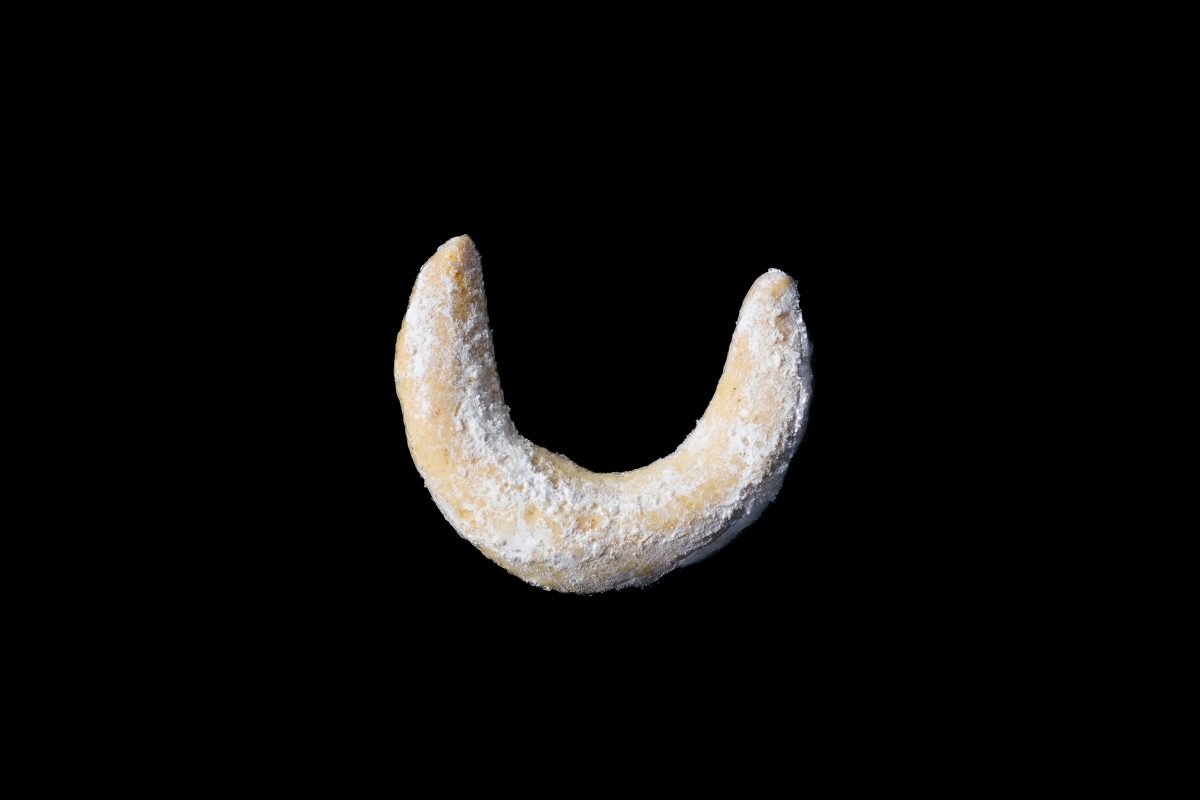
Vanilla Crescent Cookies Recipe In Two Variants
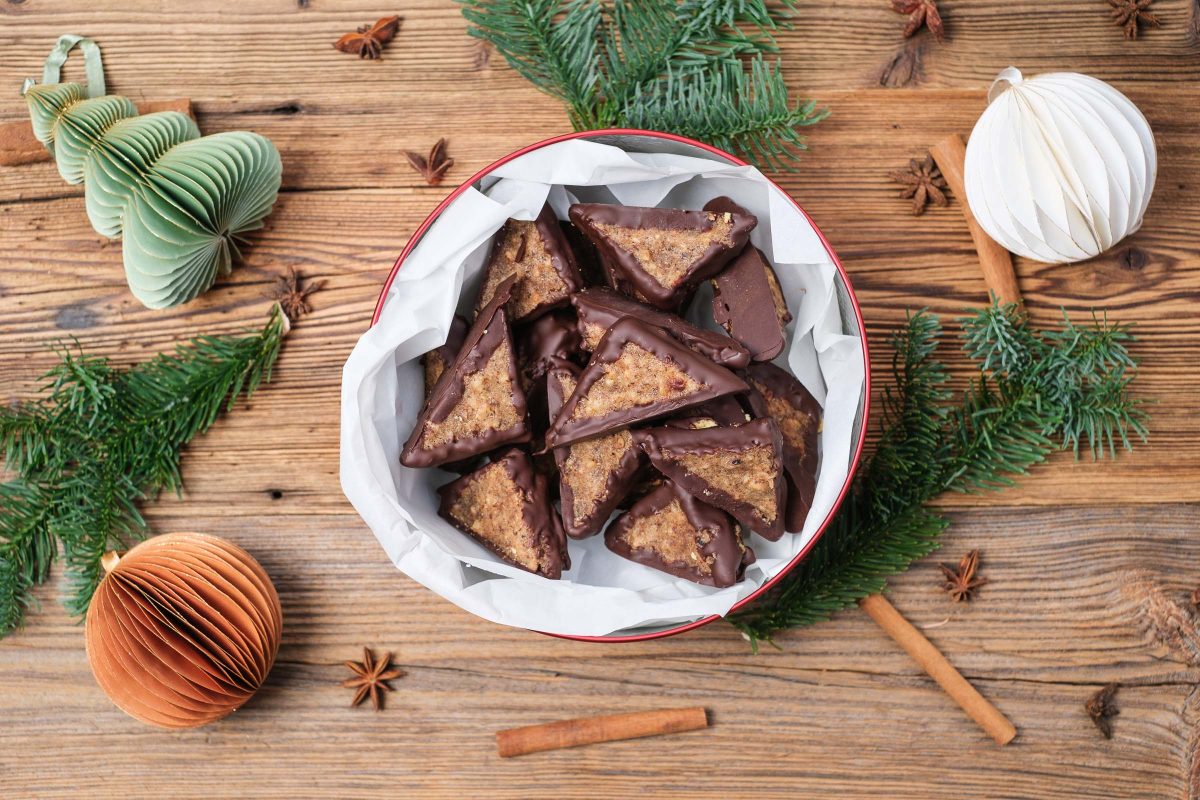
Nut Cookies Recipe
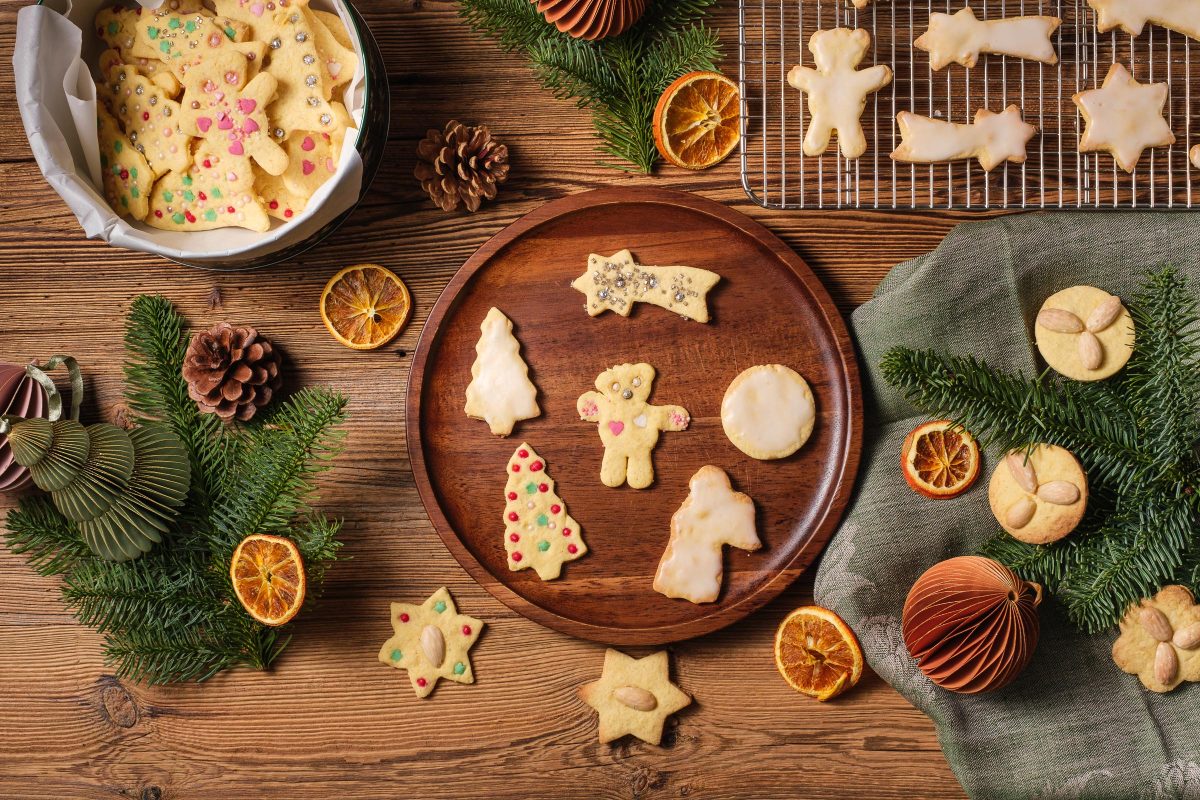
Christmas Cookie Recipe
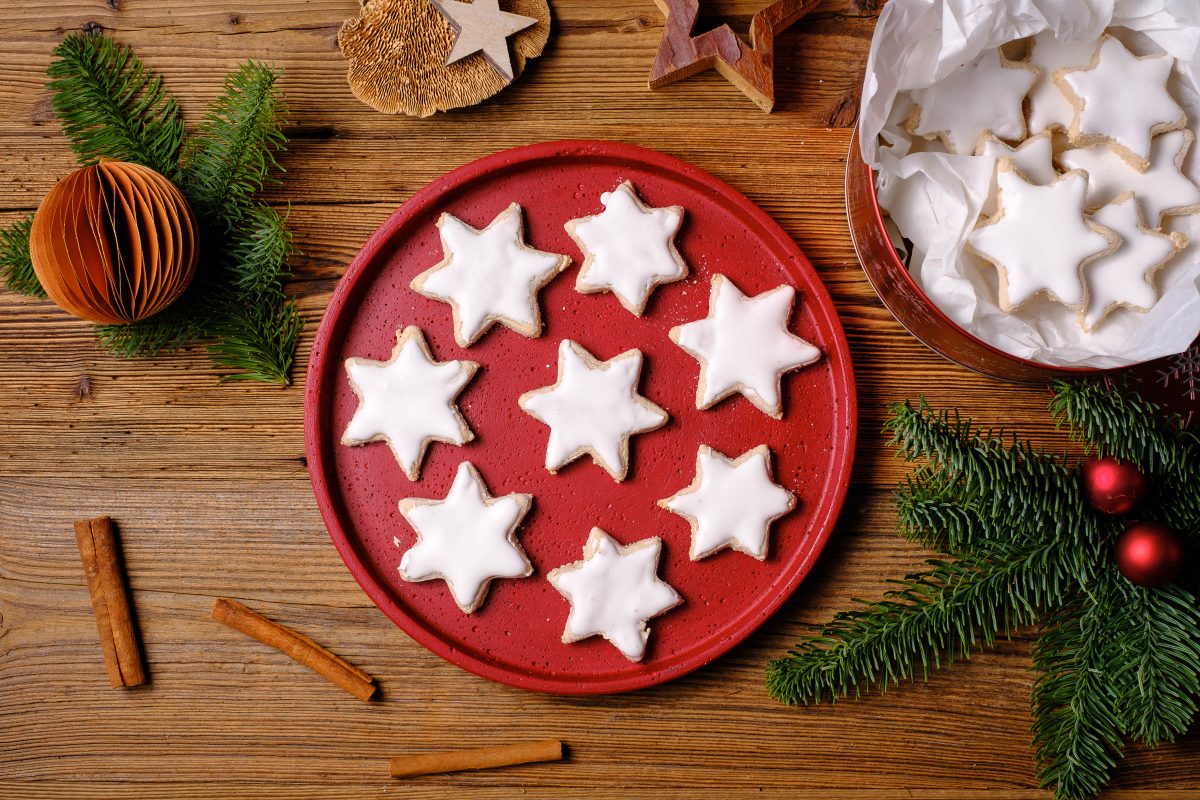
Cinnamon Cookies Recipe
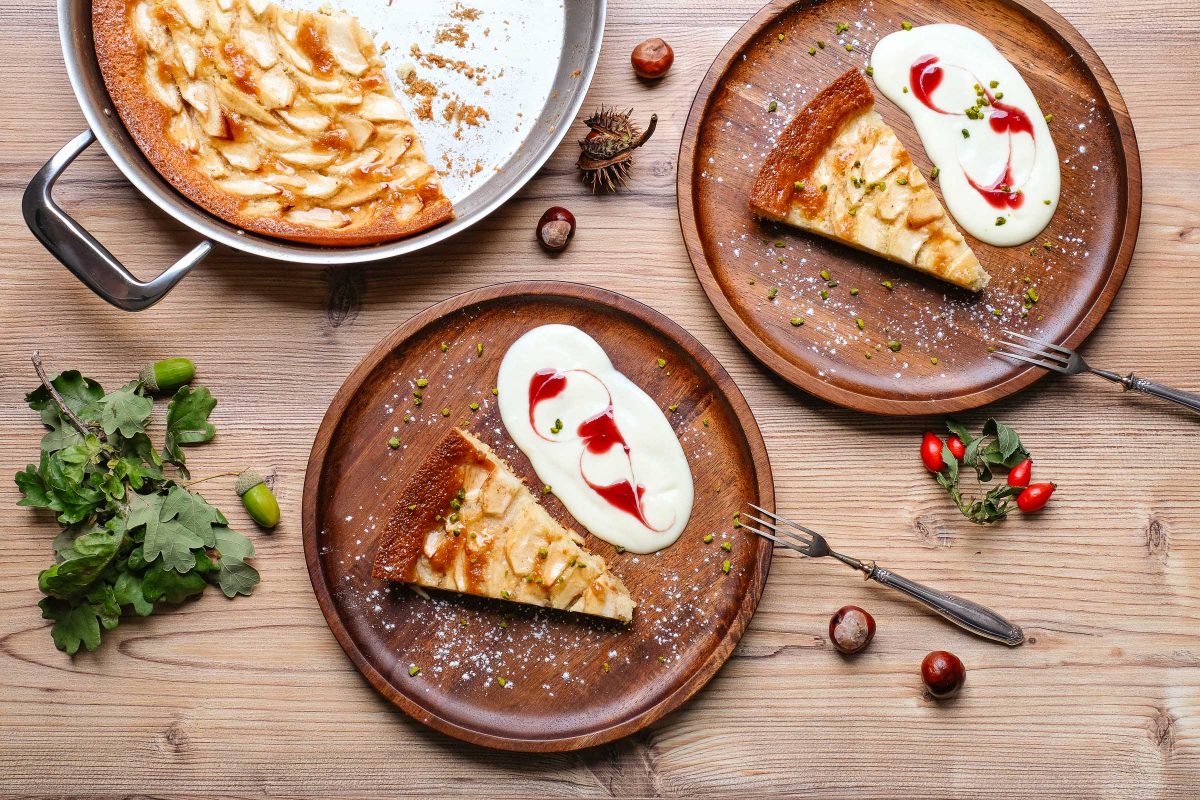
Easy Apple Pie Recipe

Fruit Cake Base Recipe for Your Easy German Sunday Cake
Tiramisu Recipe
You must Know this Ingenious Tomato Sauce Recipe!
Comments, Cooking Questions and Answers
Below you can write to me directly.
Please don’t forget the star rating on the recipe, 5 stars means you liked it!
