Make your own Pesto, Basil Pesto alla Genovese, Recipe with Step by Step Photos and Chef´s Tips
Author:
Thomas Sixt is a chef, food photographer, cookbook author and blogger.
Here he shares recipes, answers cooking questions and helps with cooking.
In this post I will show you my chef Basil Pesto alla genovese recipe. Making your own basil pesto step by step is very easy.
Pesto alla Genovese – the pesto may also be called “the pesto” and the word comes from the Italian “pestare”, meaning “crush”.
The pesto is an uncooked herb sauce and comes from Italian or Roman cuisine.
Pesto was first mentioned and documented in the Ligurian region around 1863. The cold basil sauce tastes delicious with a wide variety of dishes.
I wish you now good success… Share this article on Facebook!
Table of Contents
1. Which ingredients belong in the Original Pesto alla Genovese?
The original pesto consists of basil, parmesan, garlic, roasted pine nuts, olive oil, salt, pepper.
The pesto was traditionally prepared in a mortar.
1.1 Shopping List for the Supermarket
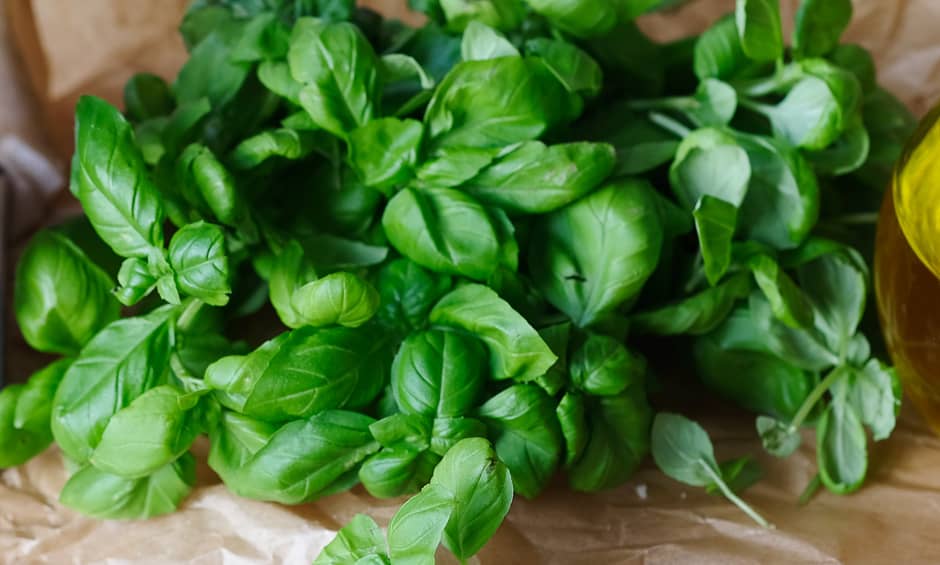
For a good basil pesto you need the following ingredients…
- Basil fresh
- pine nuts
- some garlic
- salt, pepper
- Parmesan or Pecorino
- olive oil
The exact quantities for the ingredients can be found below in the recipe for pesto. I like to exchange the pine nuts for roasted almonds. This tastes just as good and is another pesto variant. Also try walnuts or cashew kernels. You can be creative here…
If you want to wash the basil, please spin dry before preparing the pesto!
3. Make your own Herb sauce, which Variants are there?
You can prepare your pesto in four different ways:
3.1 Preparing with a Hand Blender
I like to use my hand blender for pesto preparation. The preparation is child’s play.
Important: Grate the cheese finely beforehand with a cheese grater. Cheese pieces that are too large cannot be easily mixed into oil.
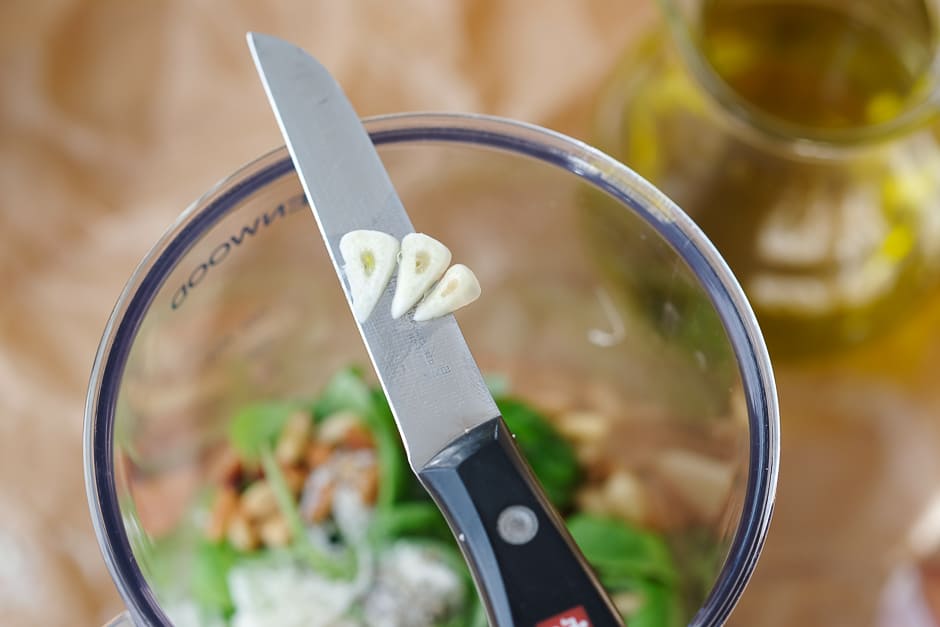
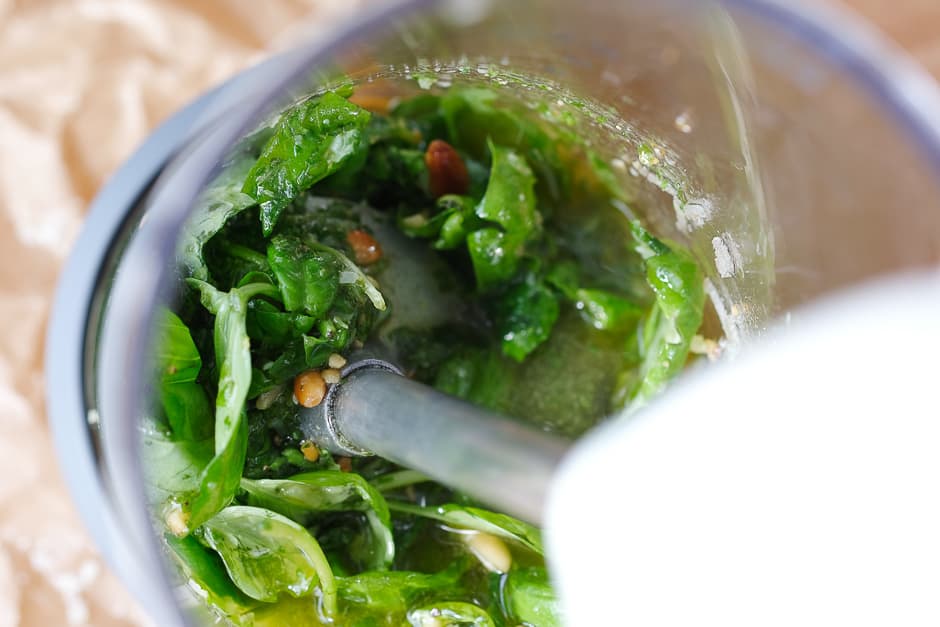
Once the cheese is grated, you can put all the ingredients in a blender jug and mix quickly with a hand blender.
3.2 Preparing in the Multi-Crusher (Cutter)
Start here with the cheese: Cut the cheese pieces into small pieces and place them in the multi-crusher. Then chop finely. Then add the remaining ingredients and crush the cheese and prepare to the pesto. Your homemade pesto is ready in 5 minutes!
3.3 Preparing in a Mortar
You’ll need a big kitchen mortar for that. Start with the garlic, then add the finely chopped basil and the remaining ingredients and grate, crush the ingredients evenly.
For this variant you need some strength, endurance and patience 🙂
3.4 Preparing in Thermomix
The Thermomix is excellent for the preparation of Pesto alla Genovese. From my experience, however, only for large quantities. Experience shows that it takes a little longer to decant from the mixing bowl.
Here are the instructions for preparing pesto in the Wunderkessel…
- Pour 100 g broken Parmesan into the clean and dry mixing bowl, crush 13 sec./step 10 (grate finely).
- Transfer the grated Parmesan into a bowl.
- Add a piece of garlic clove, 2-3 bunches of plucked basil leaves, 50-100 g roasted pine nuts, 1 teaspoon salt and 250 ml olive oil to the mixing bowl.
- Cut into small pieces at 18 sec./stage 6.5.
- Add the previously grated Parmesan cheese and mix for 10 sec/level 4.5.
One more hint:
The Thermomix cookbook indicates a shelf life of up to one month, which I consider to be too long. But a week is certainly not a problem.
Please only remove the pesto with a clean spoon and cover with oil before closing.
Here is another seasonal cooking tip: In spring you can also prepare wild garlic pesto instead of basil pesto.
4. Preserving Basil Pesto…
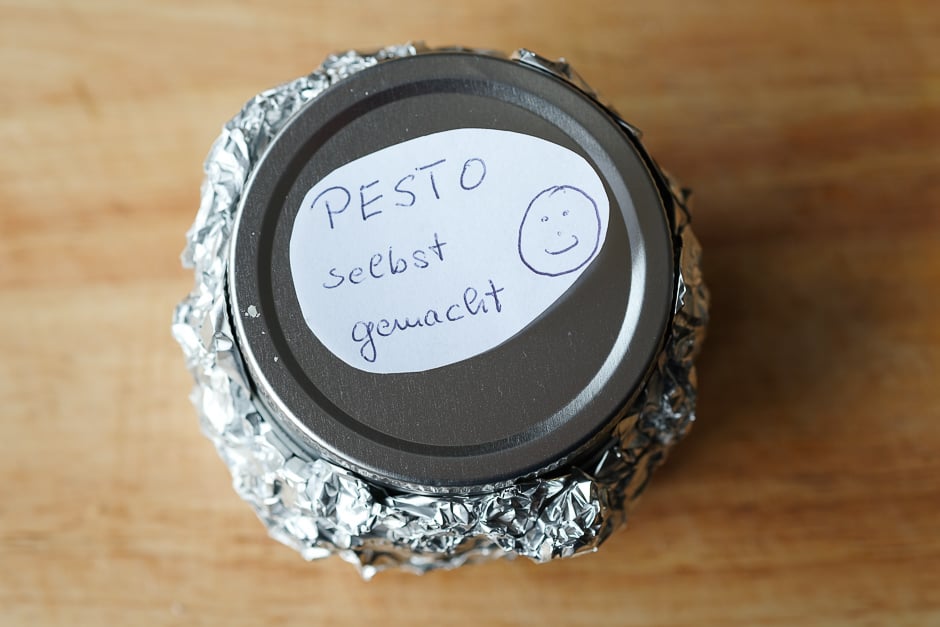
The secret of the preservation of pesto: Wrap the filled pesto in the glass with aluminium foil…so you can minimize harmful light influences. The pesto remains usable for a long time and its colour is appetisingly light green!
Please only remove the pesto with a clean spoon. I cover the pesto additionally in the glass with a cling film.
Place a piece of cling film, cut to fit, directly on the oil. To remove the pesto, simply put the foil aside and renew.
Your pesto tastes so delicious that it won’t stand in the fridge for two days!
5. What goes with Pesto?
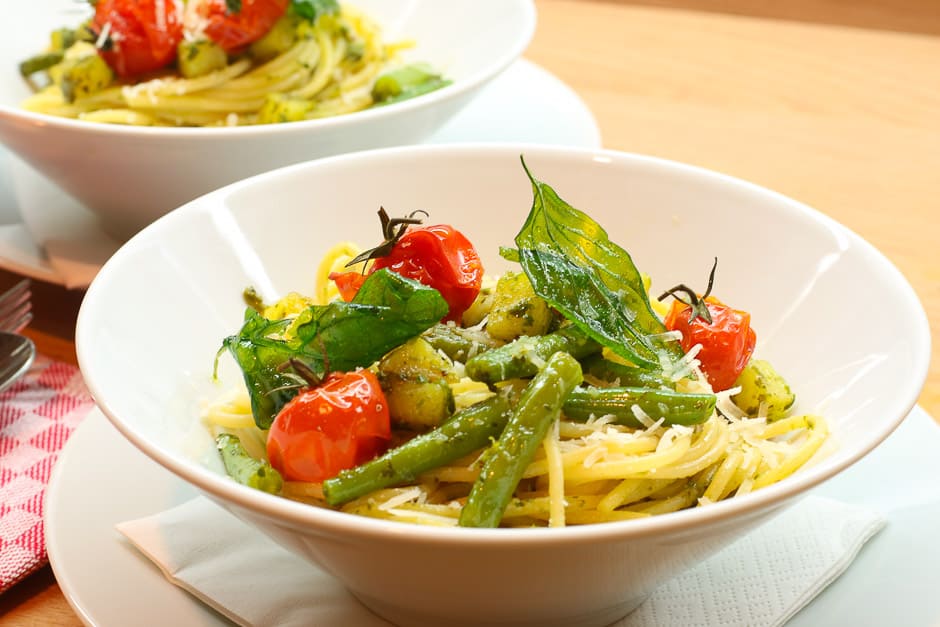
The classic to Basil pesto is certainly pasta. This preparation is most delicious with Linguine, a slightly wider or flat spaghetti type or with Trofie. Trofie are short, pointed, twisted noodles made of durum wheat semolina.
My recipe for spaghetti pesto genovese shows you how to prepare it step by step.
Pesto with Basil goes perfectly with…
- Roasts like beef roast, turkey roast, herb pork roast
- Poultry such as duck and goose, roast chicken and quail make pesto an excellent addition.
- Simply serve starters and salads separately or decorate on the plate.
- To soups such as potato soup and vegetable soup and in stews of any kind.
- To poached or fried fish and seafood.
6. Recipe Pesto, my Basil Pesto
Below you will find the recipe for pesto with step by step photos as instructions. The consistency of my pesto is rather liquid. If you want your pesto to be firmer, please use more basil and pine nuts or reduce the amount of oil. I wish you good luck!
Pesto alla genovese, cold Basil Sauce
Original Pesto alla Genovese recipe by Chef Thomas Sixt. Prepare your own basil pesto step by step.

Ingredients
| 60 | g | parmesan or pecorino (finely ground) |
| 2 | bunches | basil |
| 1-2 | tbs | pine nuts (roasted, cooled down) |
| 1/2 | piece | Garlic clove (or even less) |
| 1/2 | tsp | Salt |
| 4 | pinches | Pepper (black, white or dried green) |
| 125 | ml | oliv oil |
Instruction
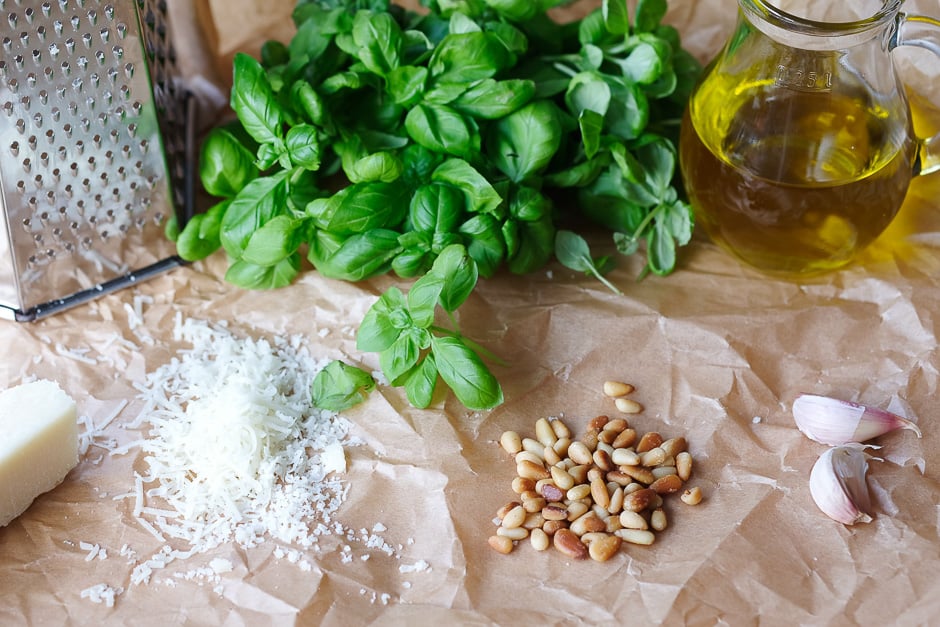
Make all ingredients ready. Finely grate Parmesan cheese or Pecorino with the cheese grater. The pine nuts absolutely roast, only in such a way the typical Pesto taste comes off!
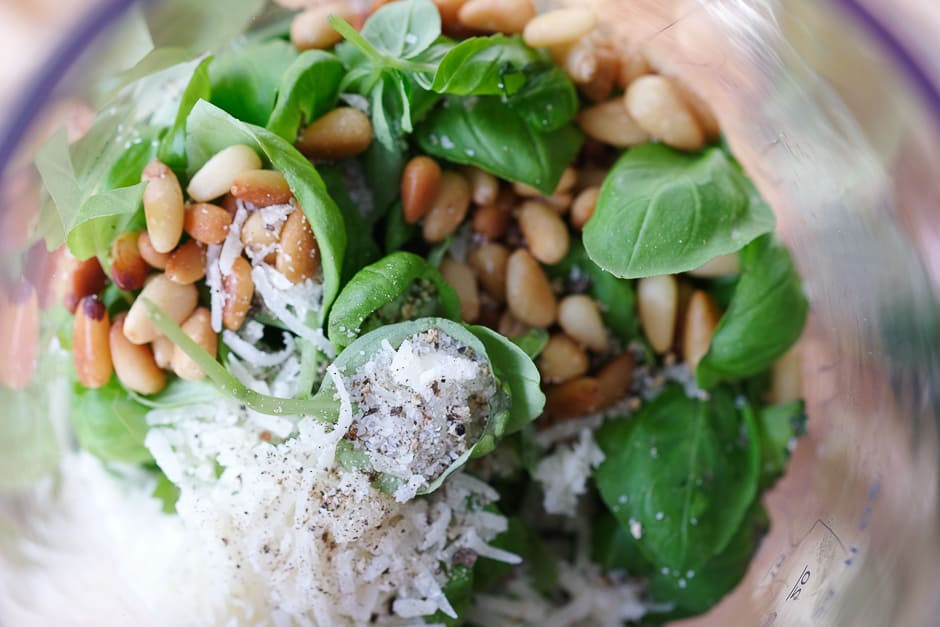
Place basil, grated cheese, pine nuts, salt and pepper in the mixing bowl.
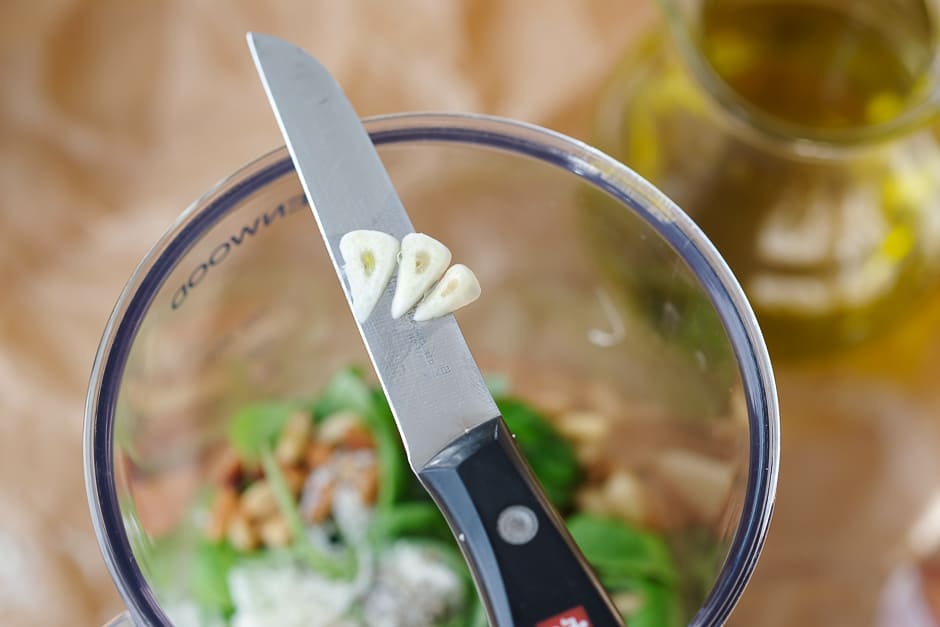
I always add some garlic to the homemade basil pesto.
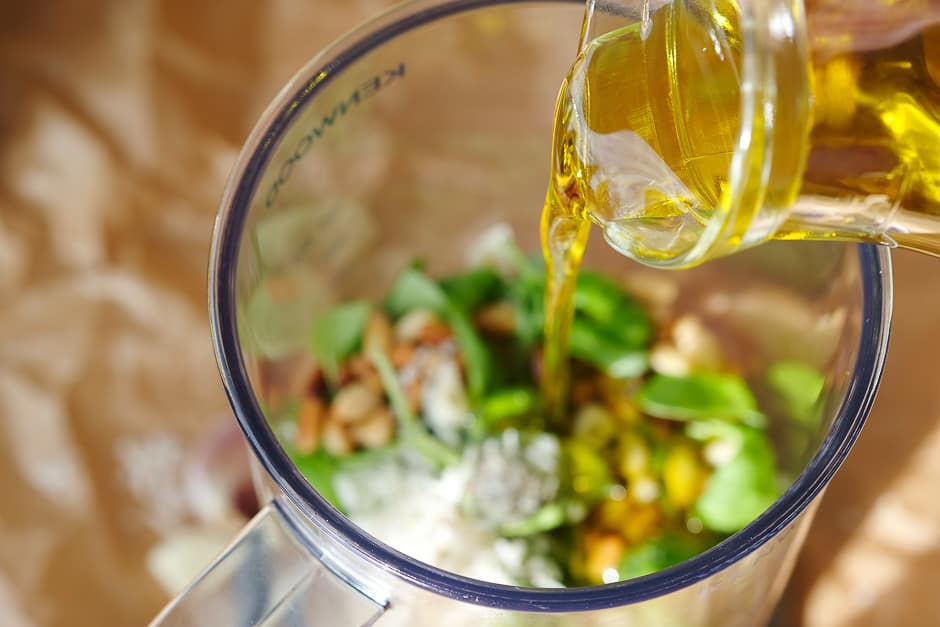
Pour the olive oil into the blender jug.
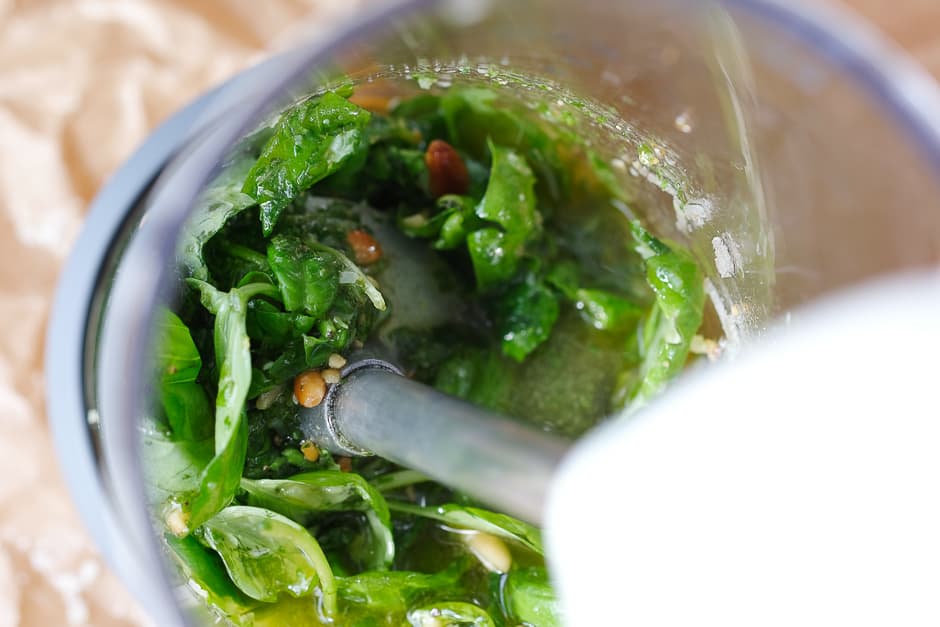
Crush the prepared ingredients in a mixing bowl with a hand blender. Season the Basilikumpesto Final.
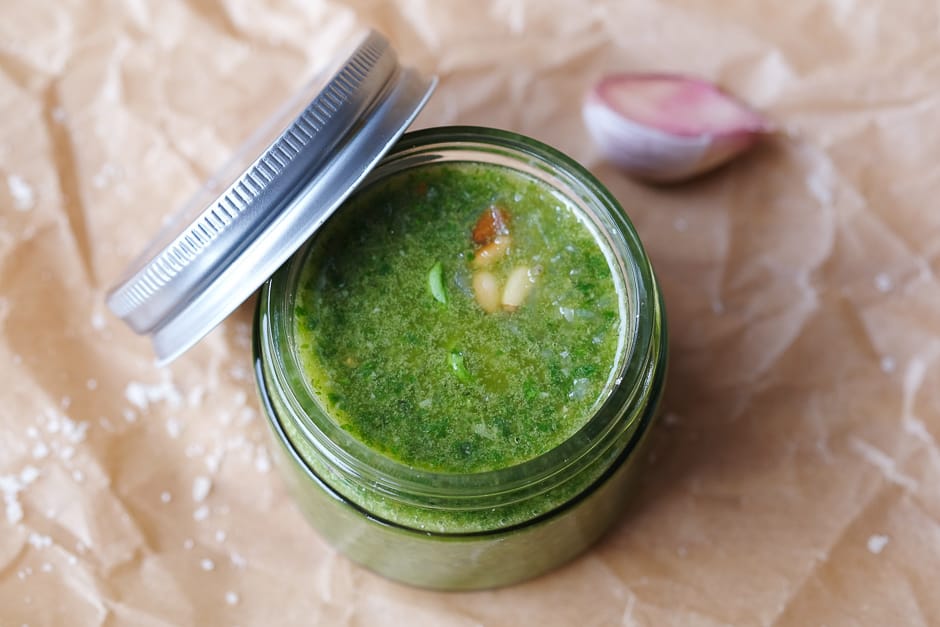
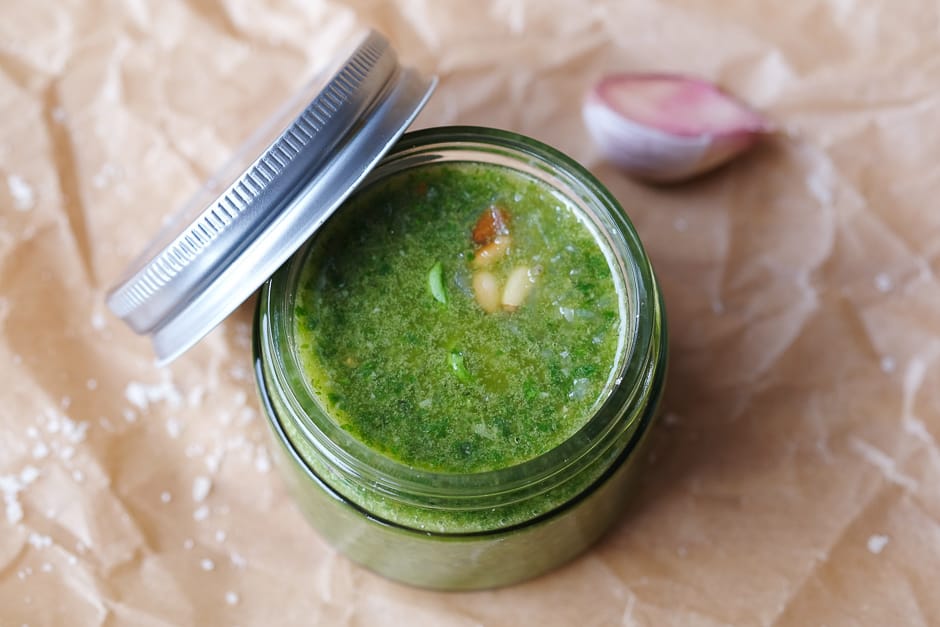
Pour the pesto into a screw glass or into bowls for serving.
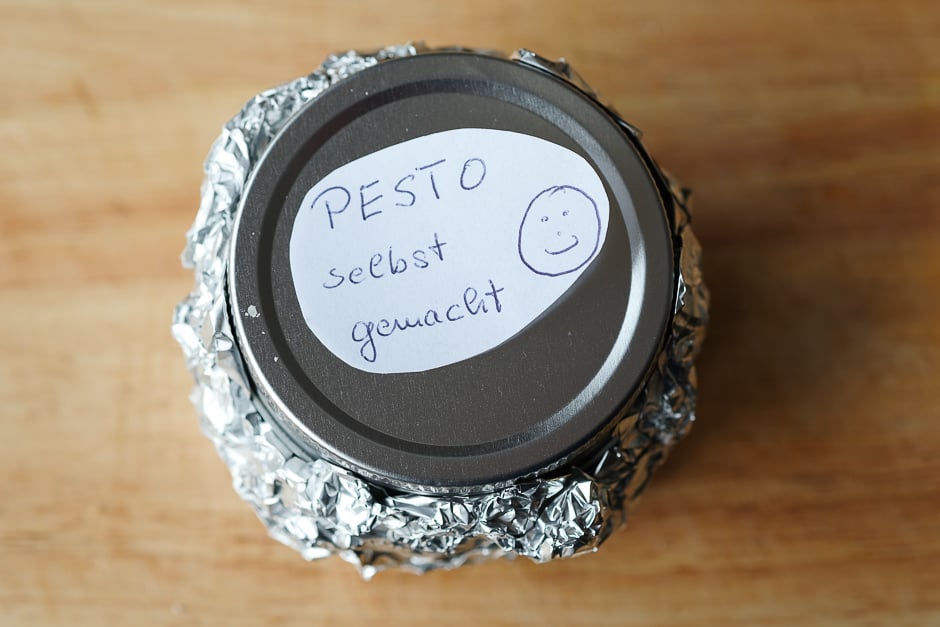
Freshly prepared pesto stays green and attractive longer if you wrap aluminium foil around the glass.
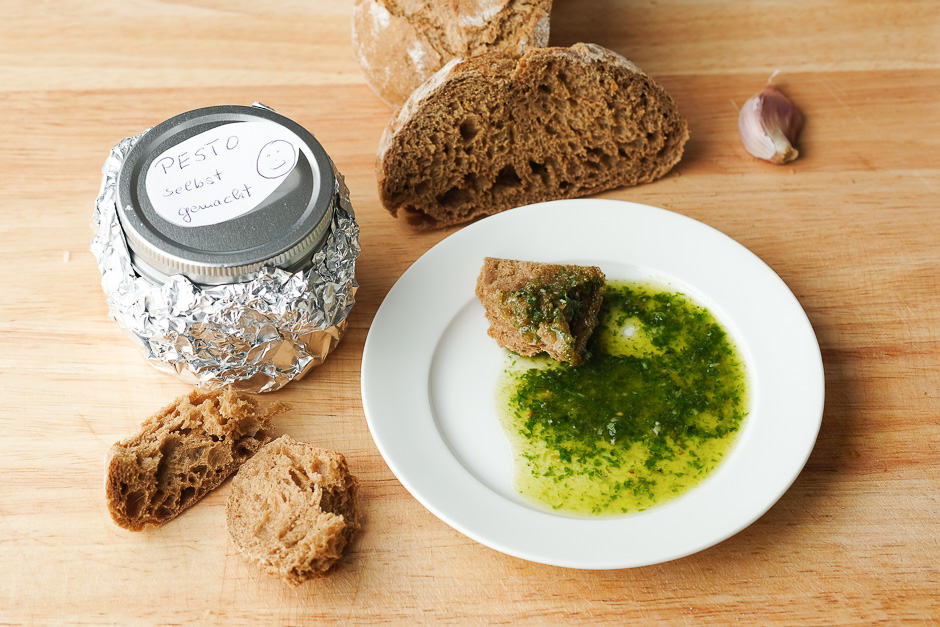
Enjoy homemade pesto with bread on a plate…Pesto goes well with snacks, as a sauce with starters, salads, soups, roasts, fish and pasta. Good luck and a good appetite!
Video
You can also prepare the cold herb sauce with wild garlic and carrot green. Wild garlic pesto is perfect in spring, carrot green pesto all year round.
Cousine
Keyword
8. Calories (kcal) and nutritional values
9. More Ideas
Béarnaise Sauce
Ghee
Clarified Butter
Nut Butter
Frankfurt Green Sauce
Sauce For Pheasant

Remoulade Recipe
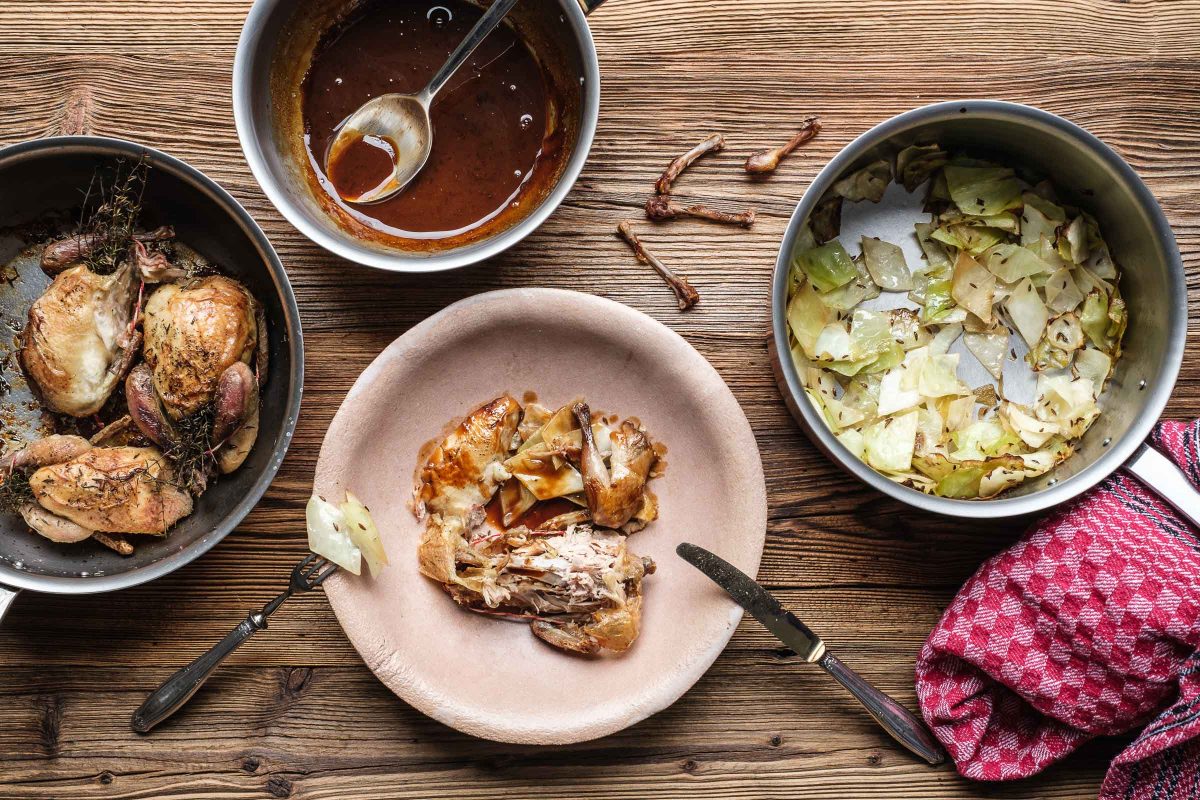
Quail Sauce Recipe
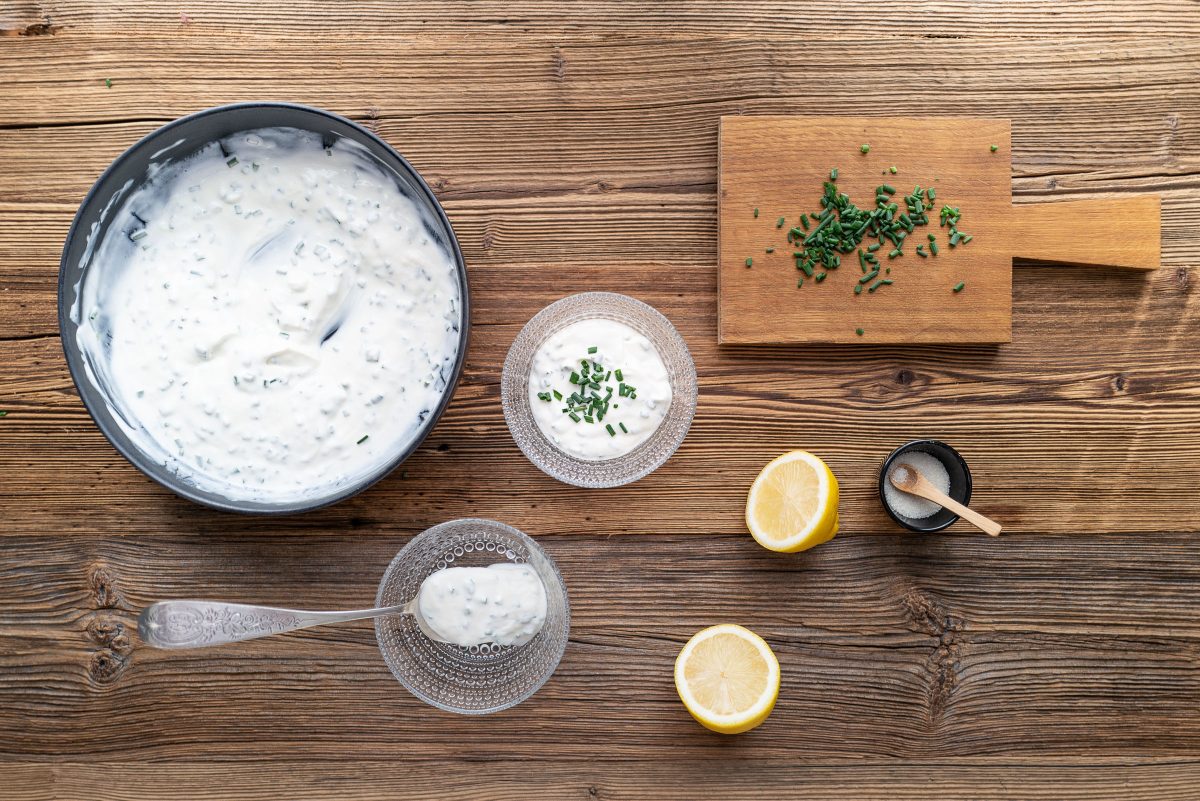
Chive Sauce Recipe
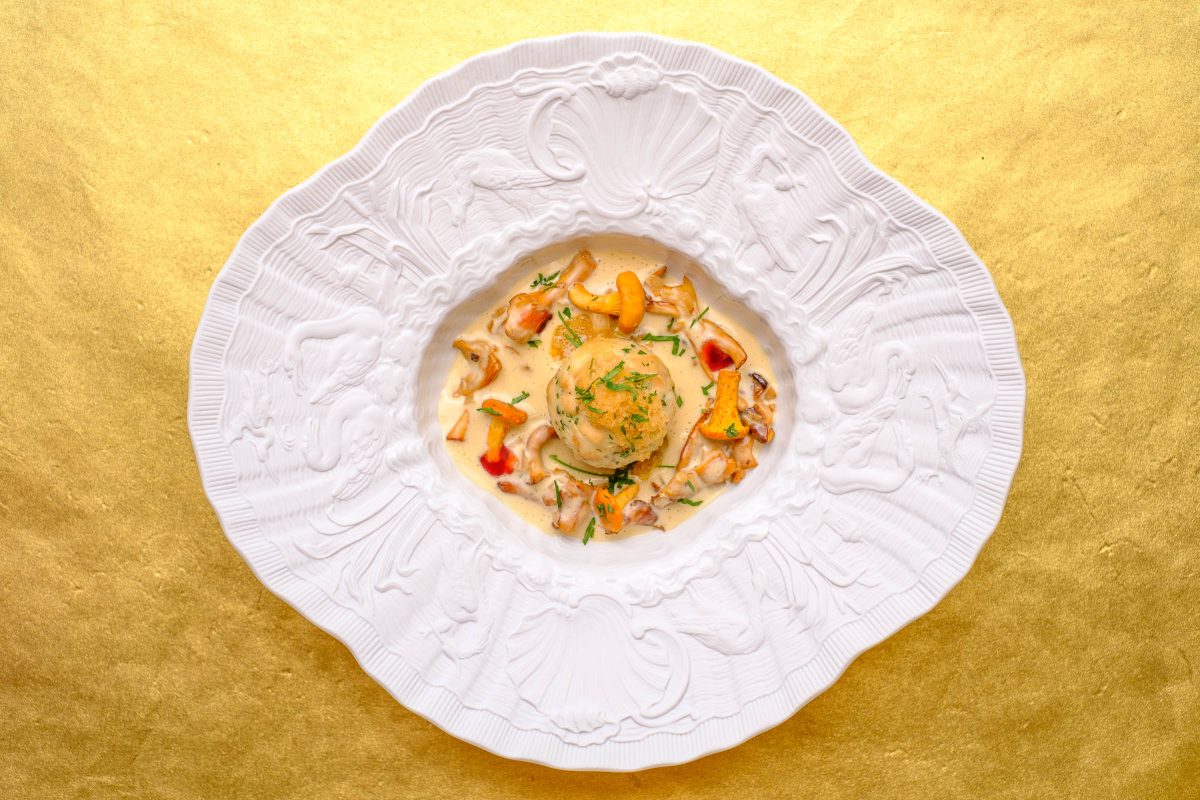
Creamy Mushrooms Sauce
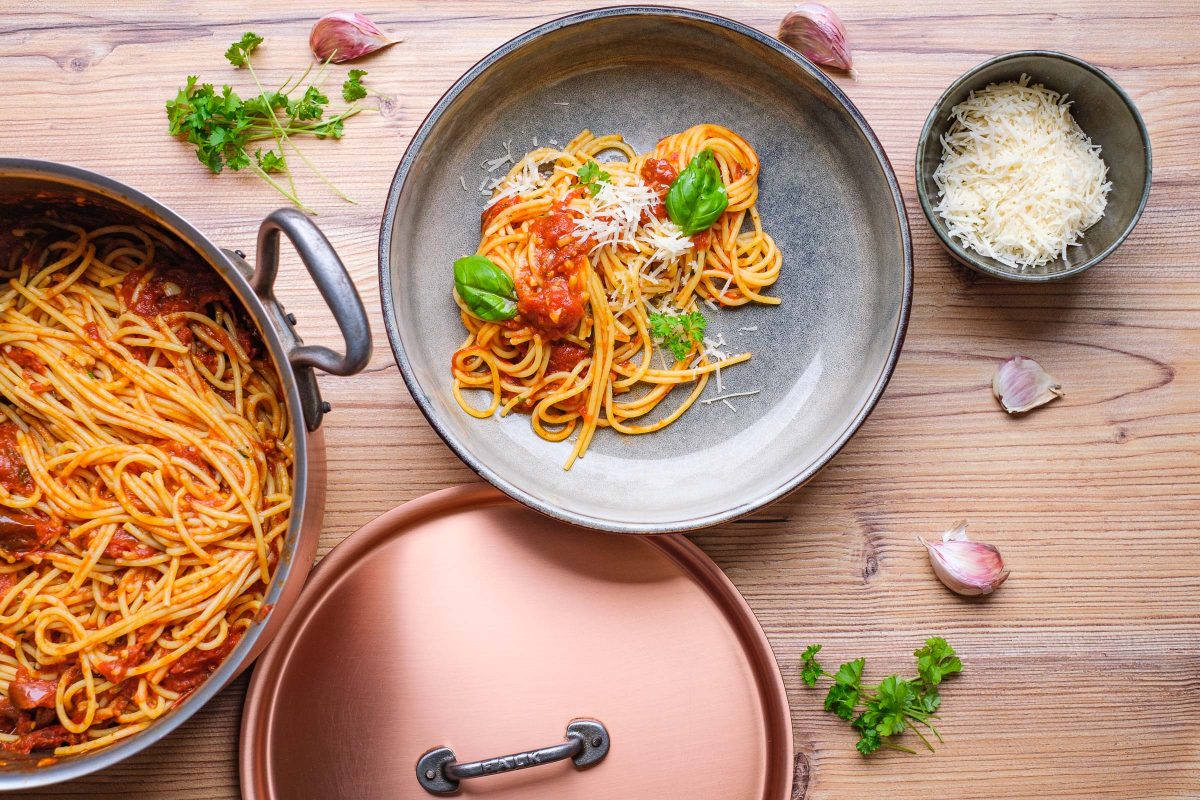
You must Know this Ingenious Tomato Sauce Recipe!
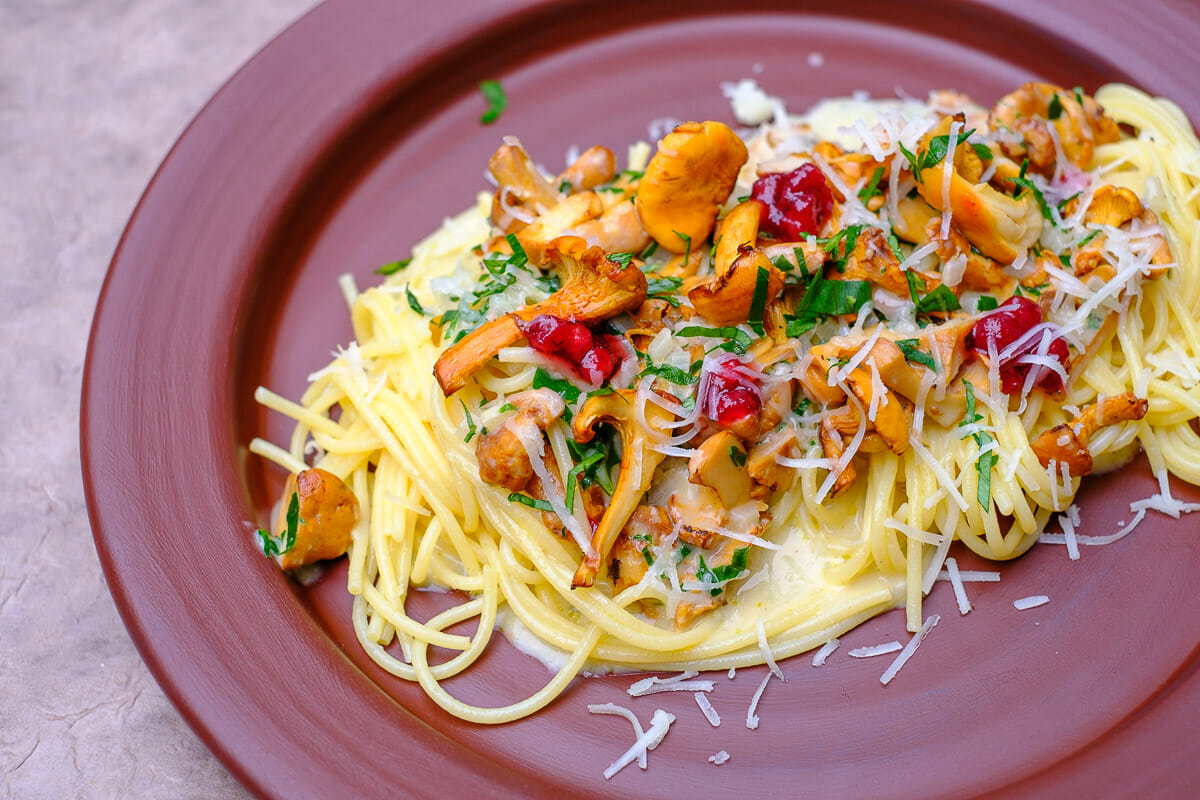
Mushroom Cream Sauce Recipe with Cooking Video
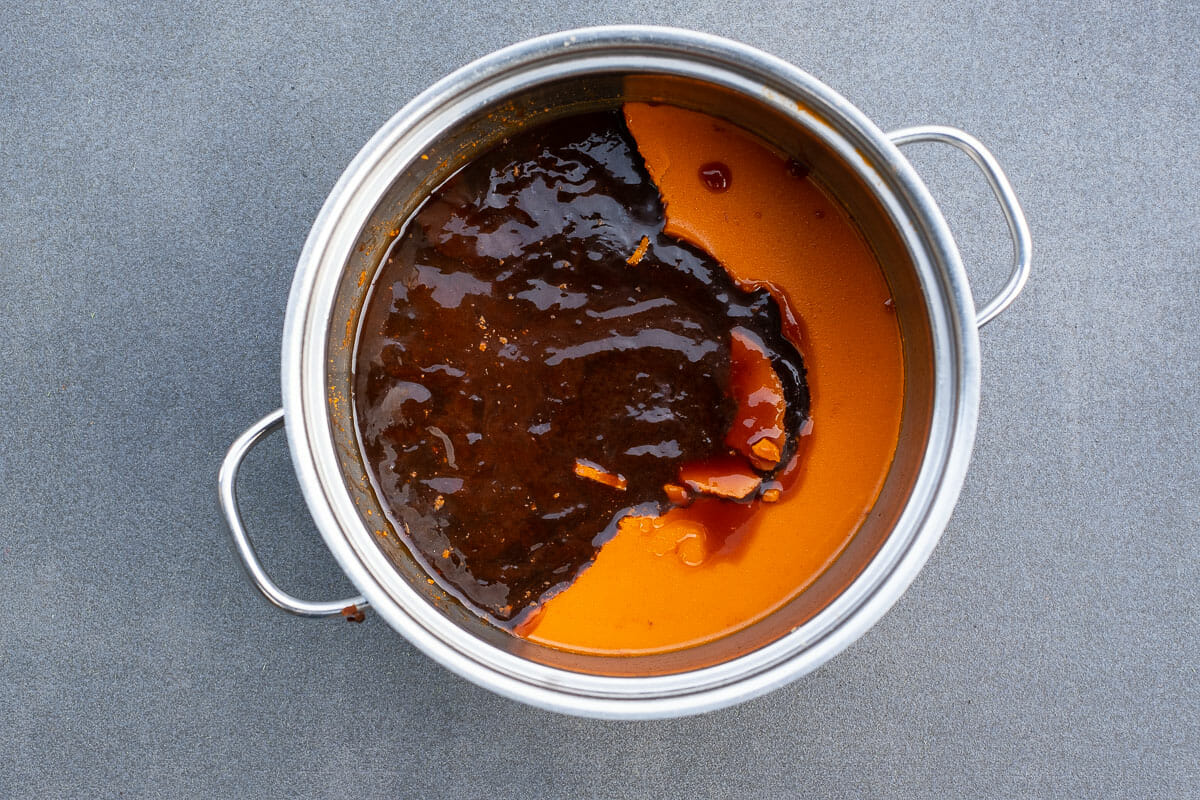
Sauce for Goose Recipe

Nuoc Mam Recipe
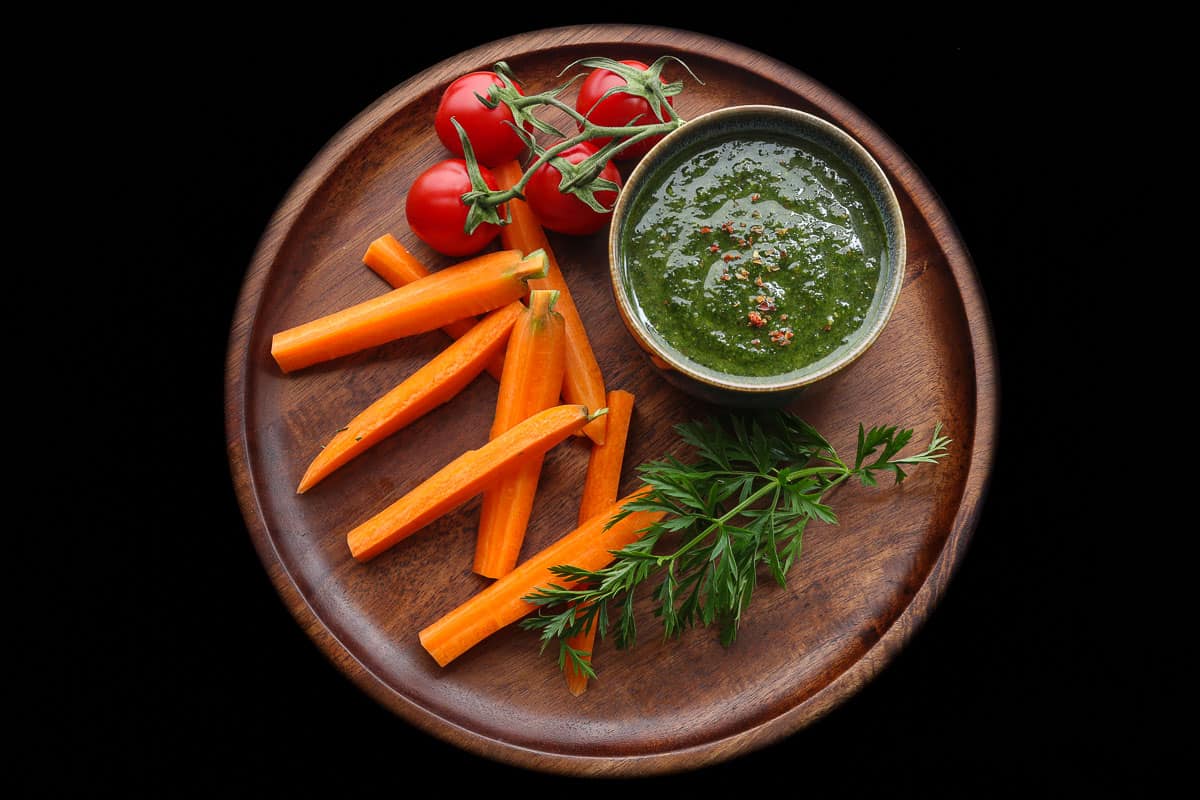
Carrot Greens Pesto Recipe
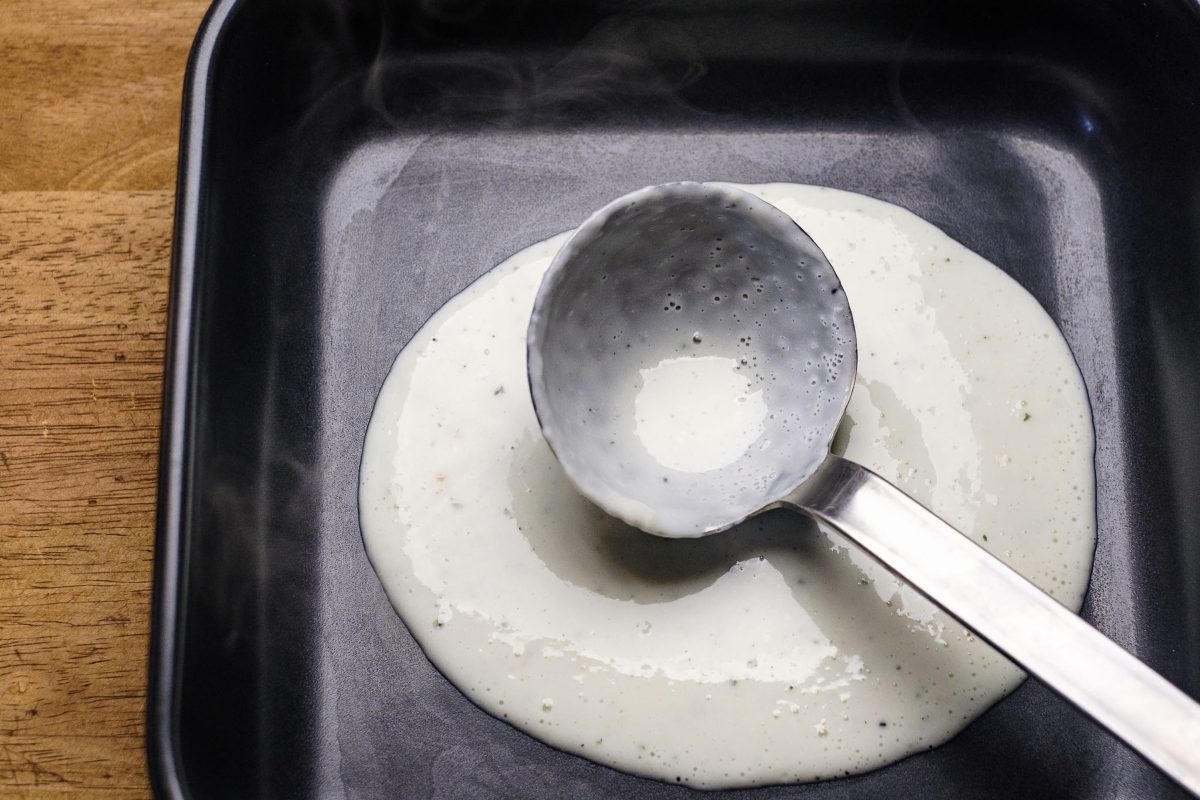
Béchamel Sauce Recipe from a Chef
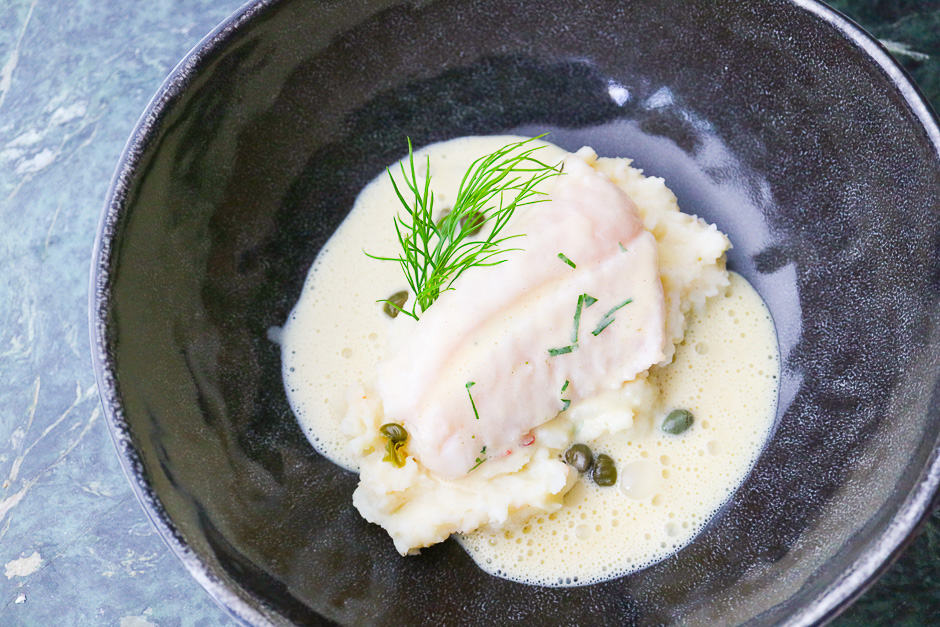
Mustard Sauce Recipe for Fish
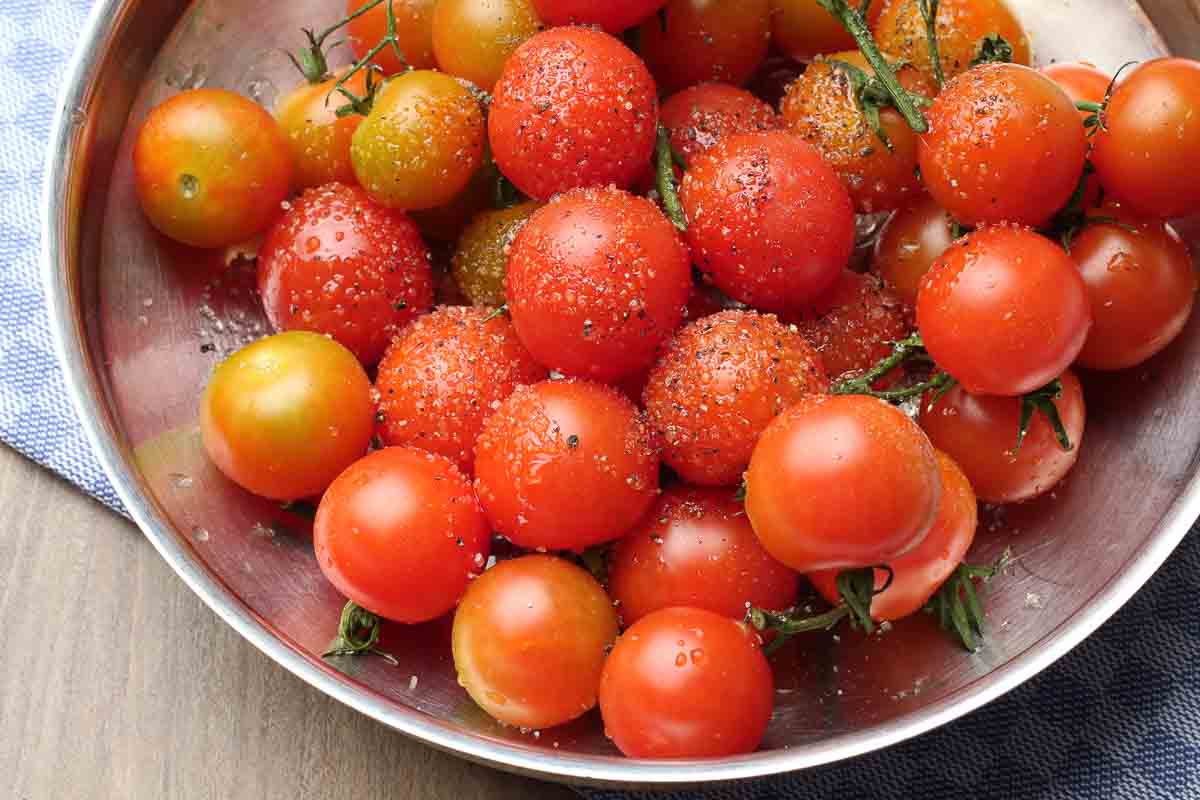
Tomato Sauce Fresh Tomatoes, Simply Cook them Yourself, Cooking Wiki with Recipe
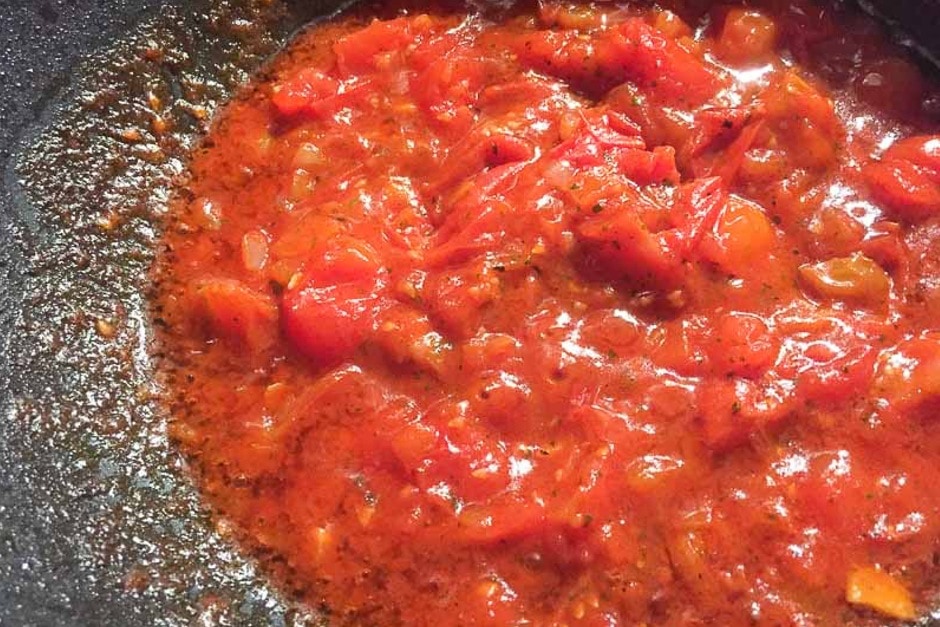
Simple Recipe for Tomato Sauce from strained Tomatoes and canned Tomatoes
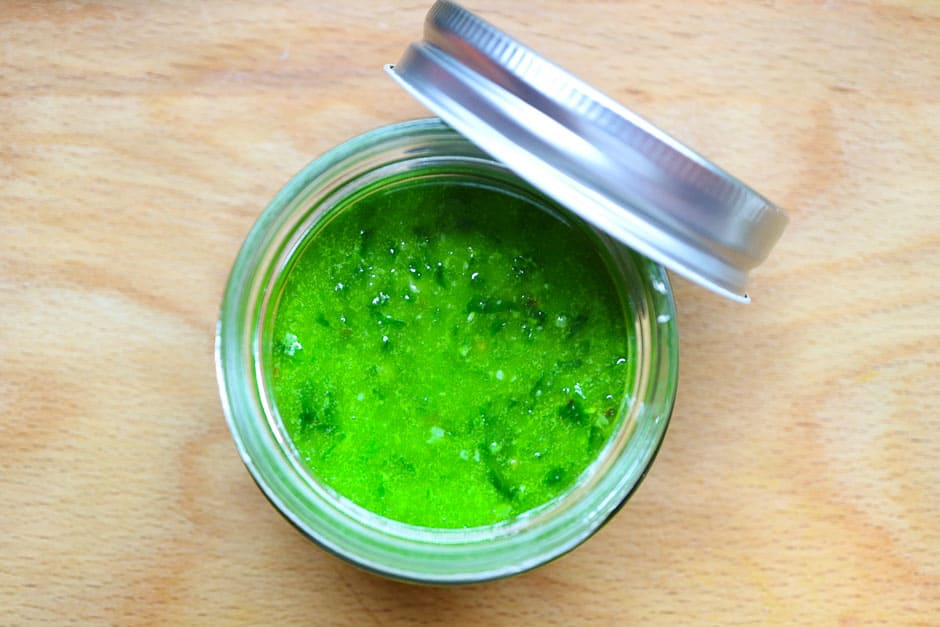
Wild Garlic Pesto Basic Recipe
5 Barbecue Sauces Recipe
8 Dipping Sauces Recipes
Mayonnaise Recipe For Safely Prepare
Hollandaise Sauce Recipe for the Thermomix®.
Chicken Broth Recipe with Chef Tips and Cooking Video for delicious Soup
Making Beef Broth yourself like a Star Chef
Prepare your own Veal Stock, Recipe with Professional Instructions, Kitchen Story with Step by Step Pictures

Make your own Pesto, Basil Pesto alla Genovese, Recipe with Step by Step Photos and Chef´s Tips
Making Mayonnaise with the Mixer, Recipe with Cooking Video Instructions
Hollandaise sauce
Comments, Cooking Questions and Answers
Below you can write to me directly.
Please don’t forget the star rating on the recipe, 5 stars means you liked it!
